Tensegrity Table
| December 2024 |
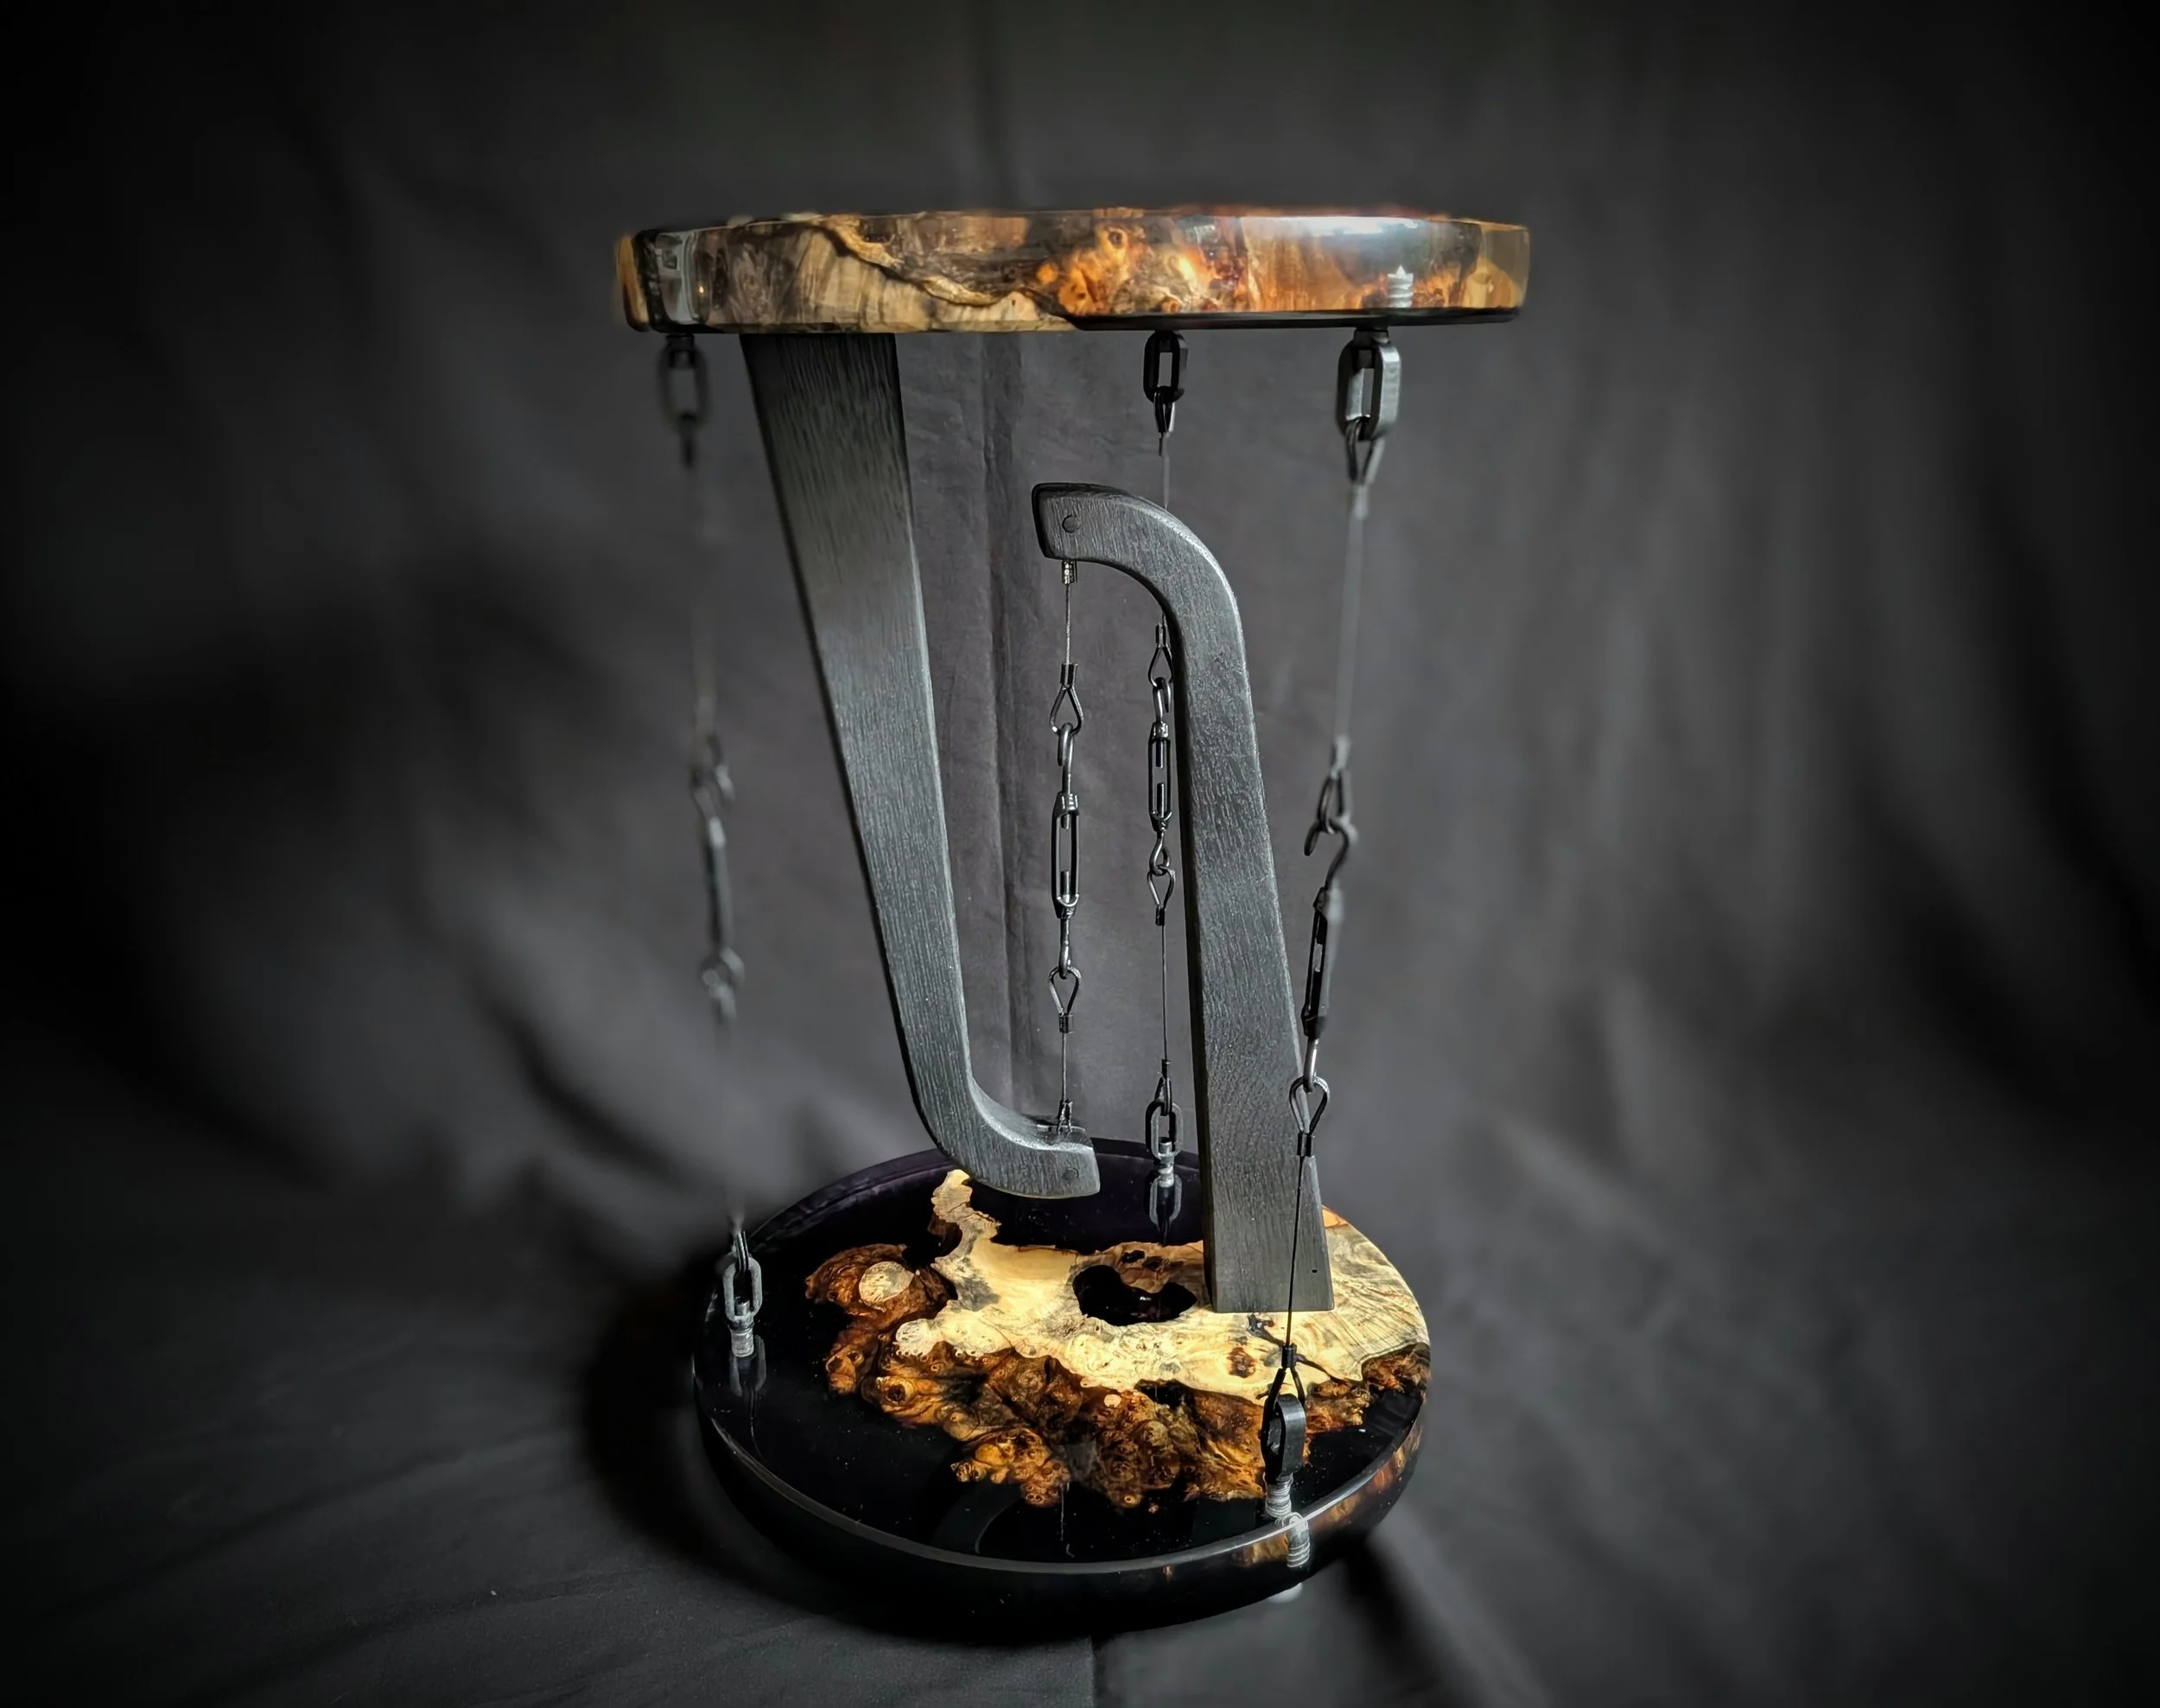
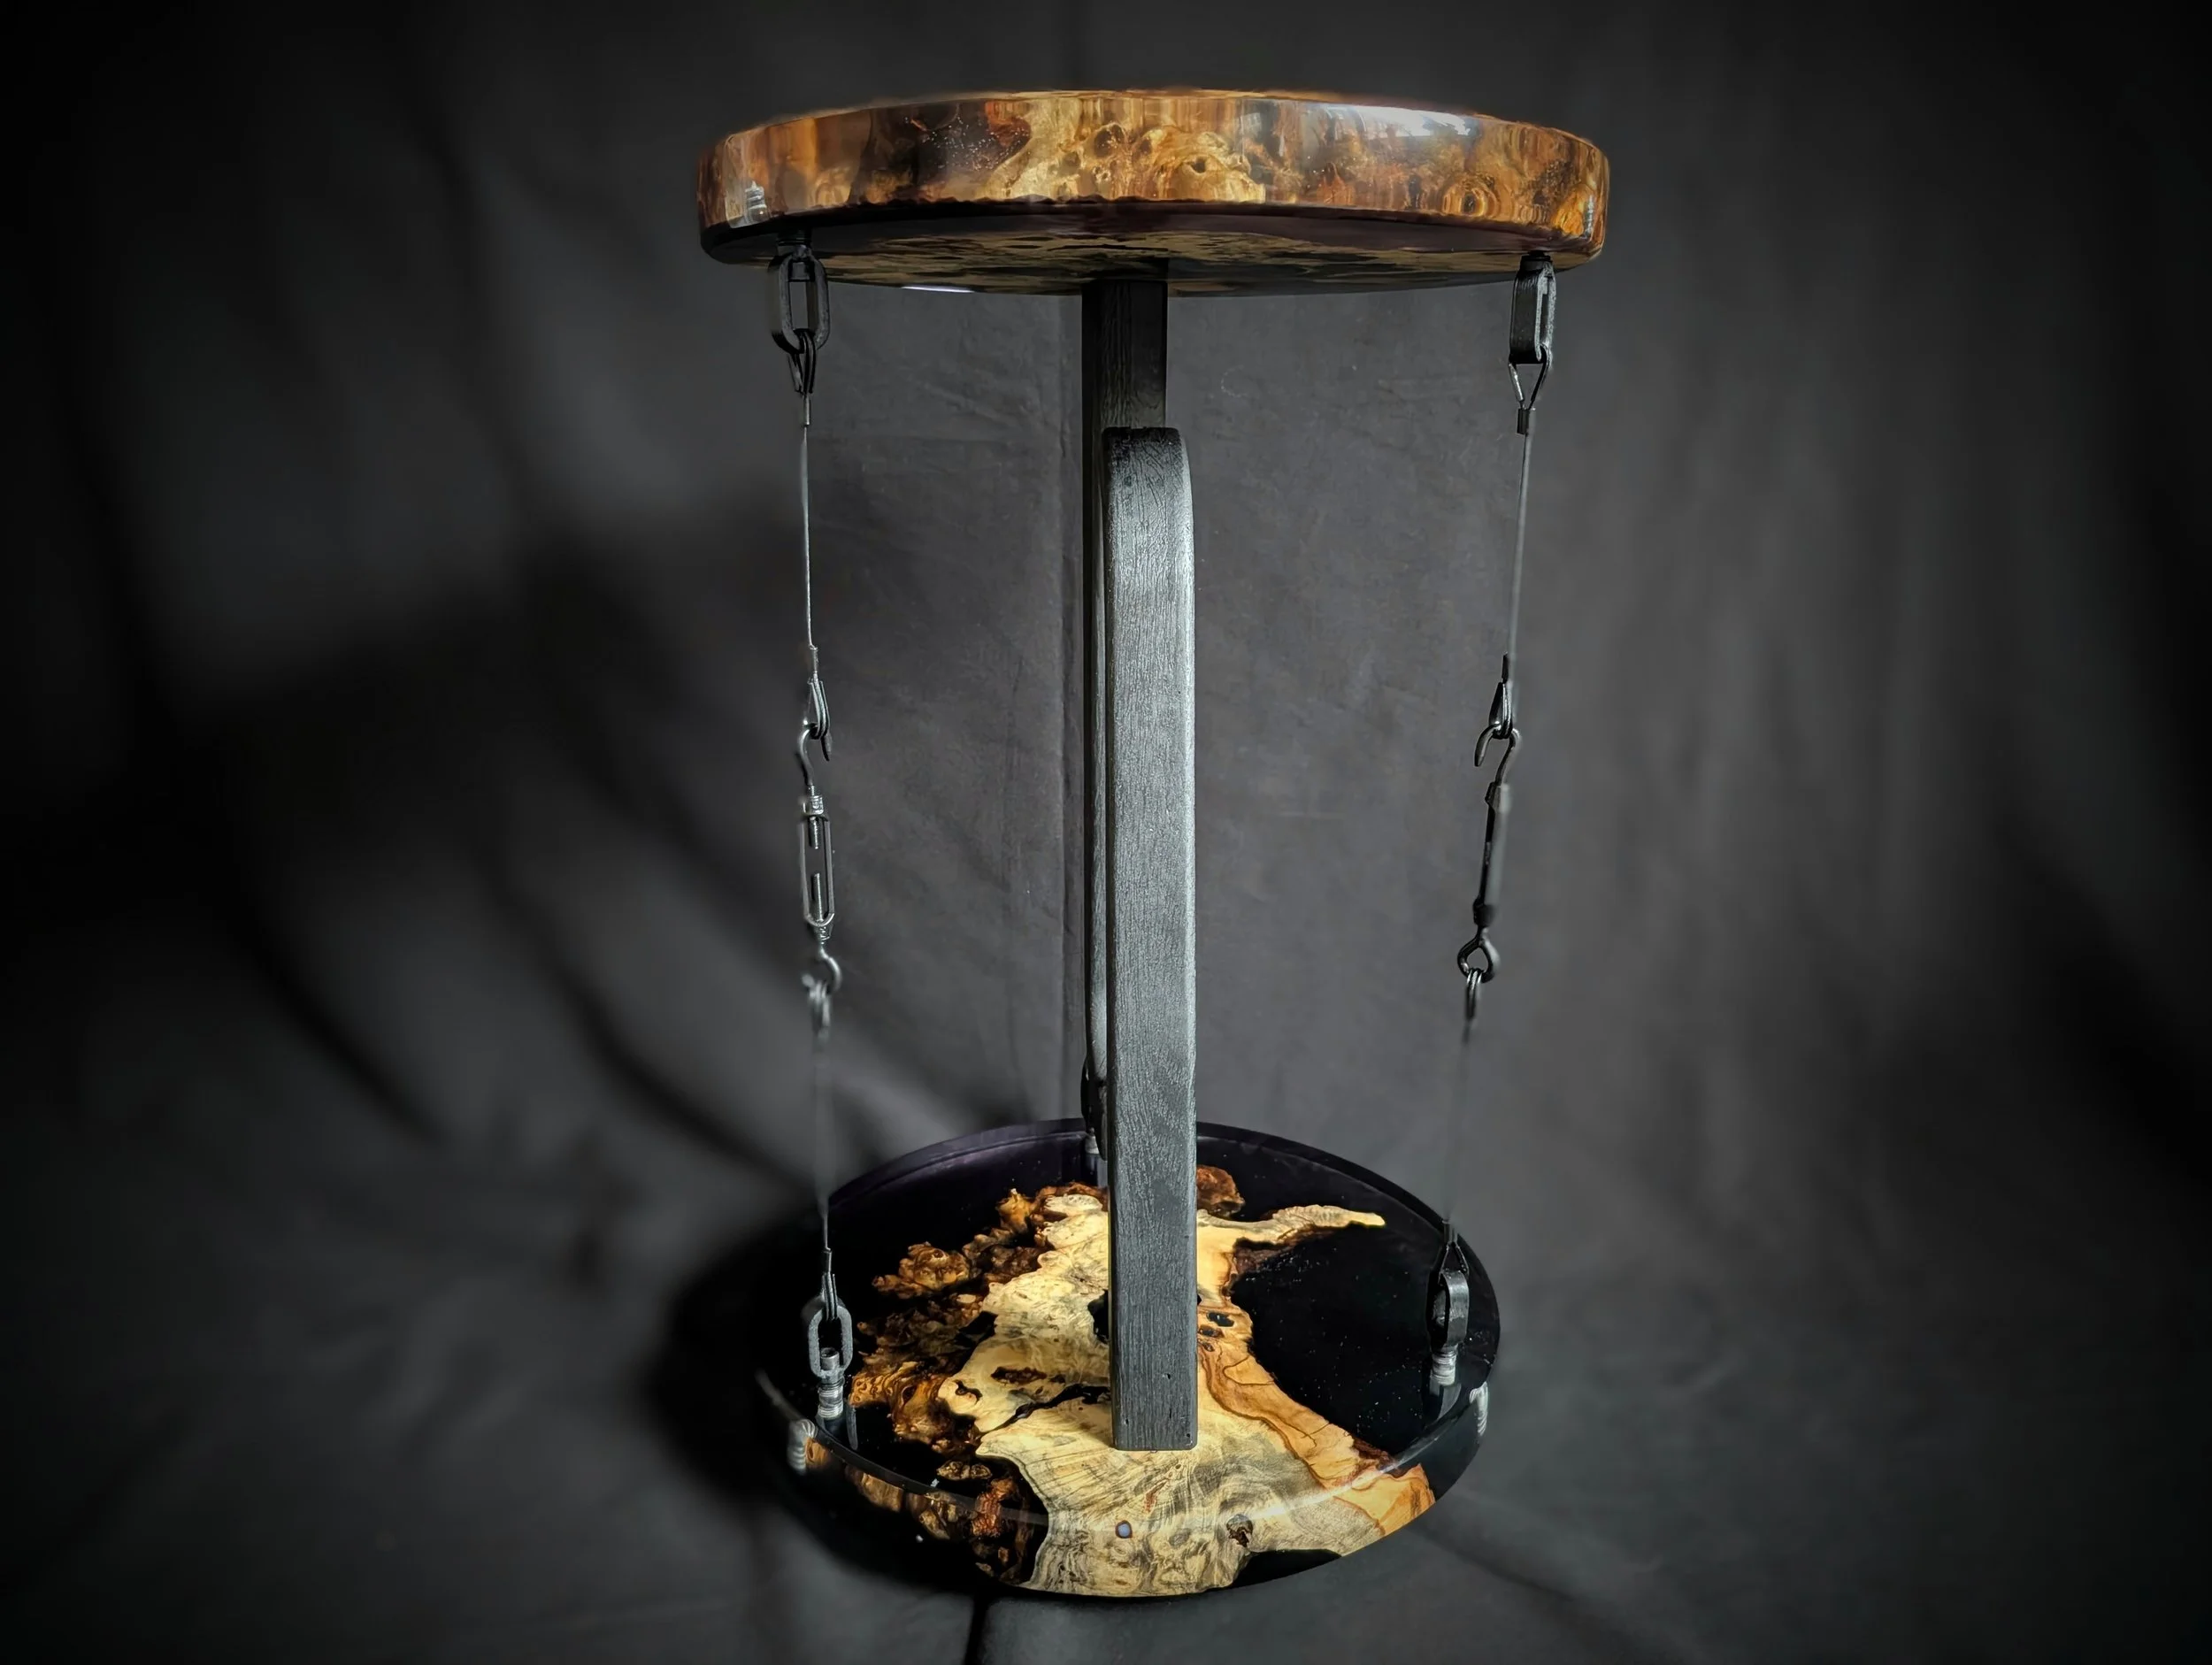
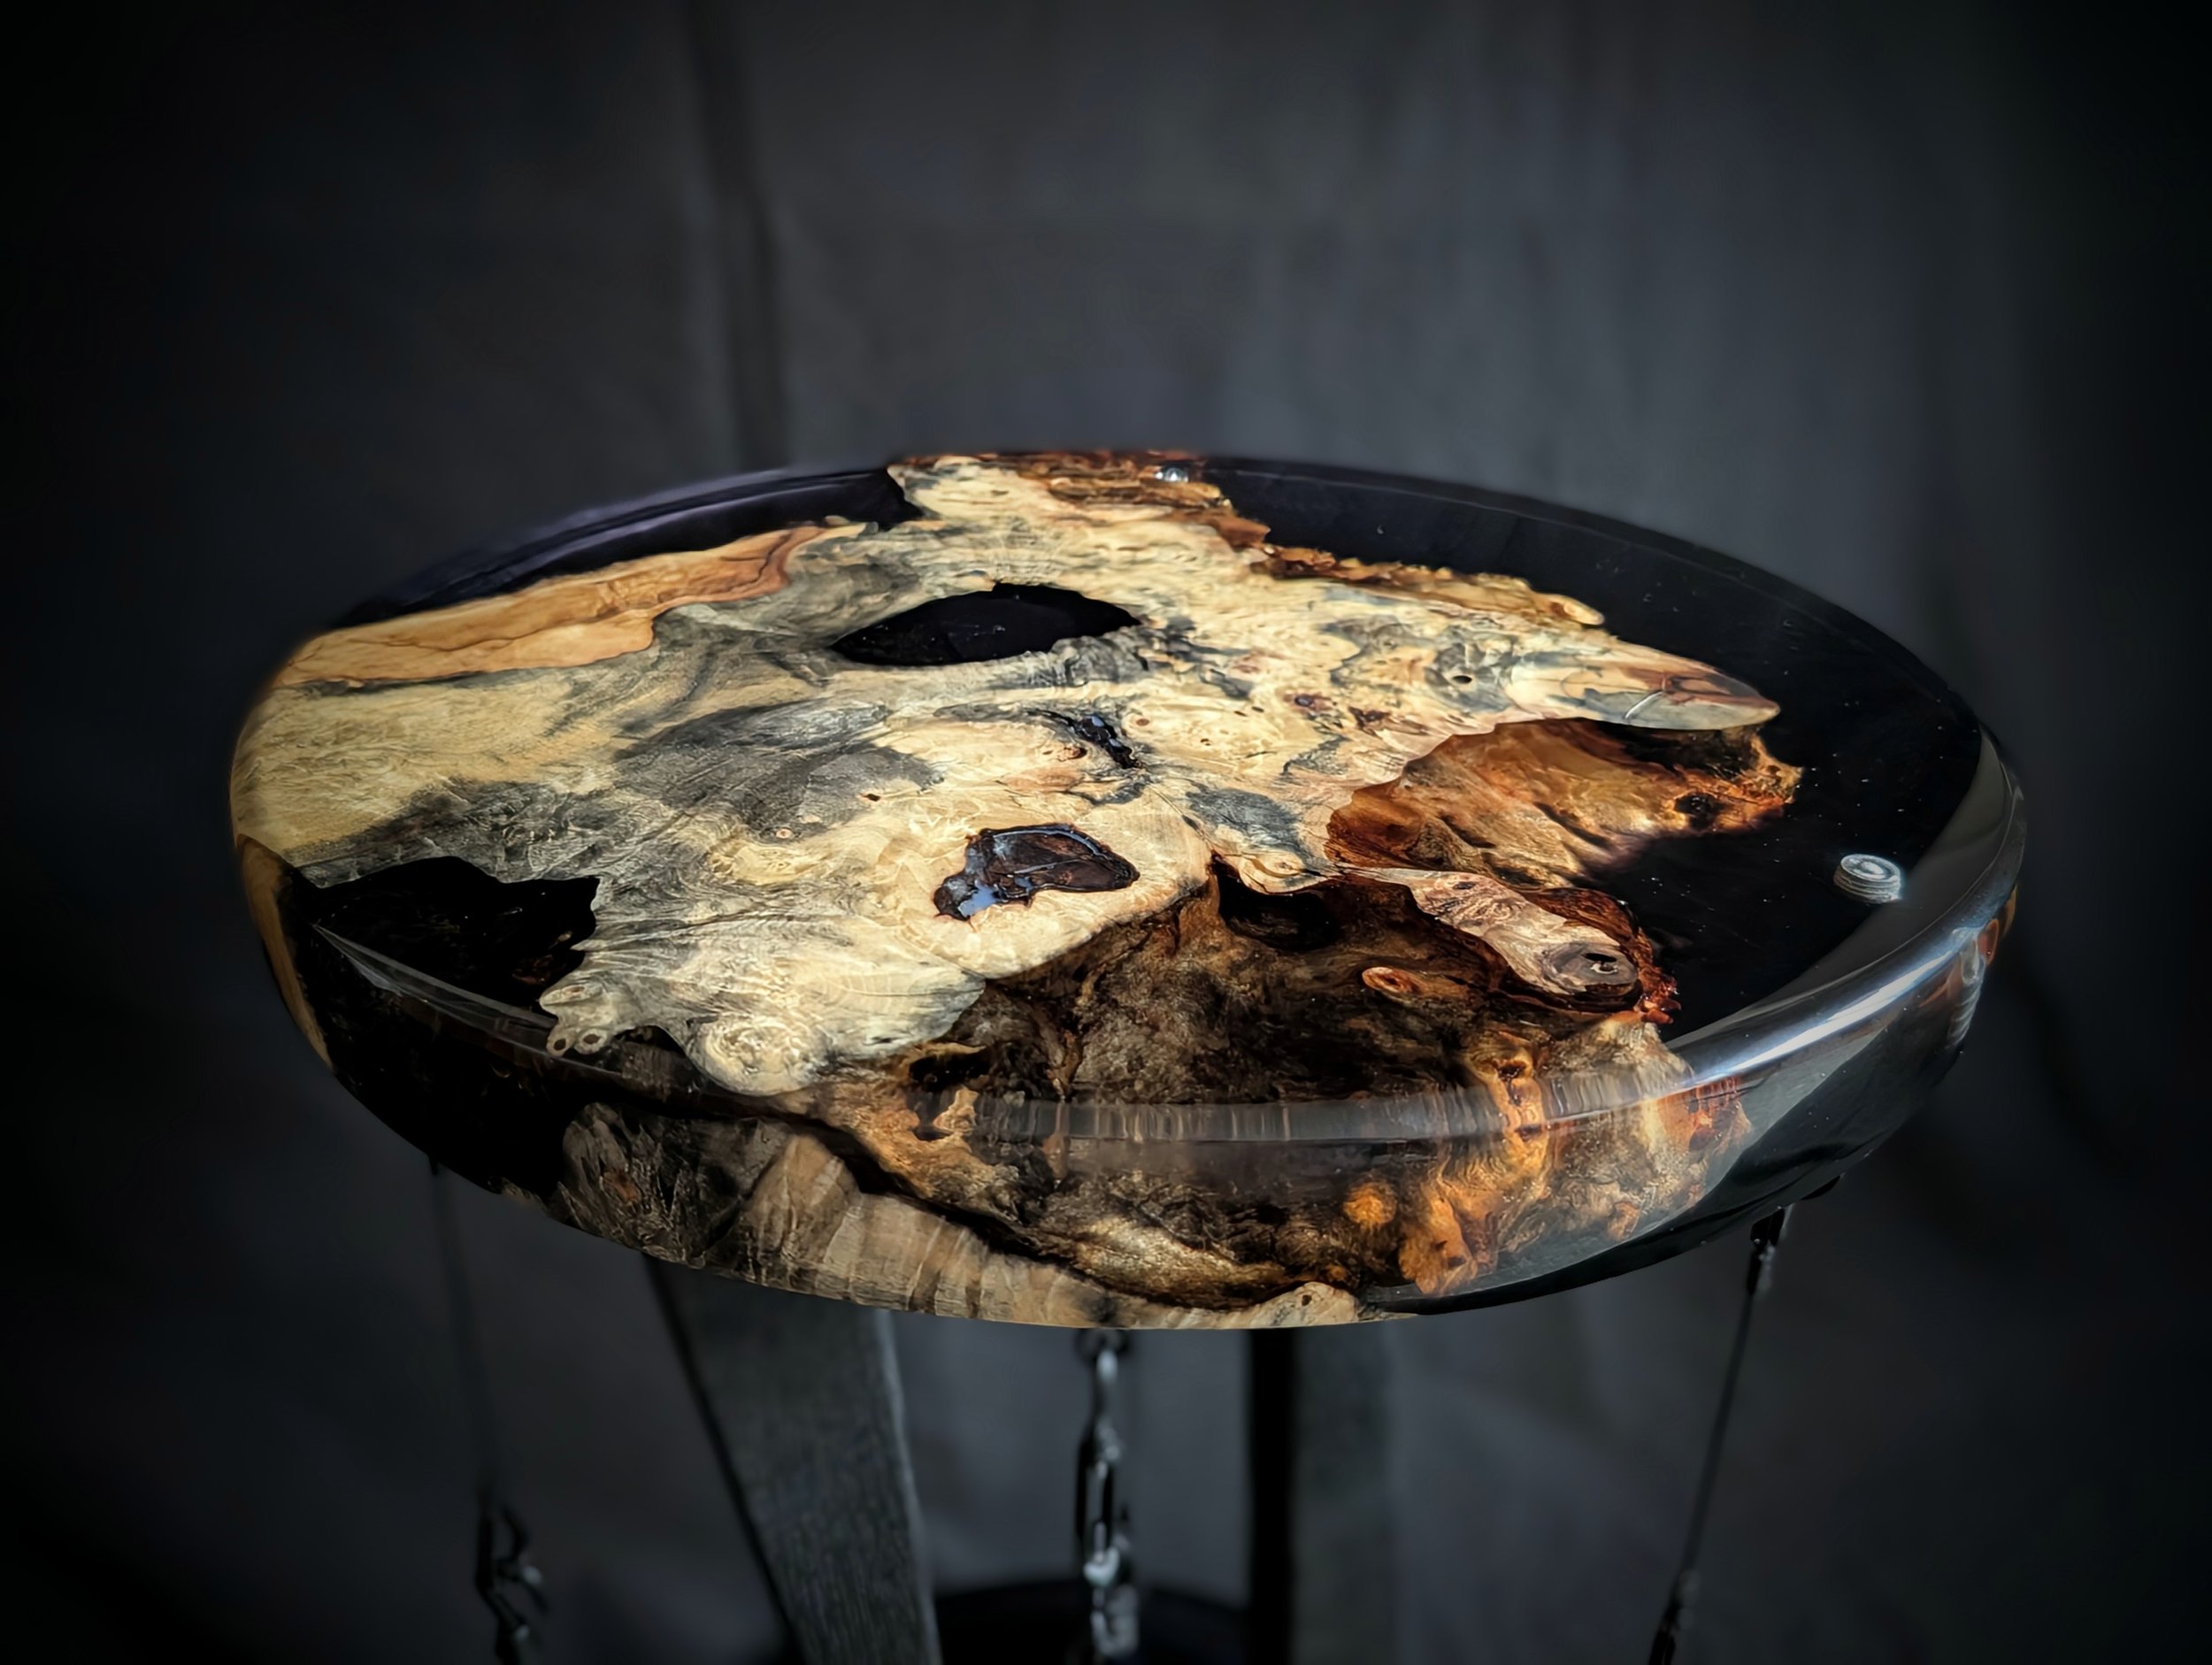
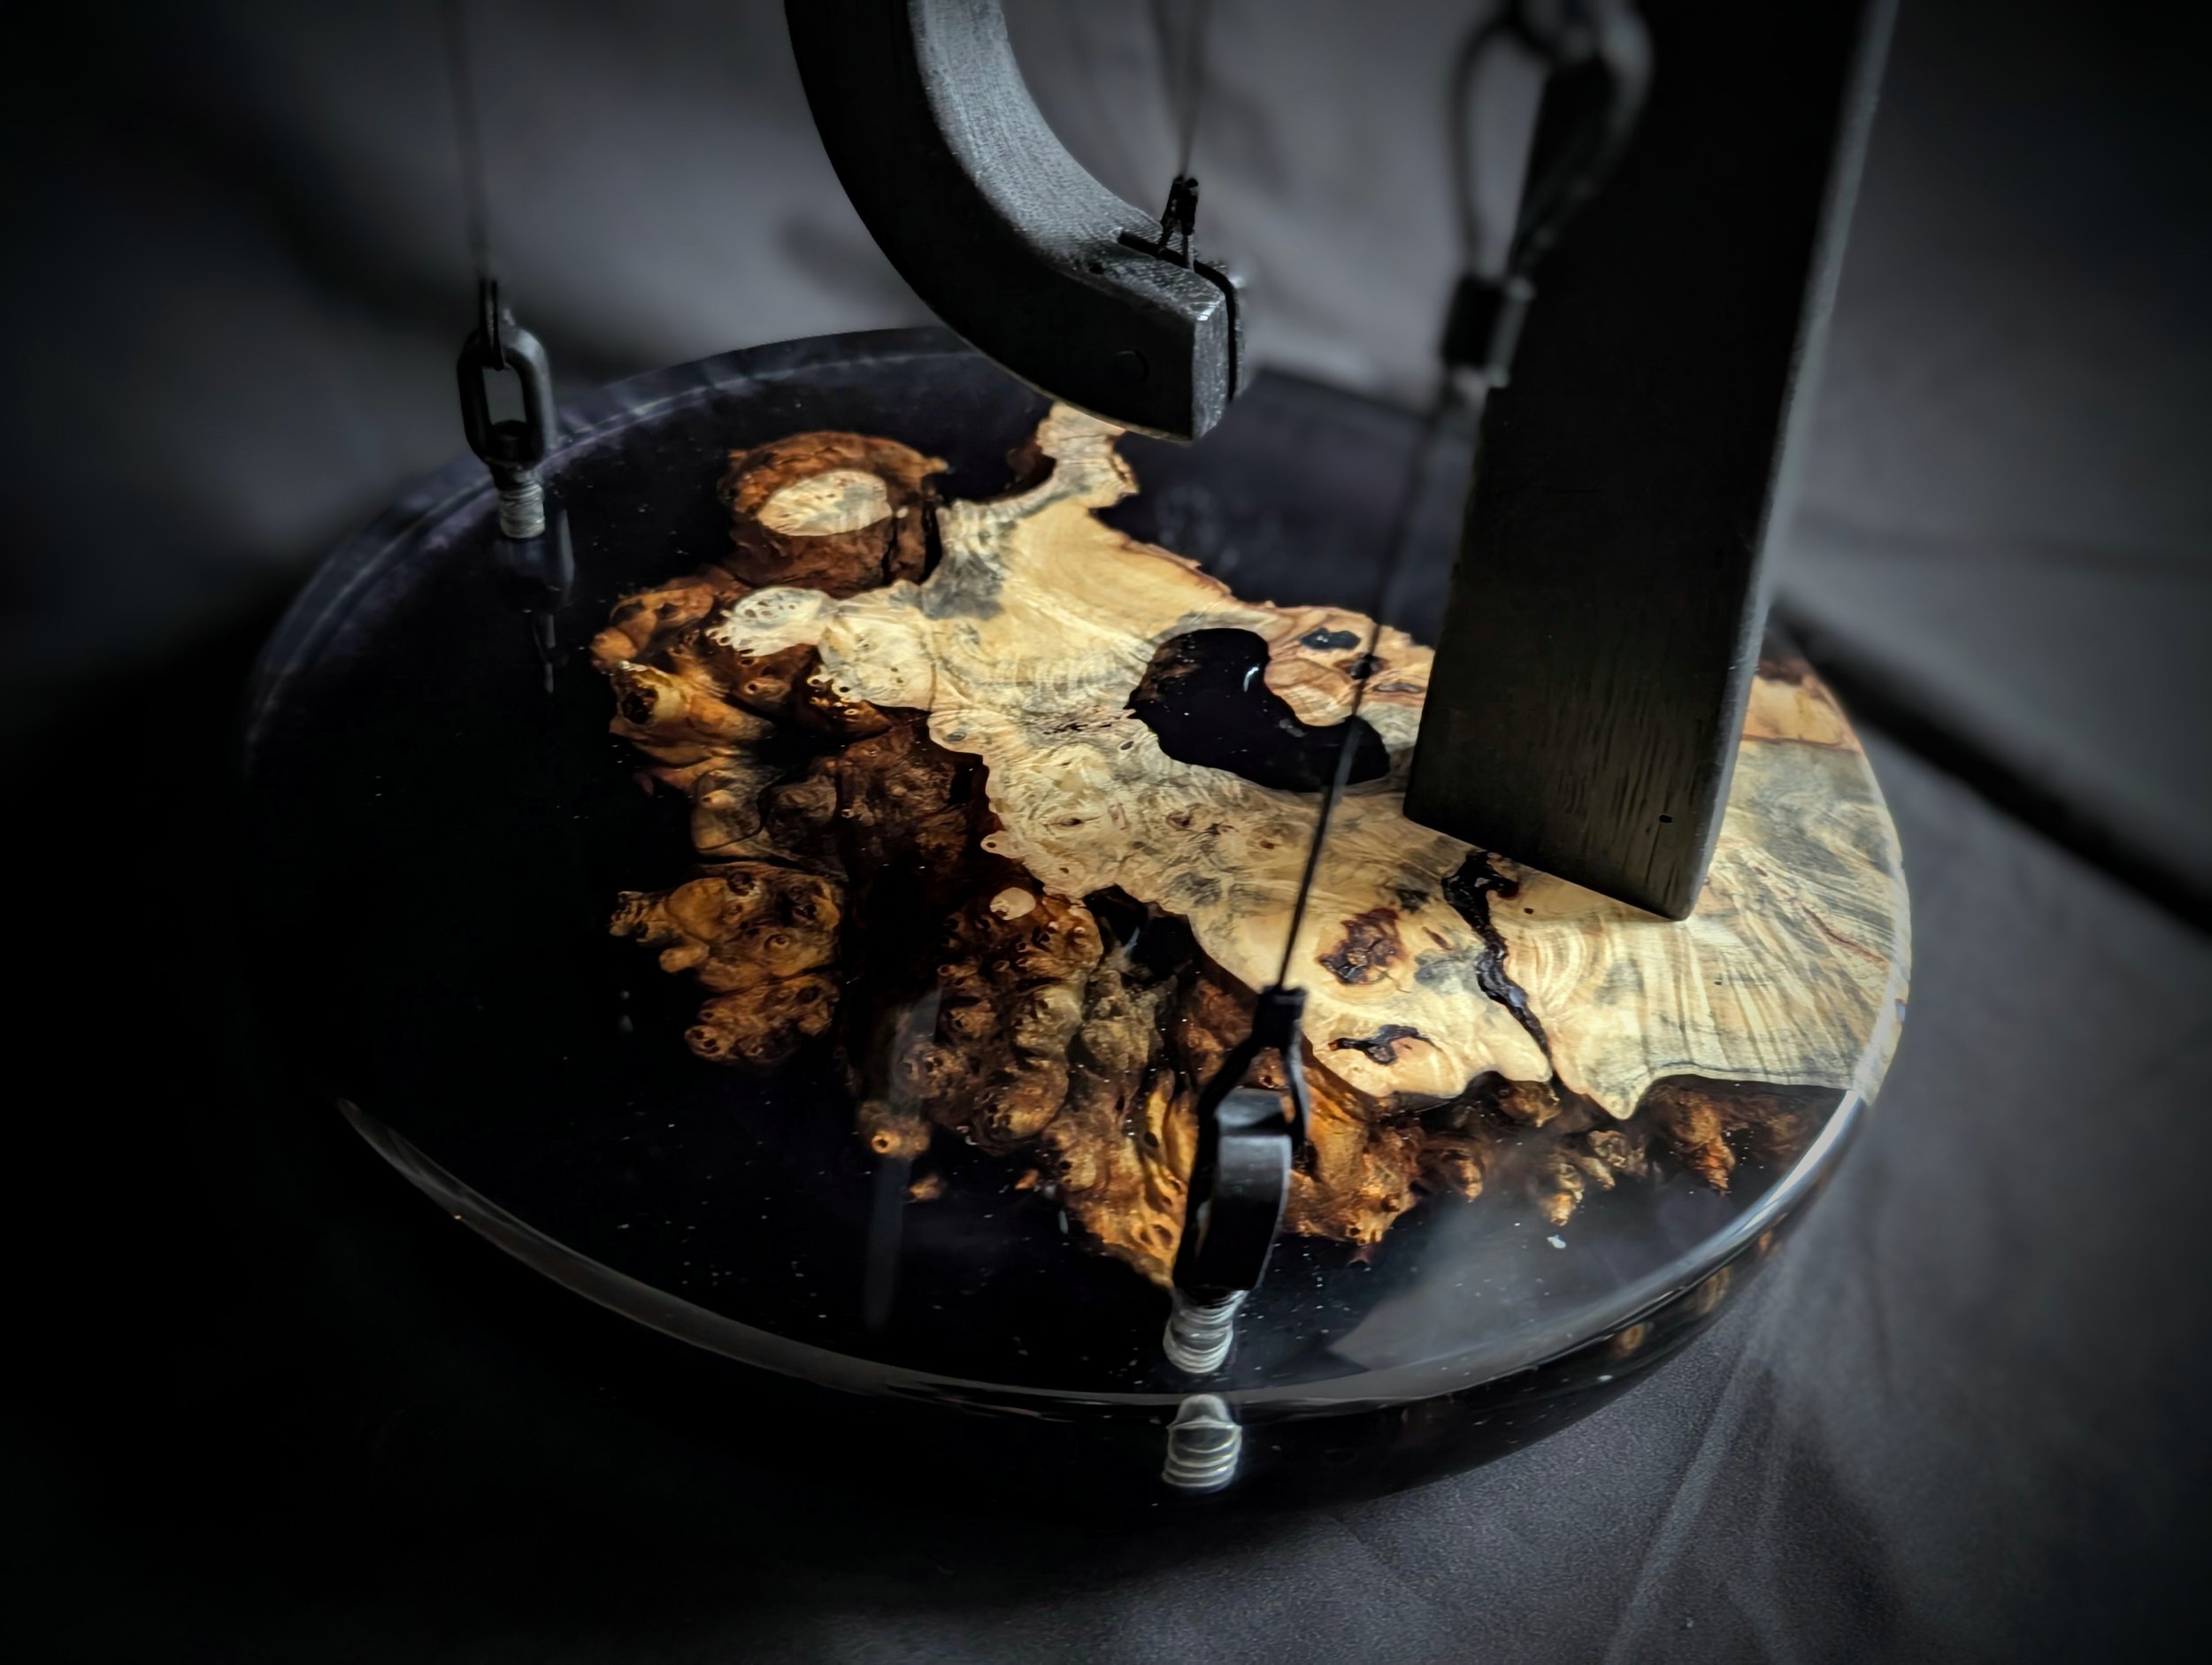
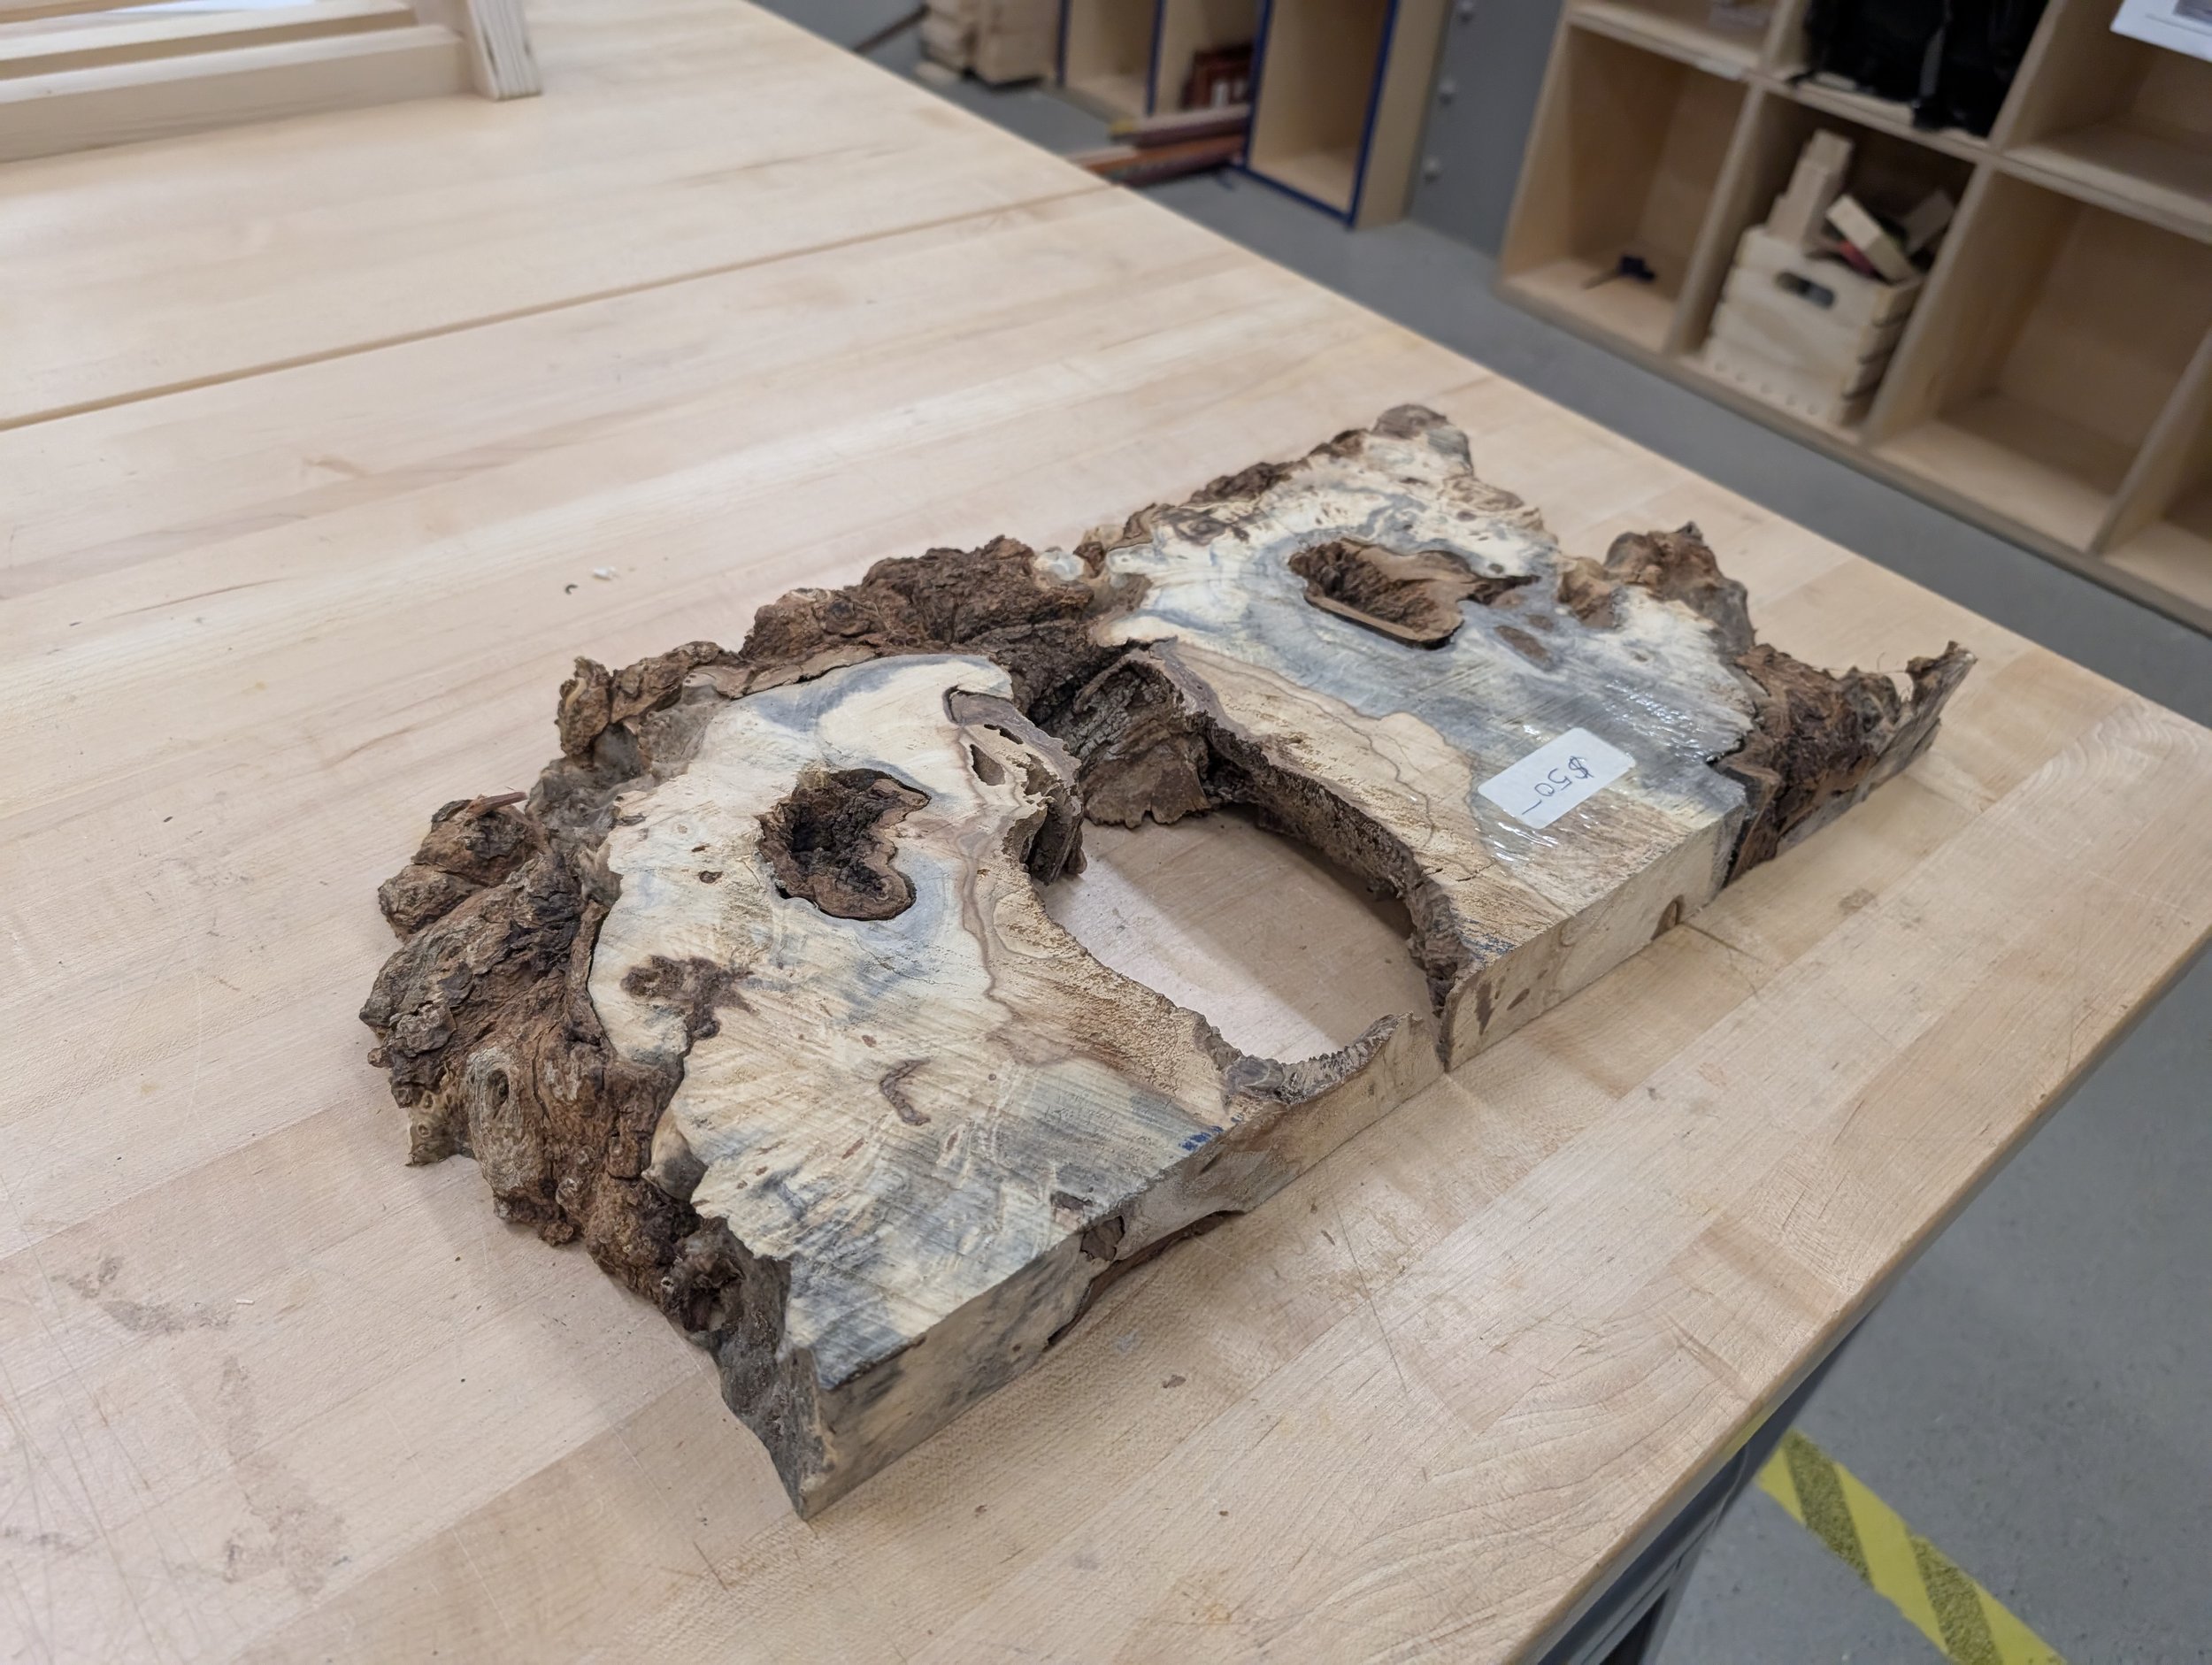
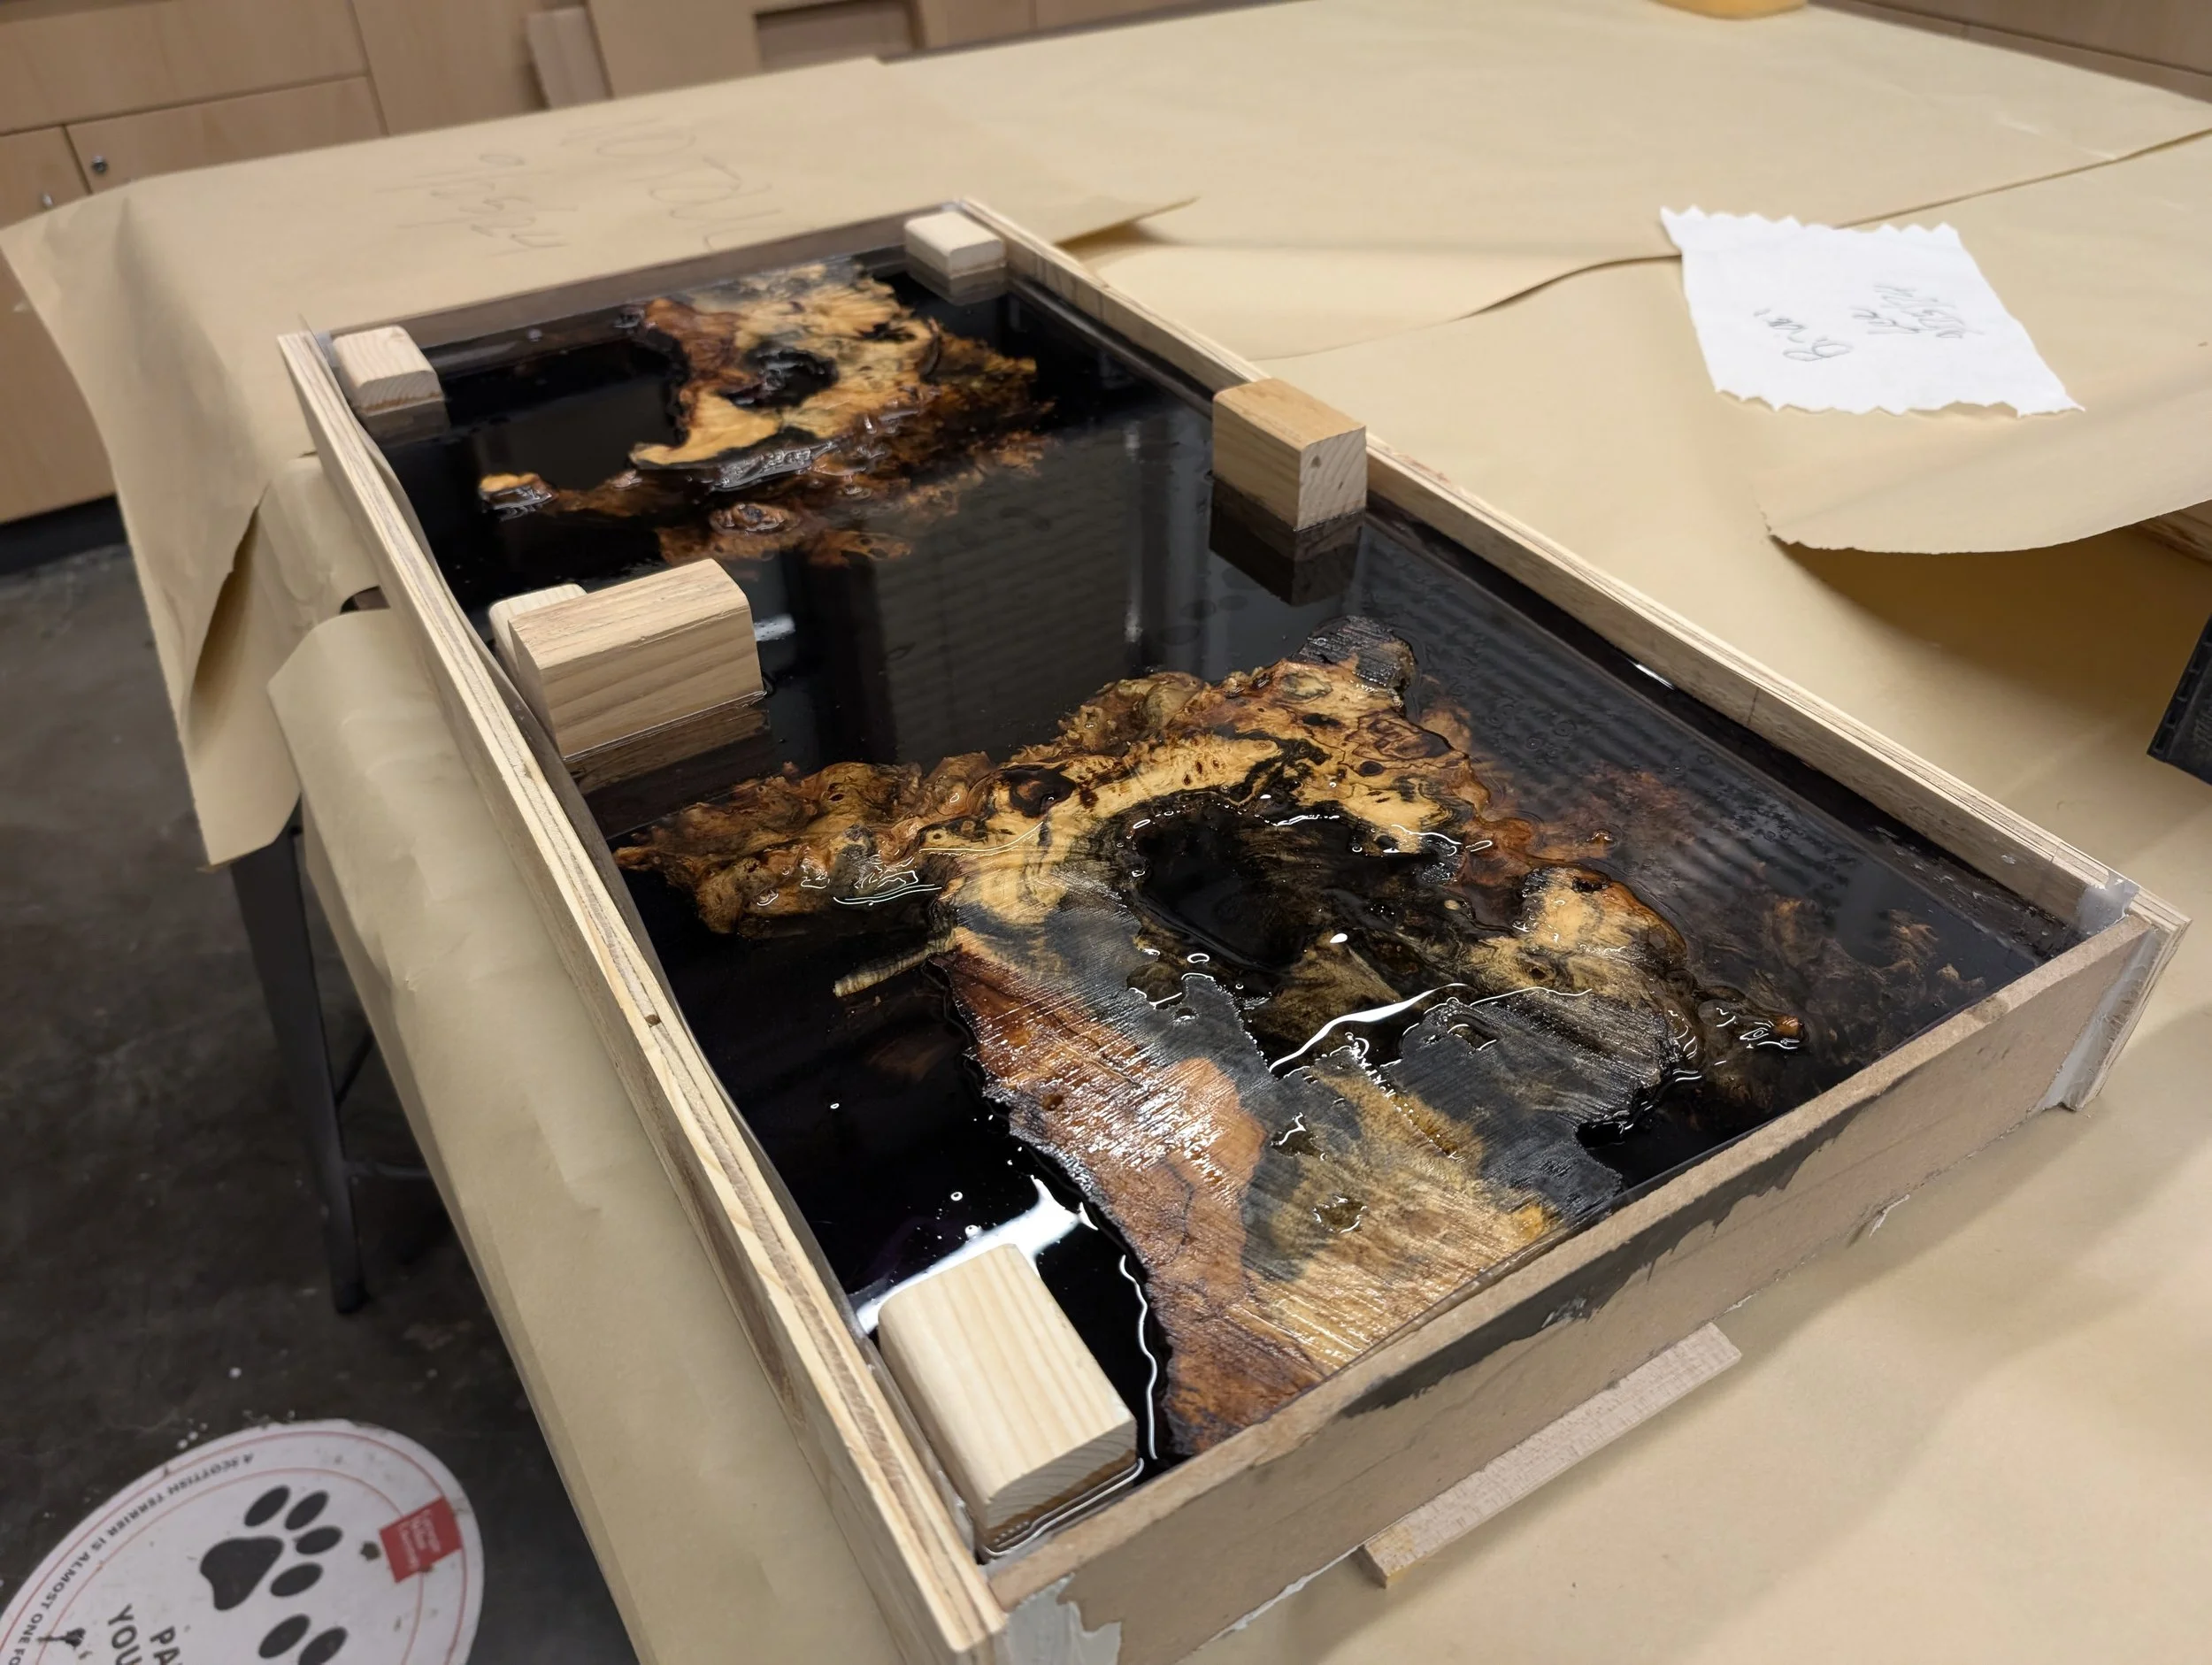
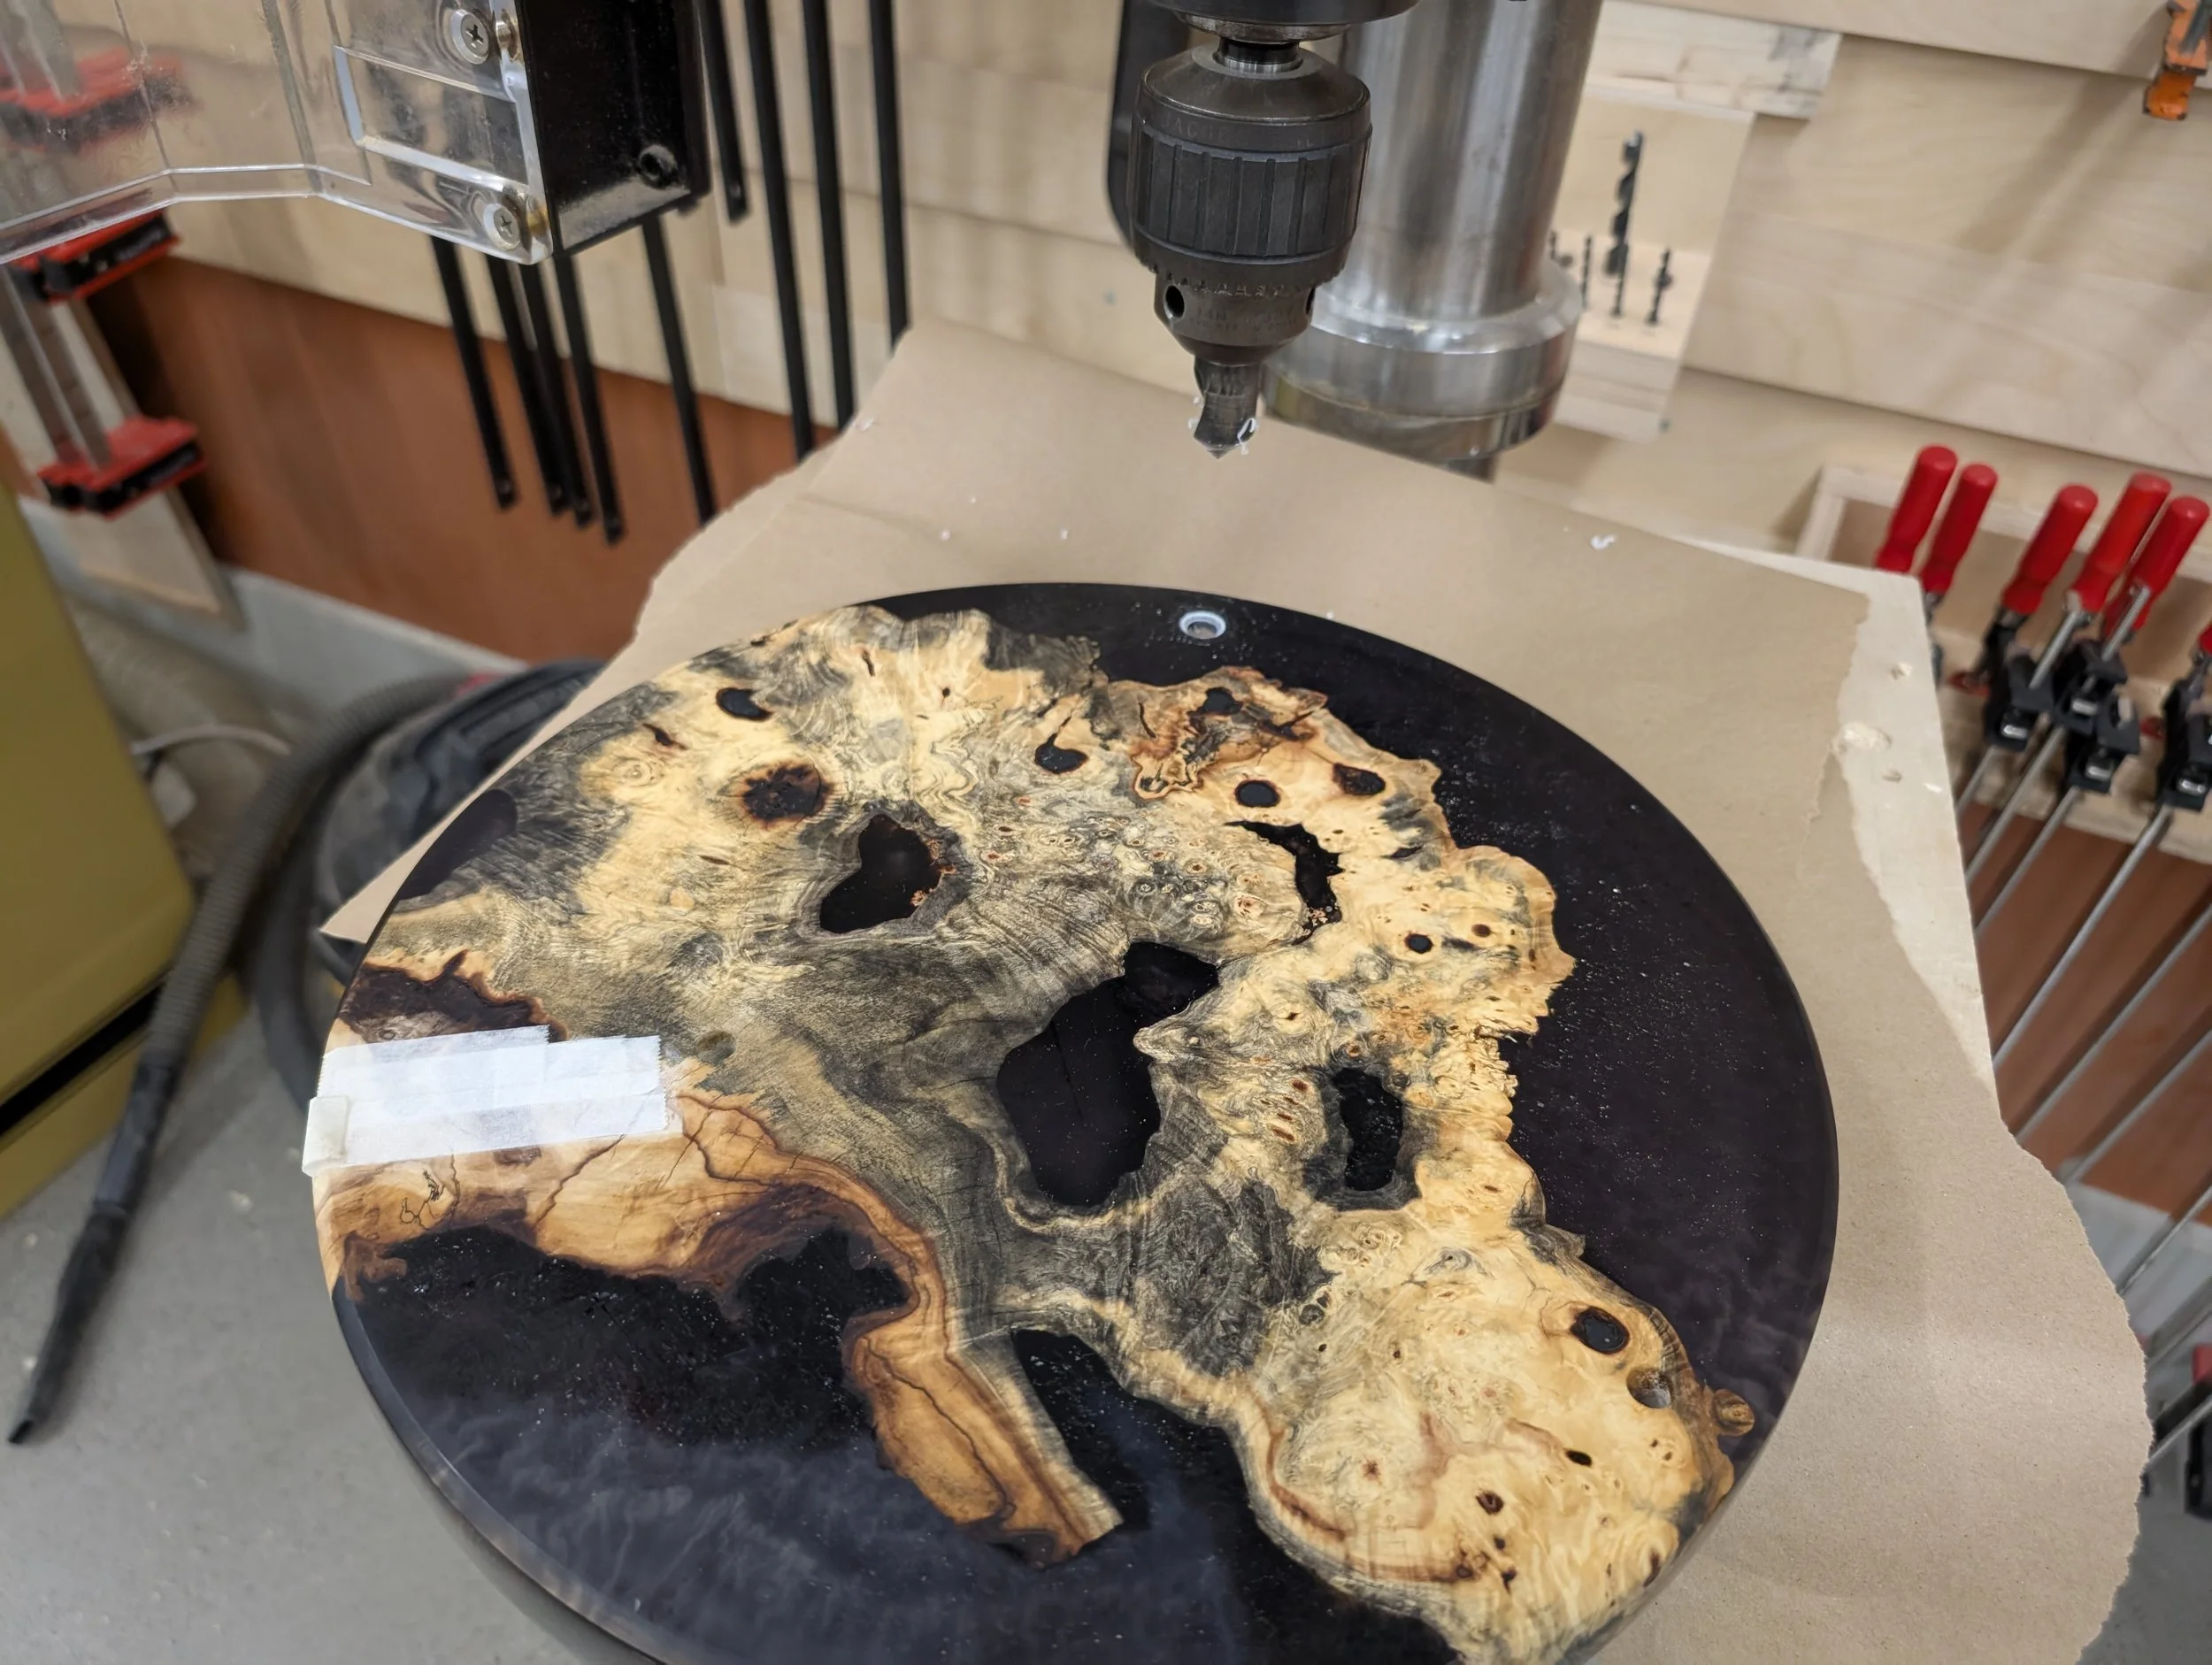
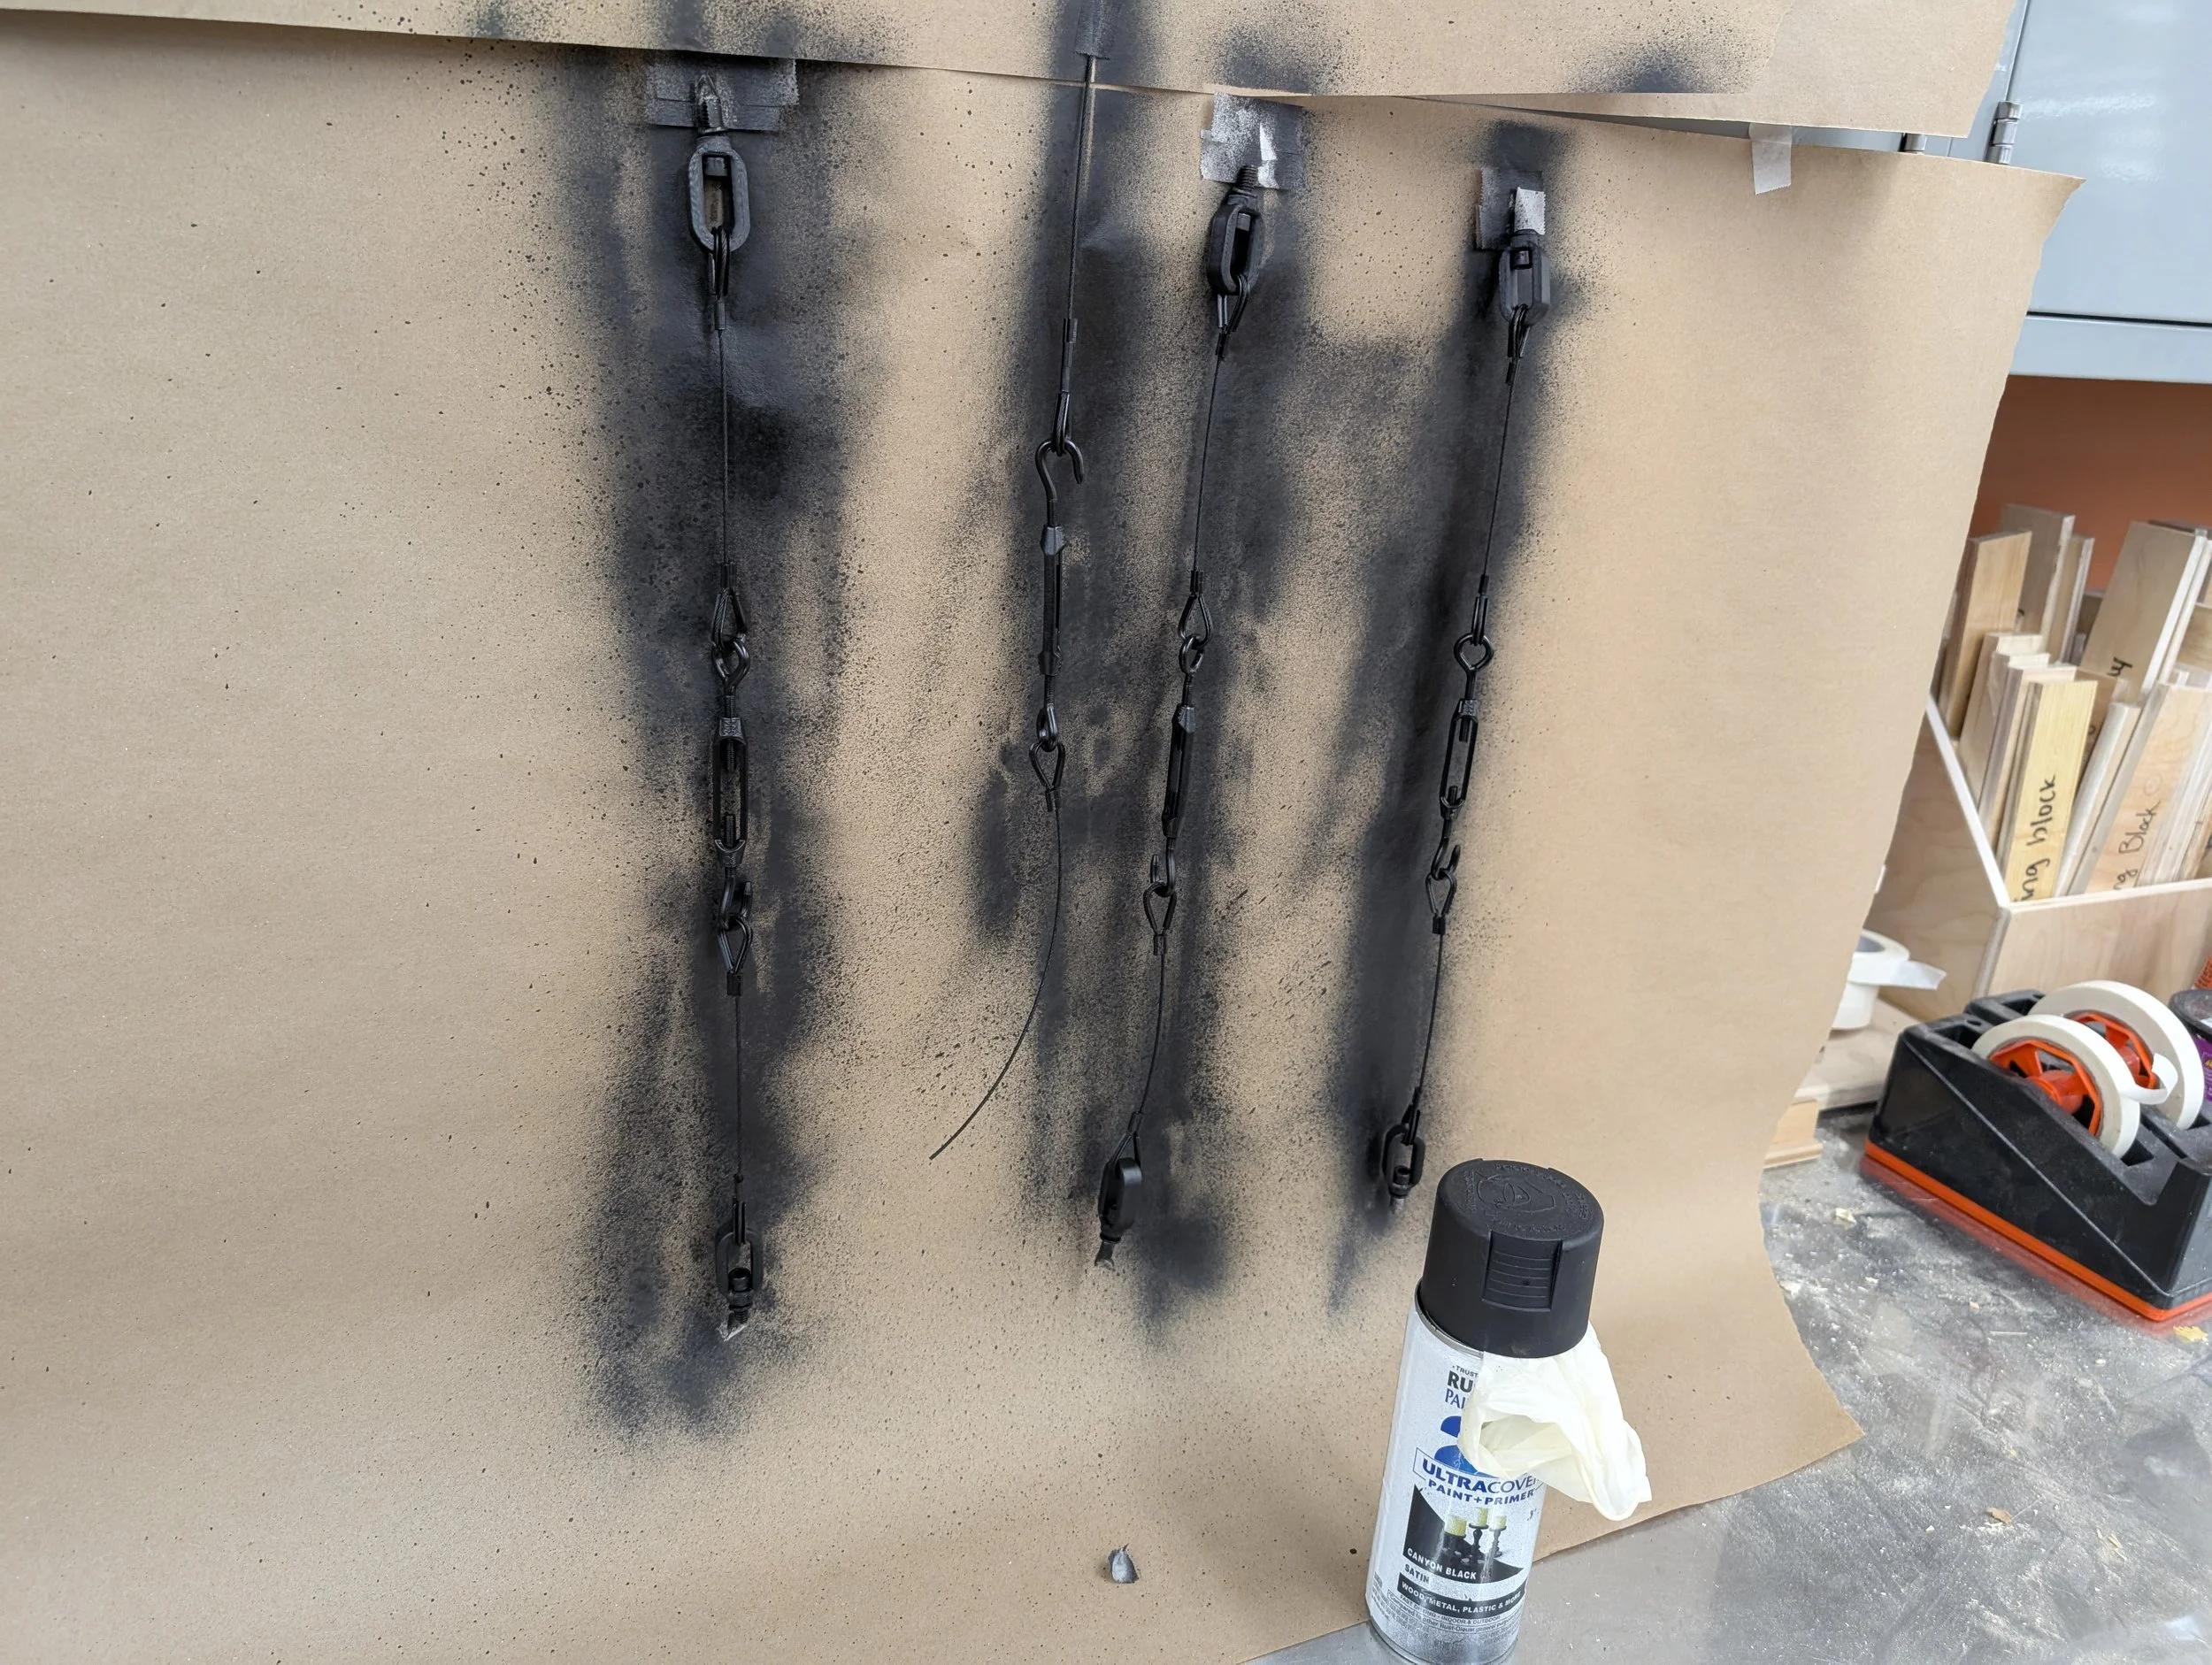
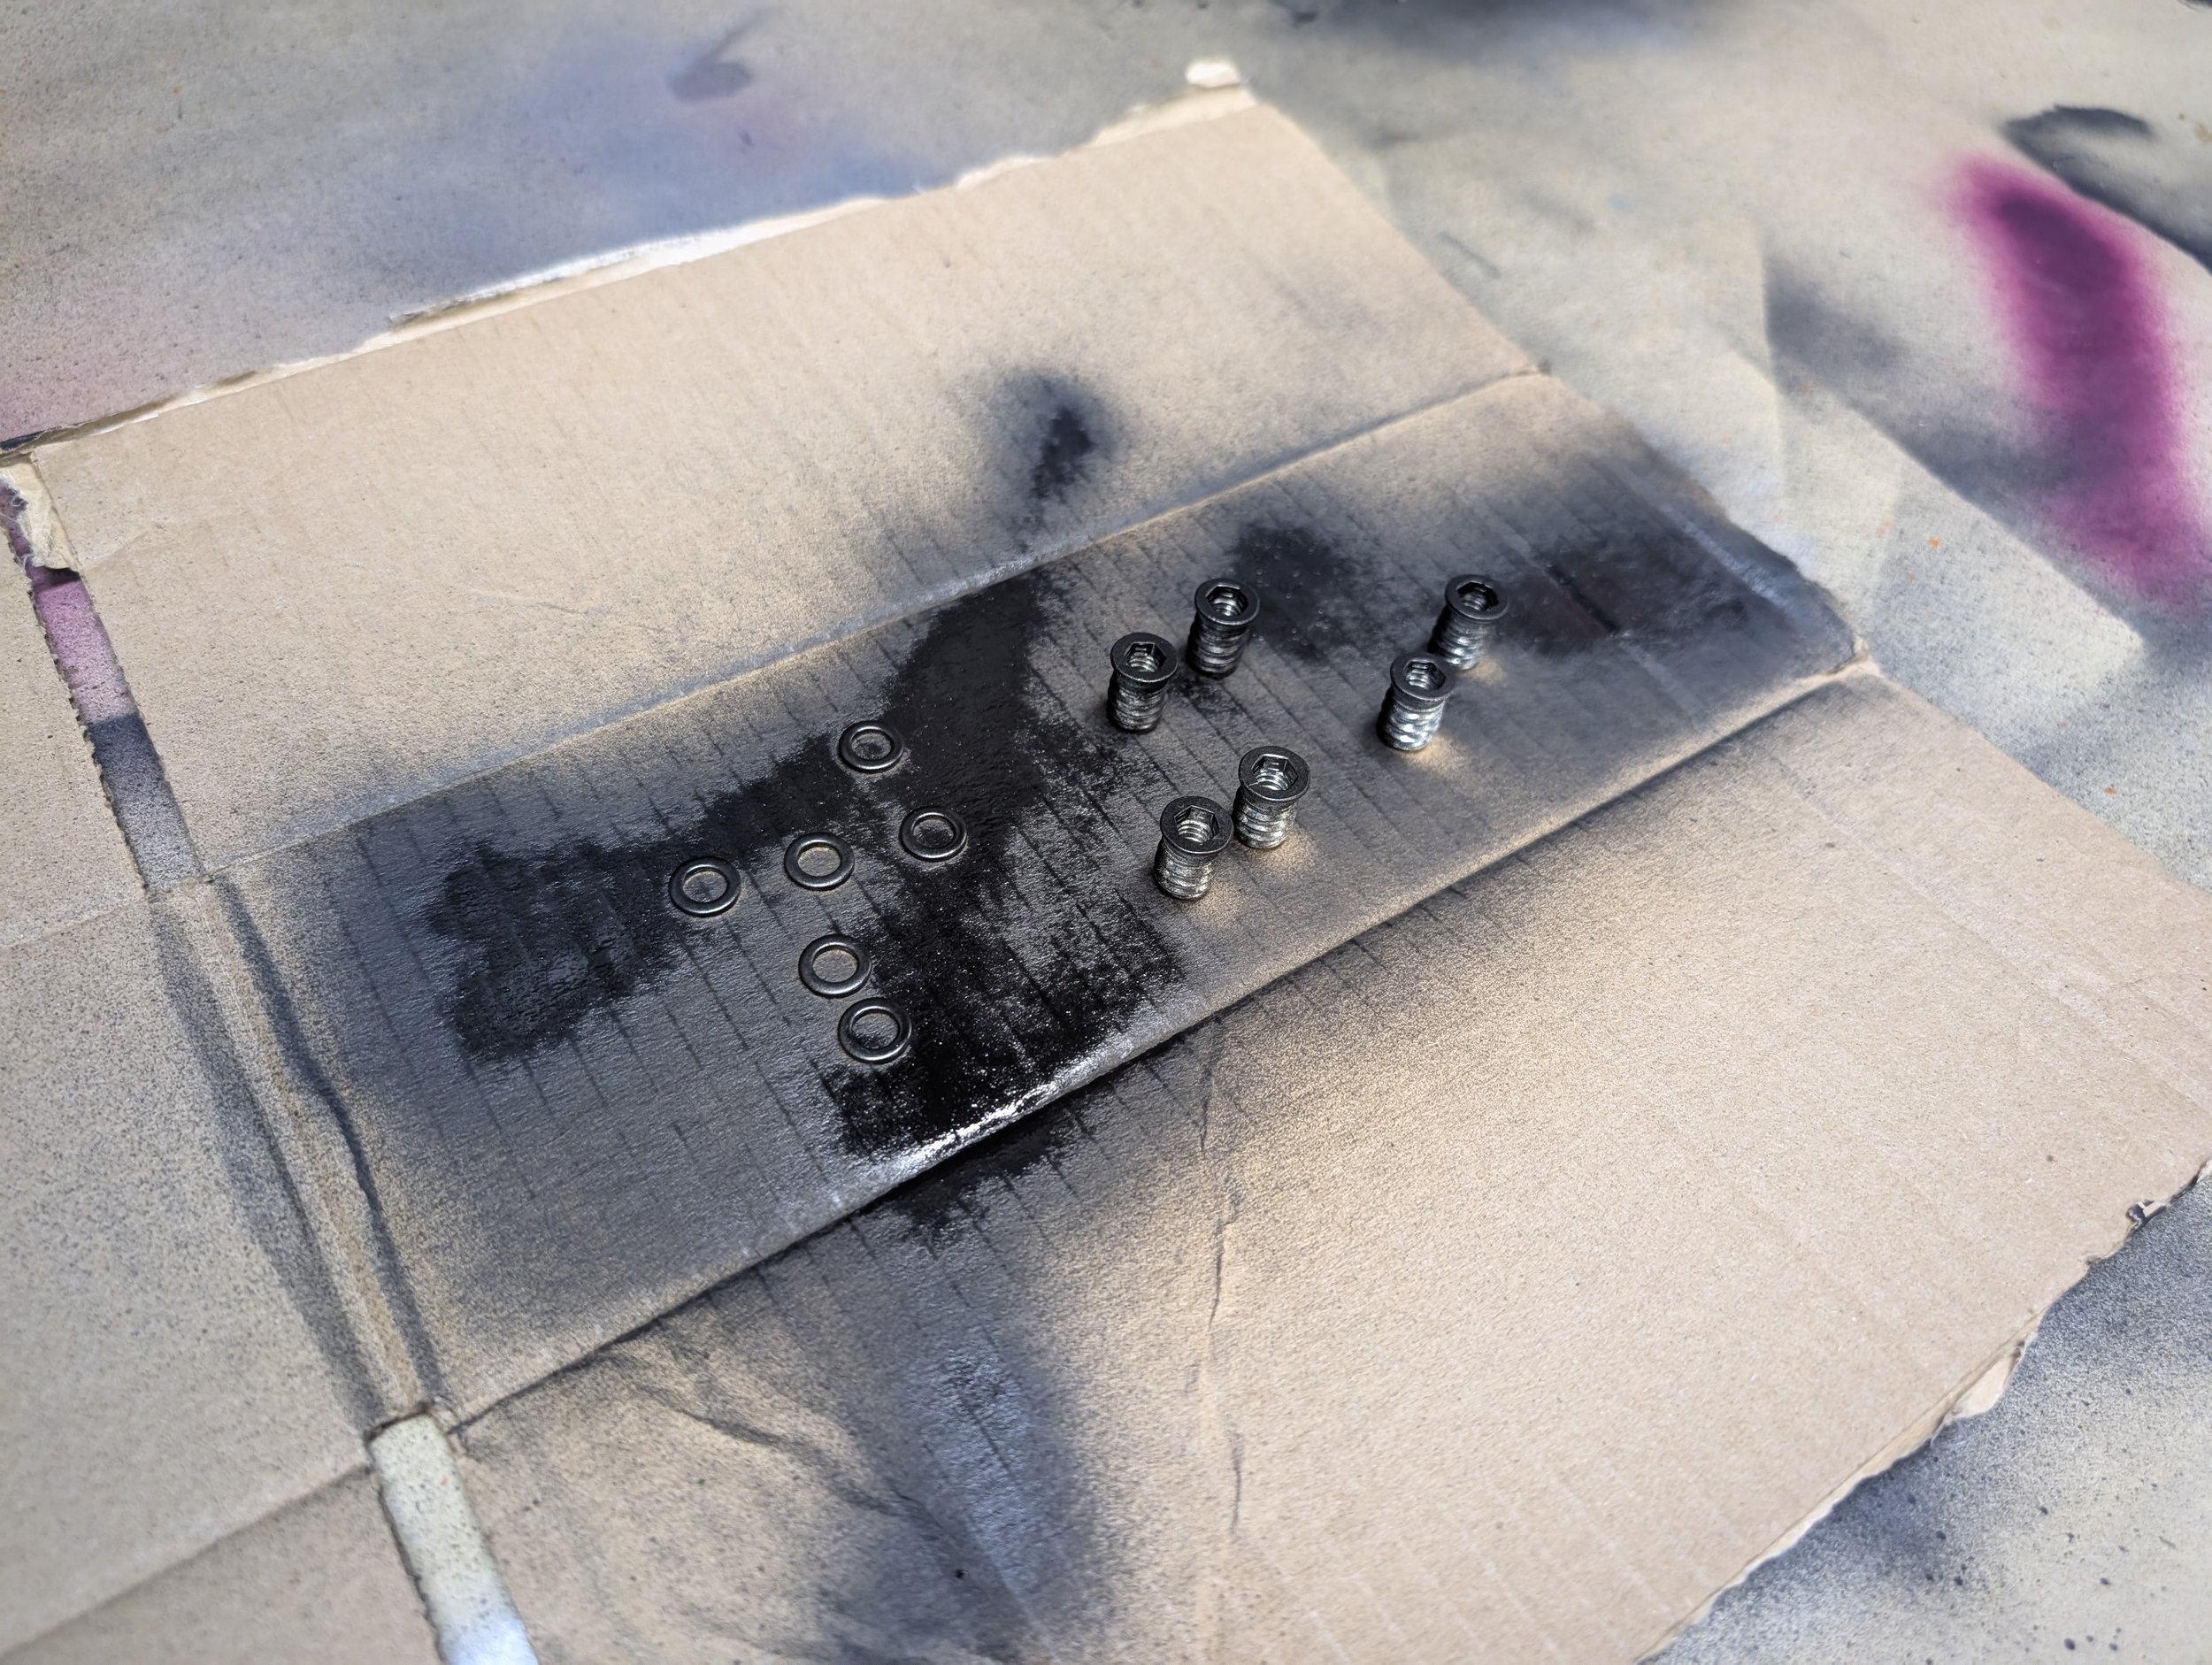
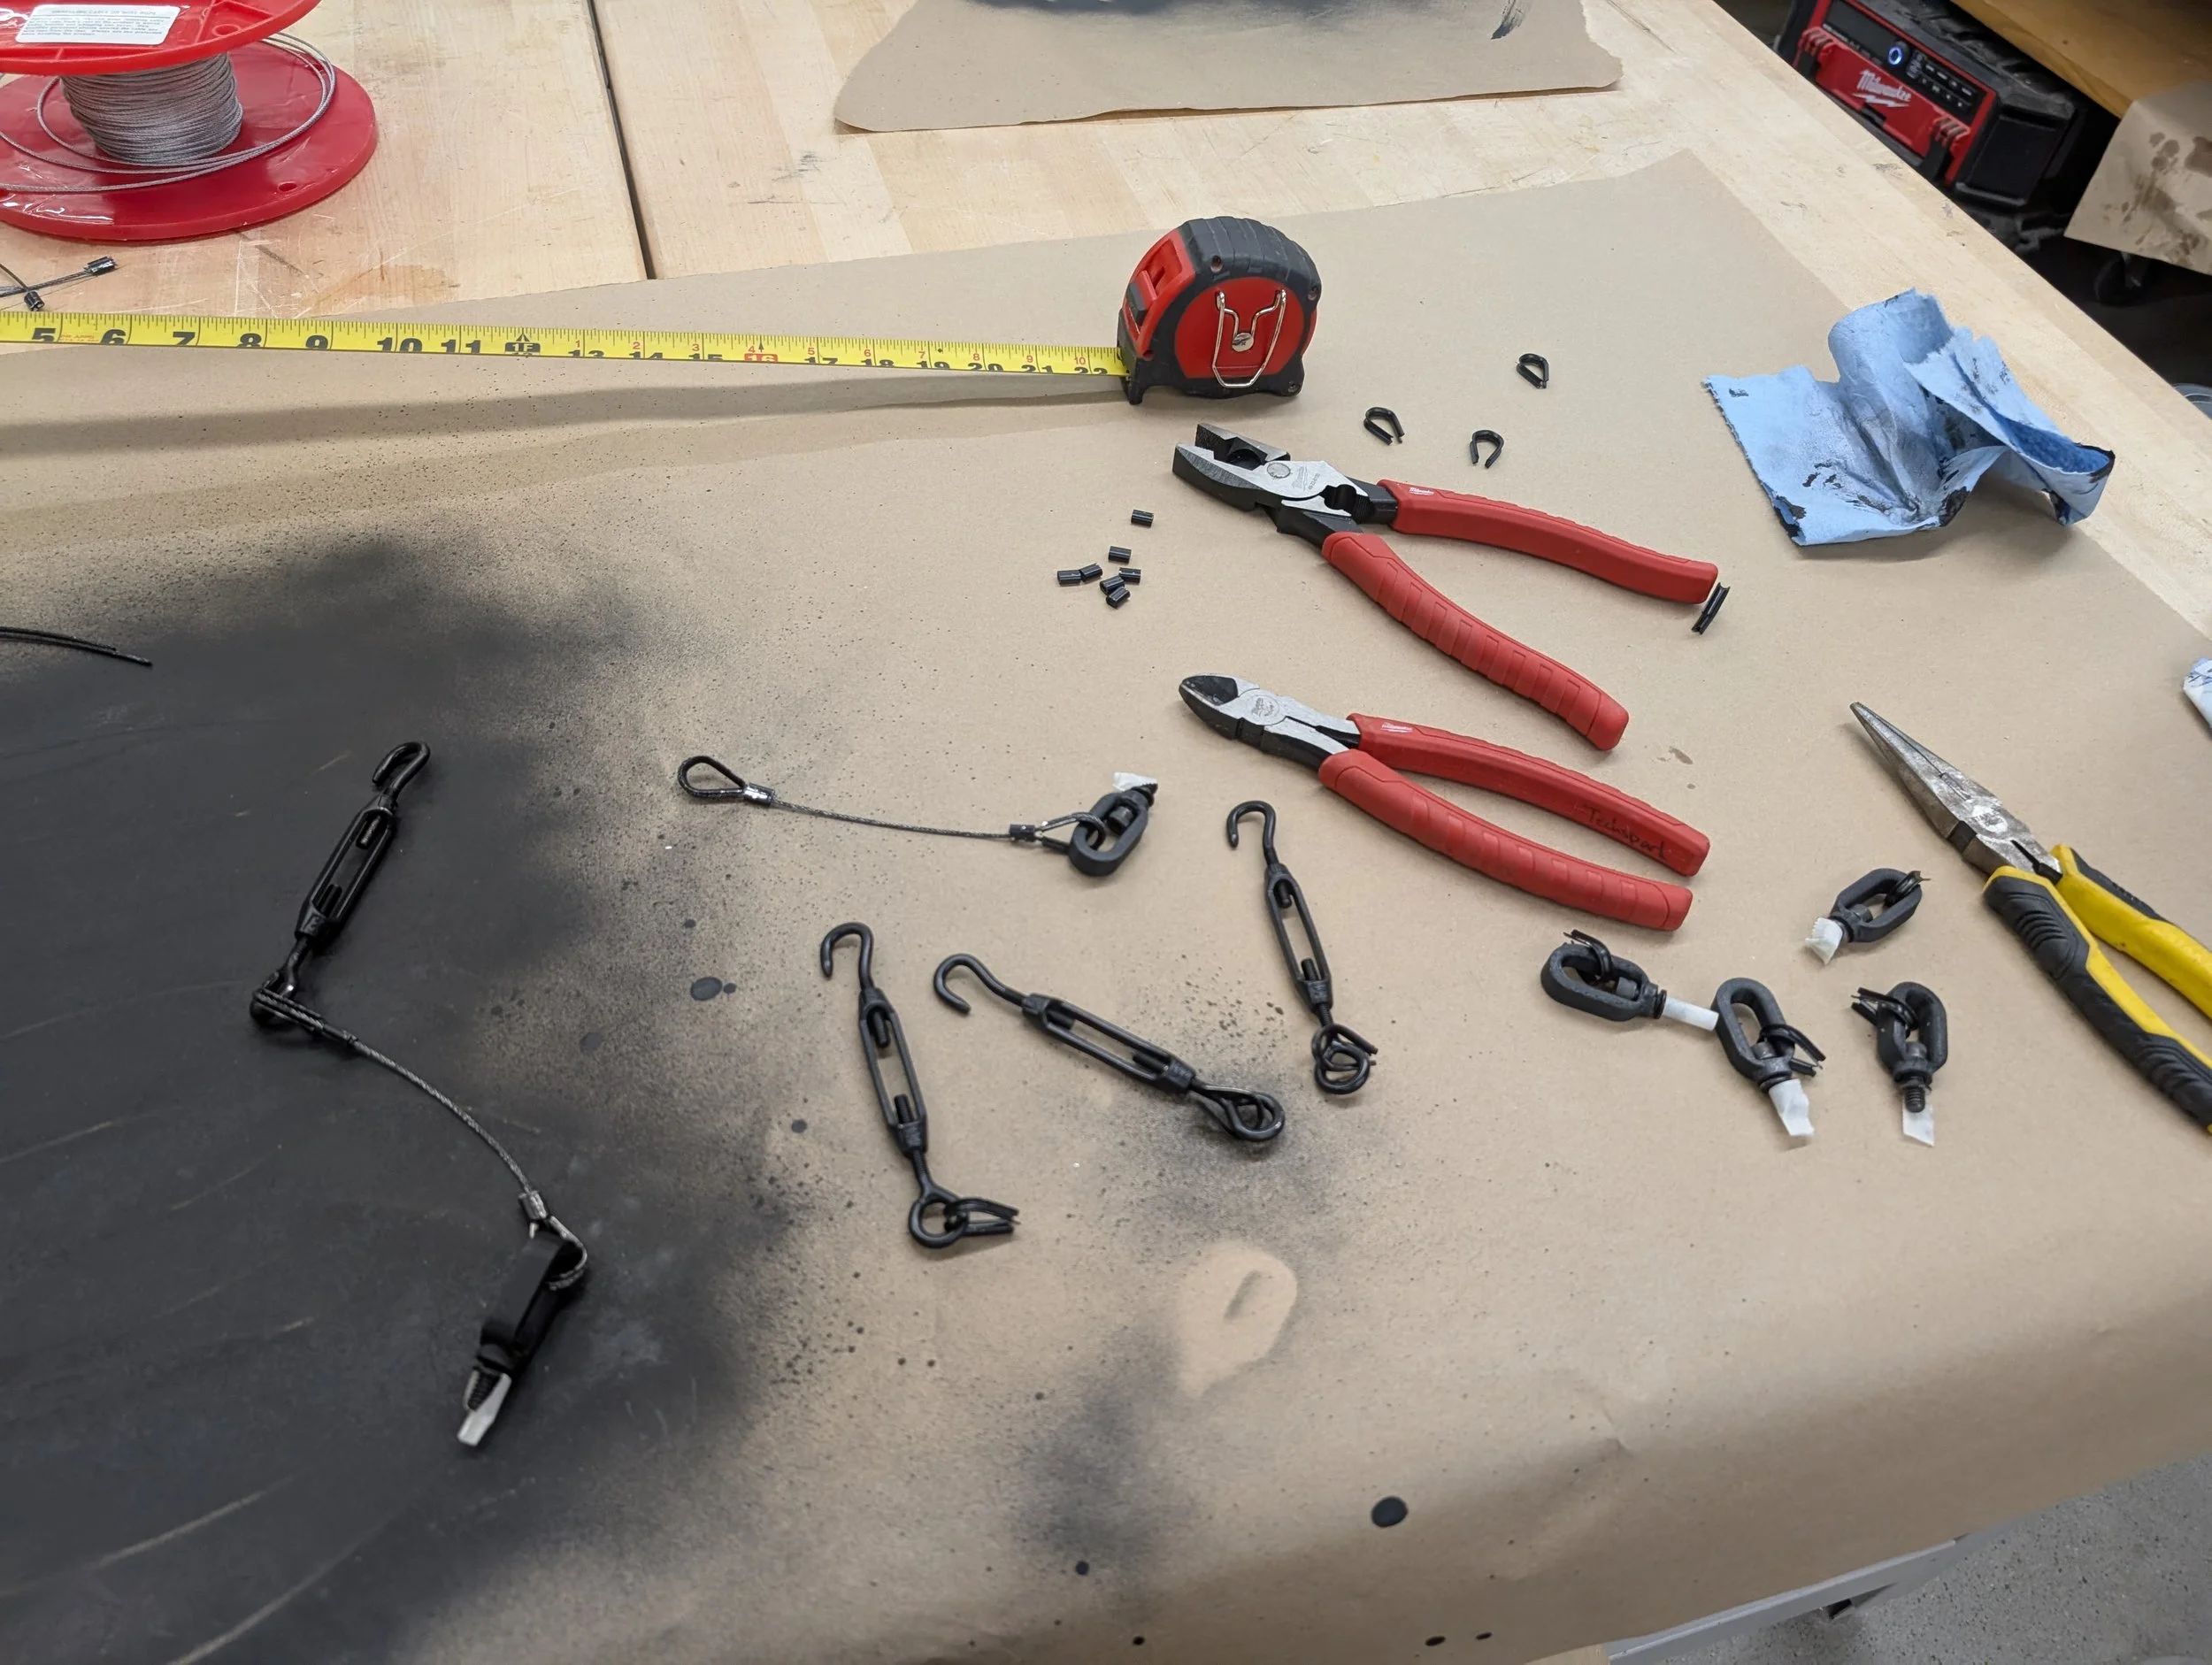
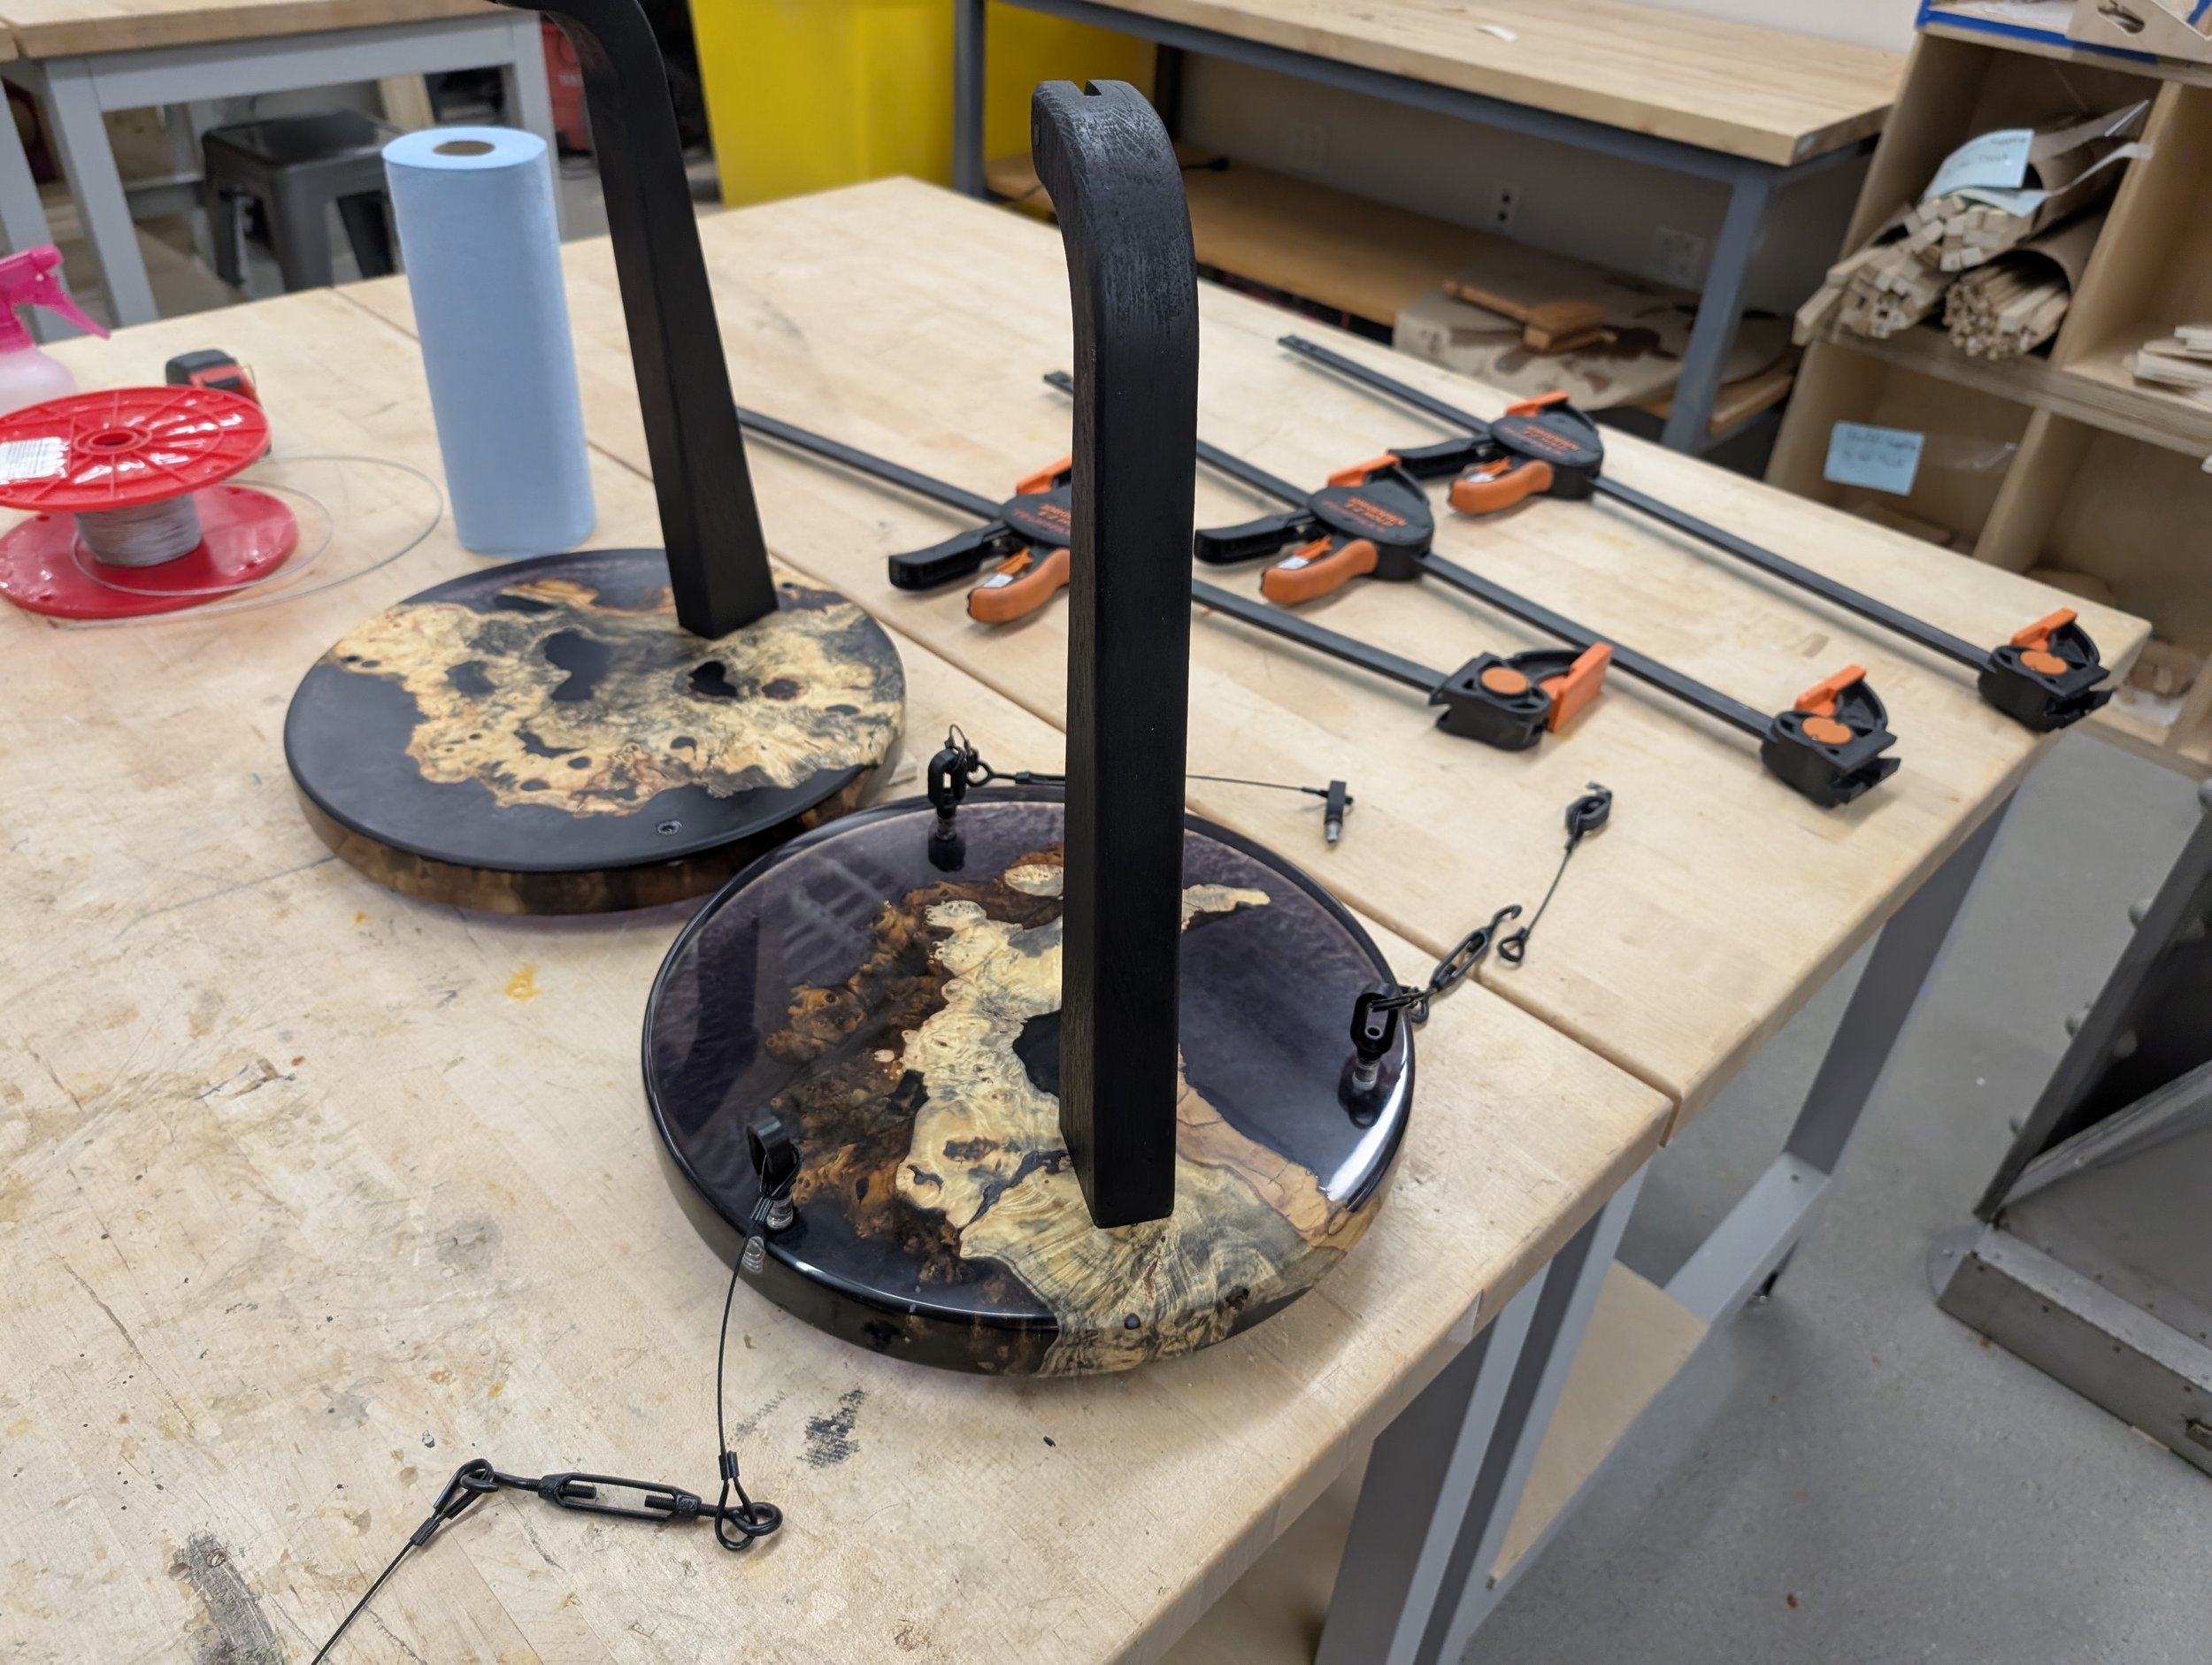
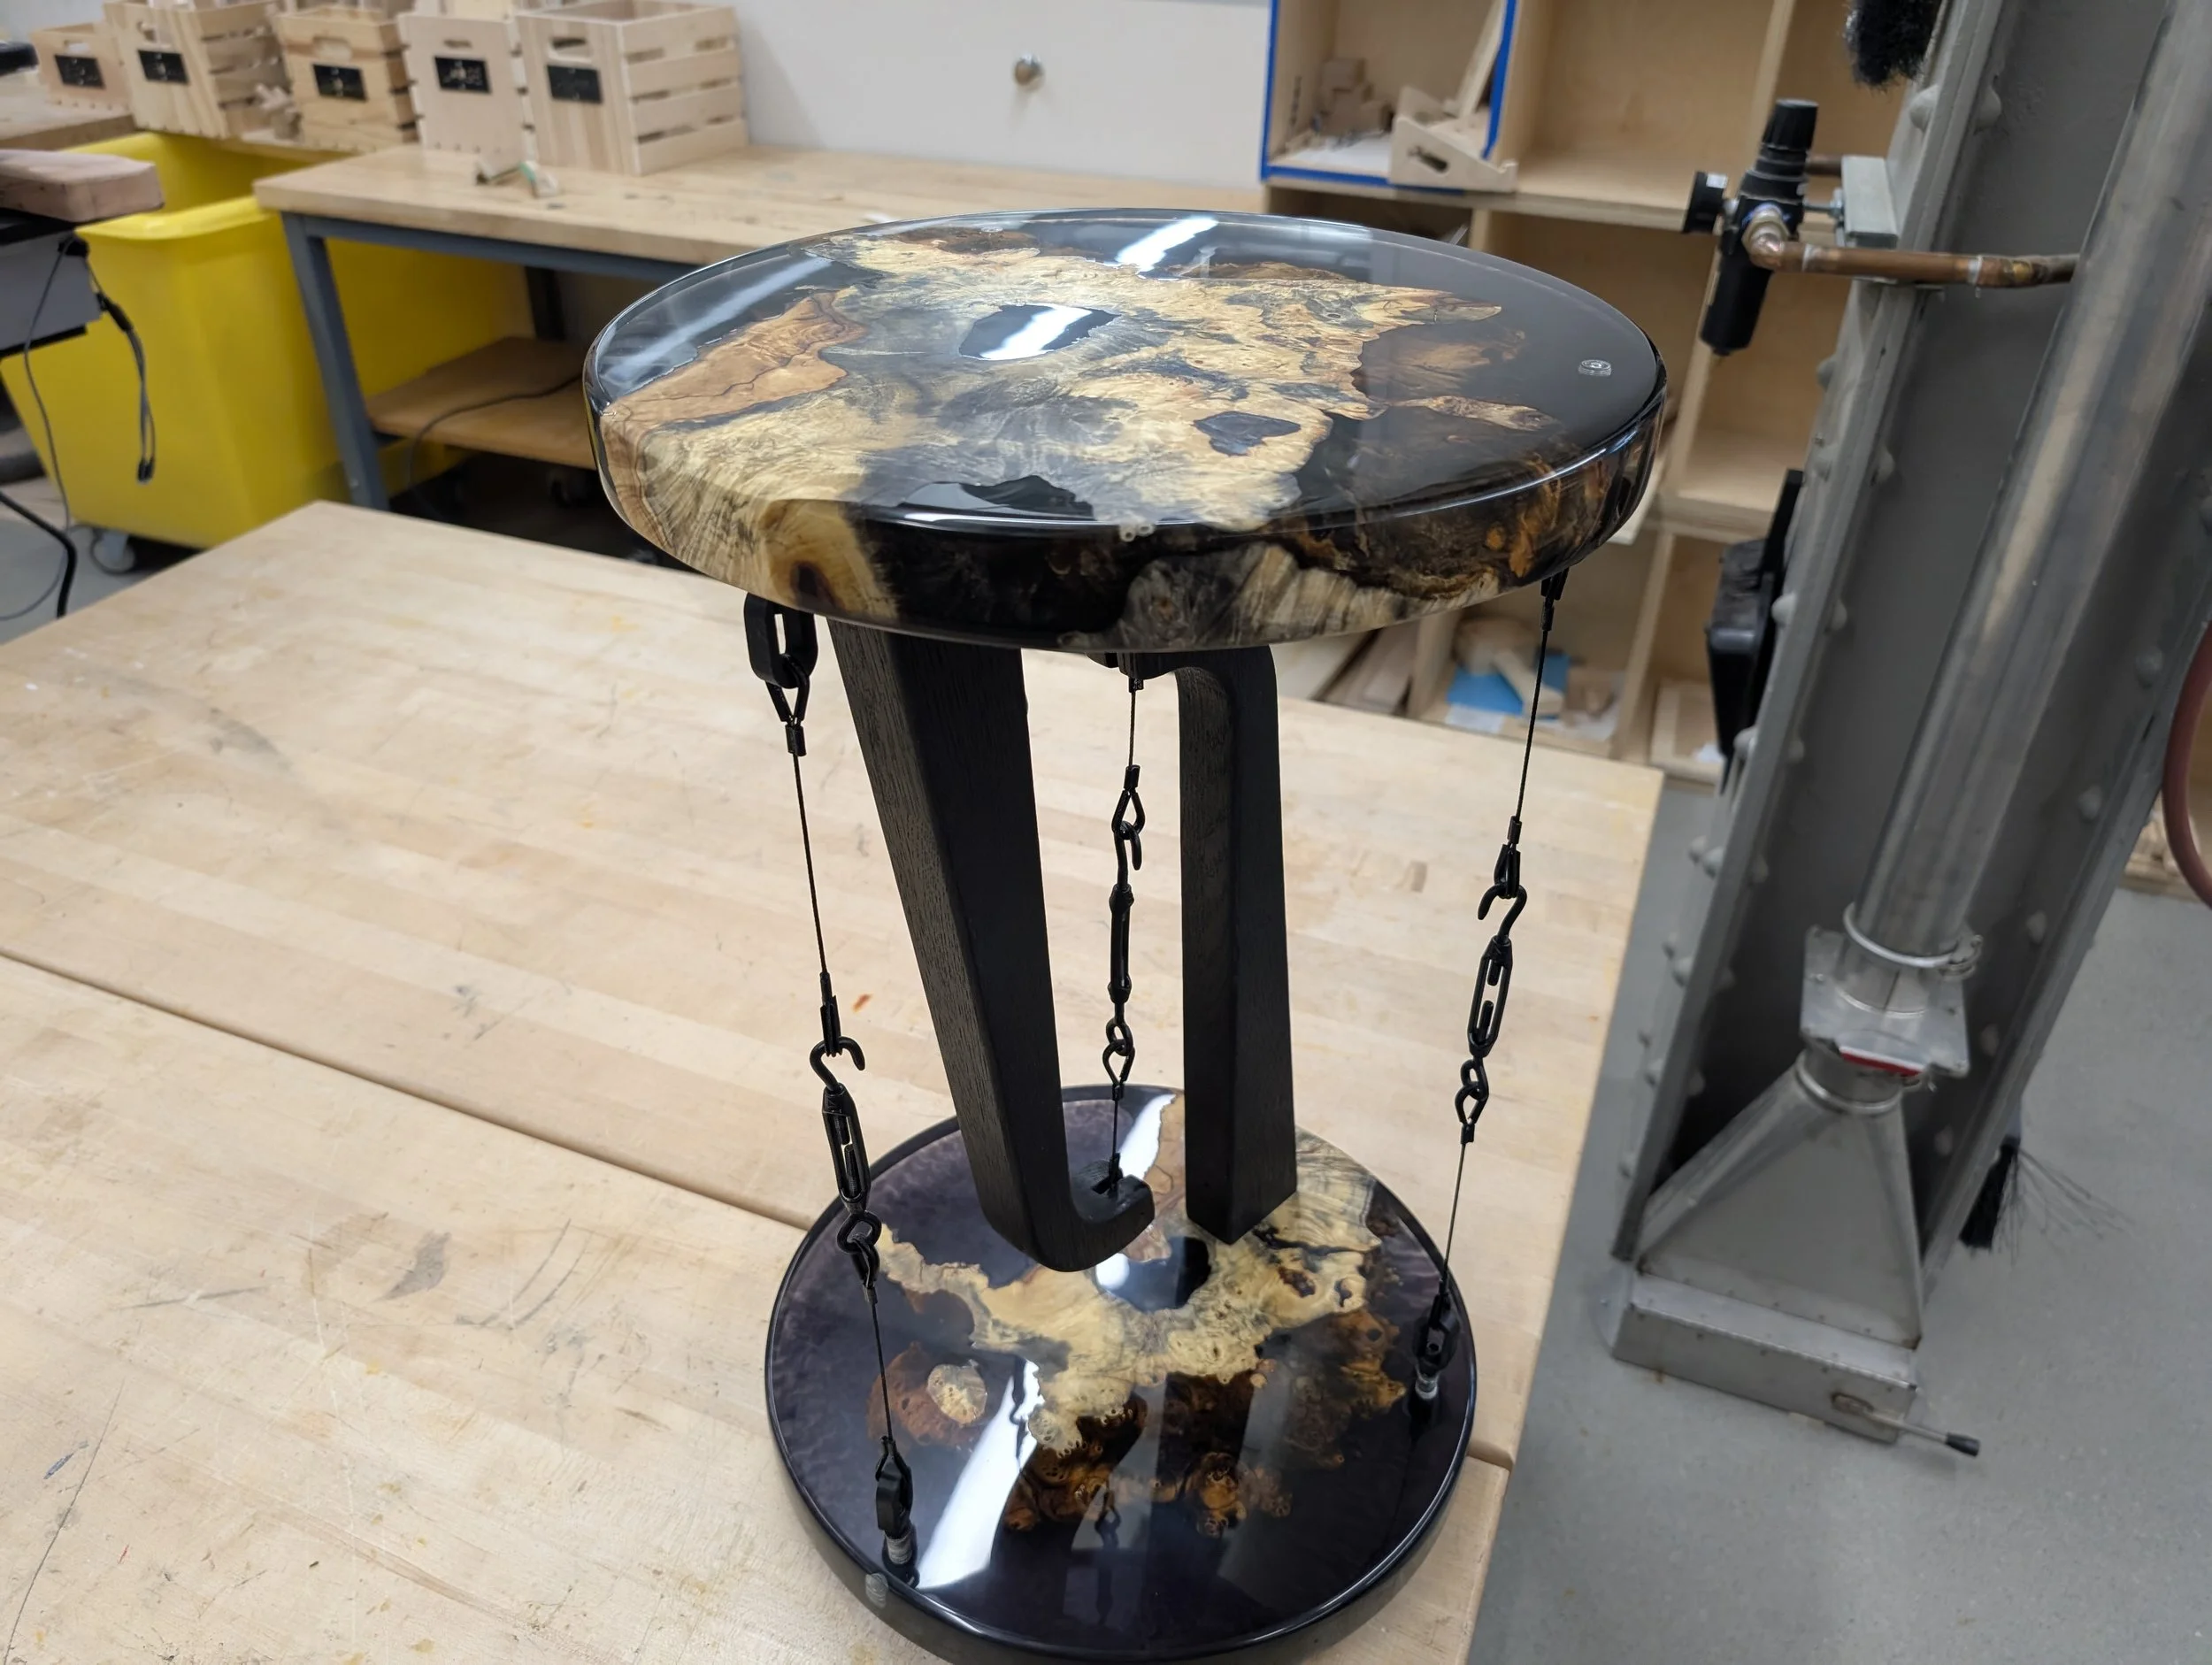
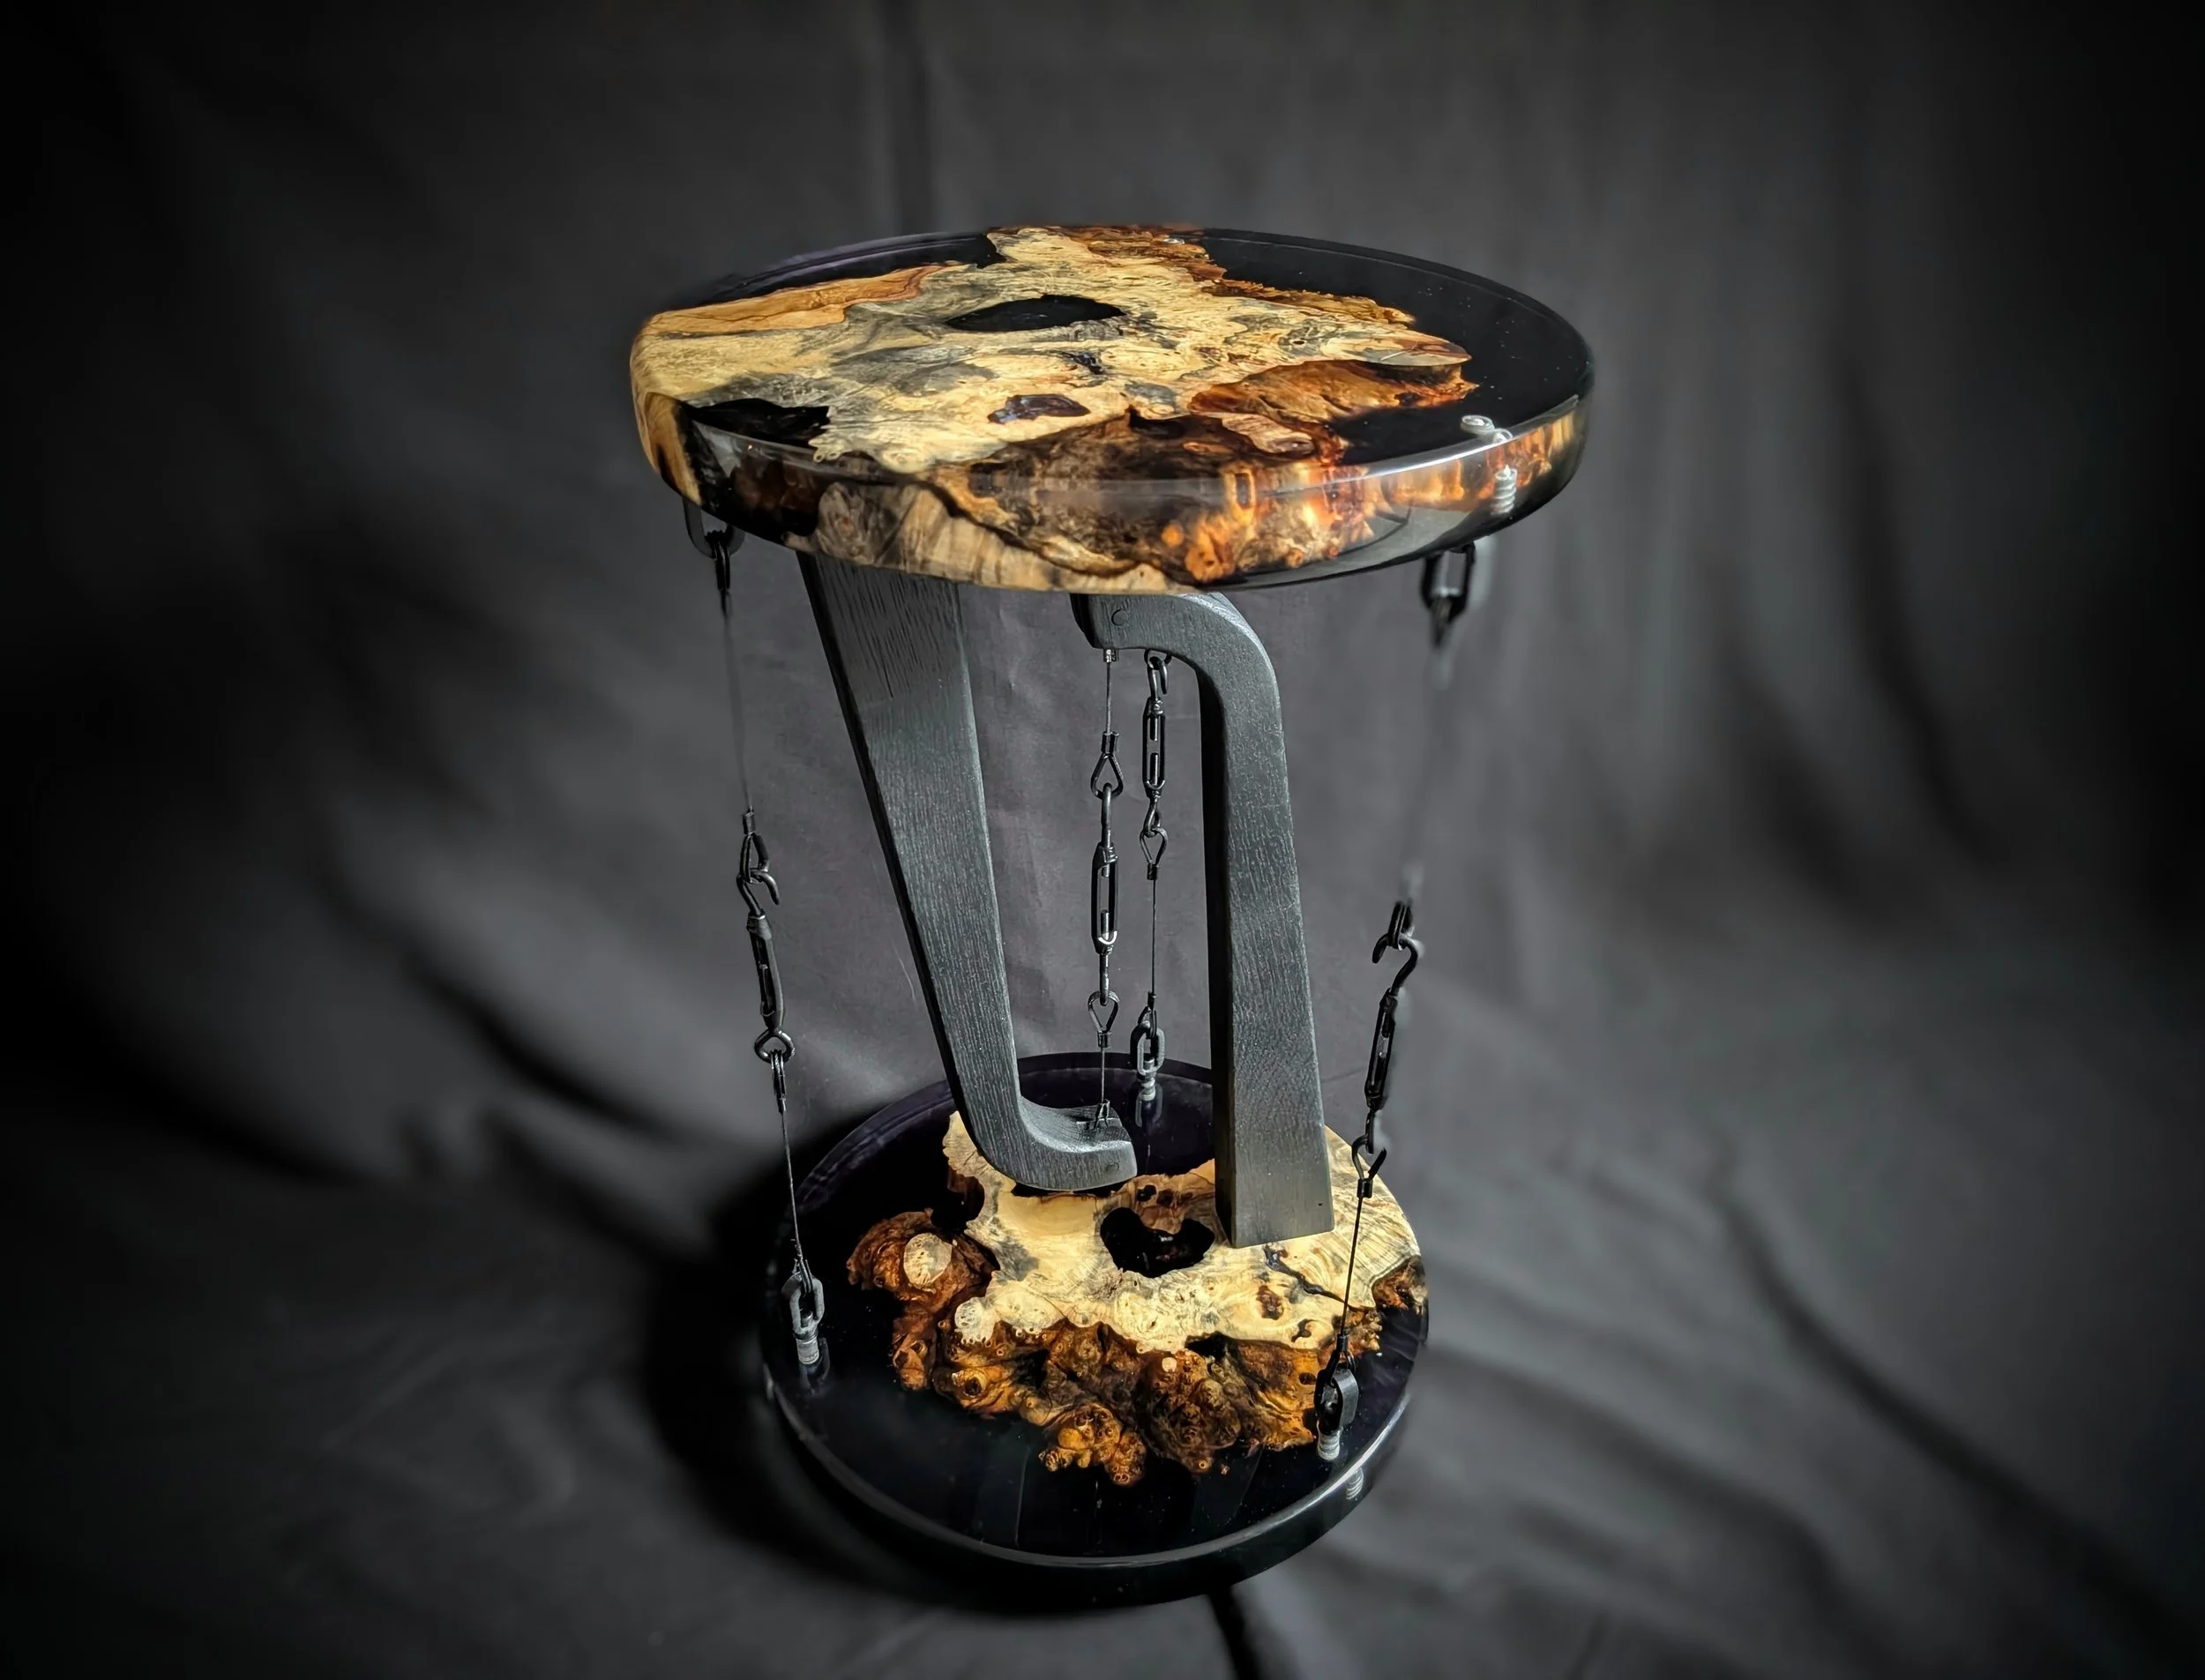
Tensegrity tables are renowned for their "floating" look, as they lack a conventional support leg and are instead entirely held up by four tensioned steel wires. The top and bottom are crafted from Buckeye Burl, featuring a clear epoxy top and a black epoxy base. For the tensioning hardware, I utilized a combination of steel wire, turnbuckles, 1/4" bolts, threaded inserts, and 3D printed components, all spray-painted black.
This idea had been on my project list for some time, and it took several weeks of researching other tensegrity projects before I decided on the circular design. The project continued to remain on hold until I discovered the ideal piece of Buckeye Burl wood at Woodcraft. I knew this would have to be an epoxy table, and I initially planned for an entirely black table similar to previous projects. However, after receiving constructive feedback from colleagues, I opted for a clear top with a thin black layer on the bottom. Having never made a clear epoxy table before, I was wary about what the finishing process would entail to achieve high surface clarity on the clear epoxy.
I followed standard approach of:
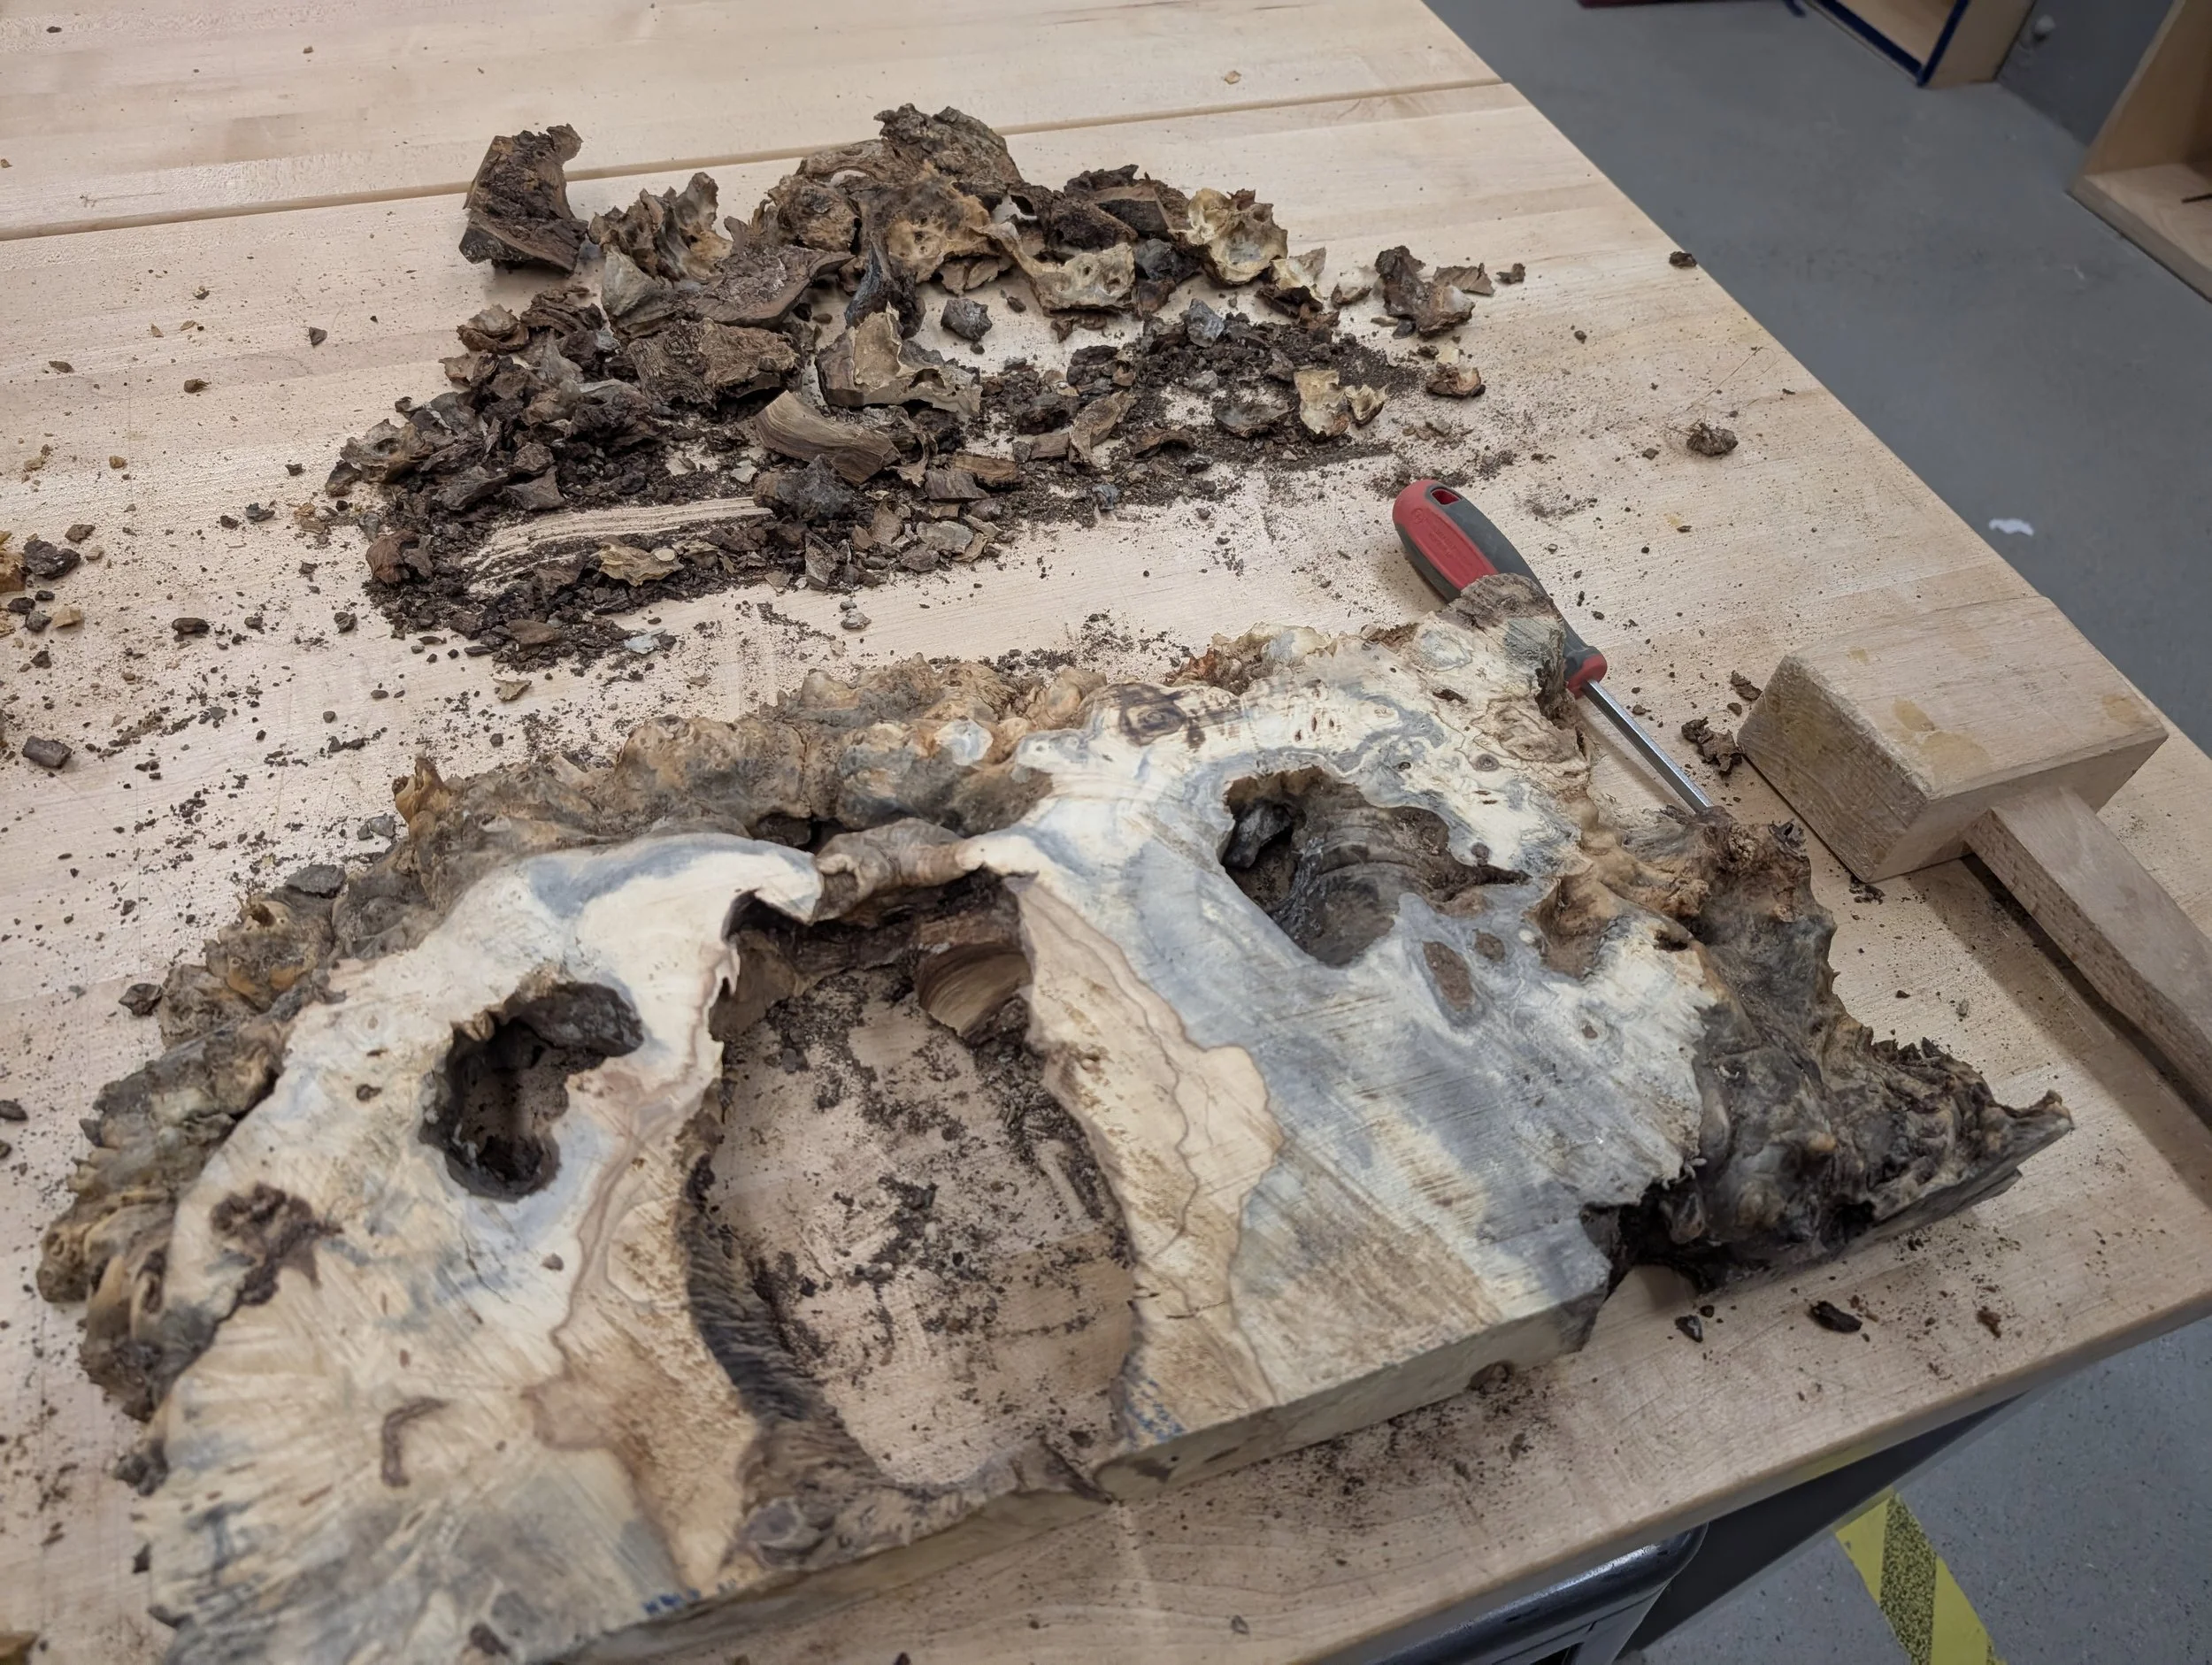
Cleaning the wood to remove any bark
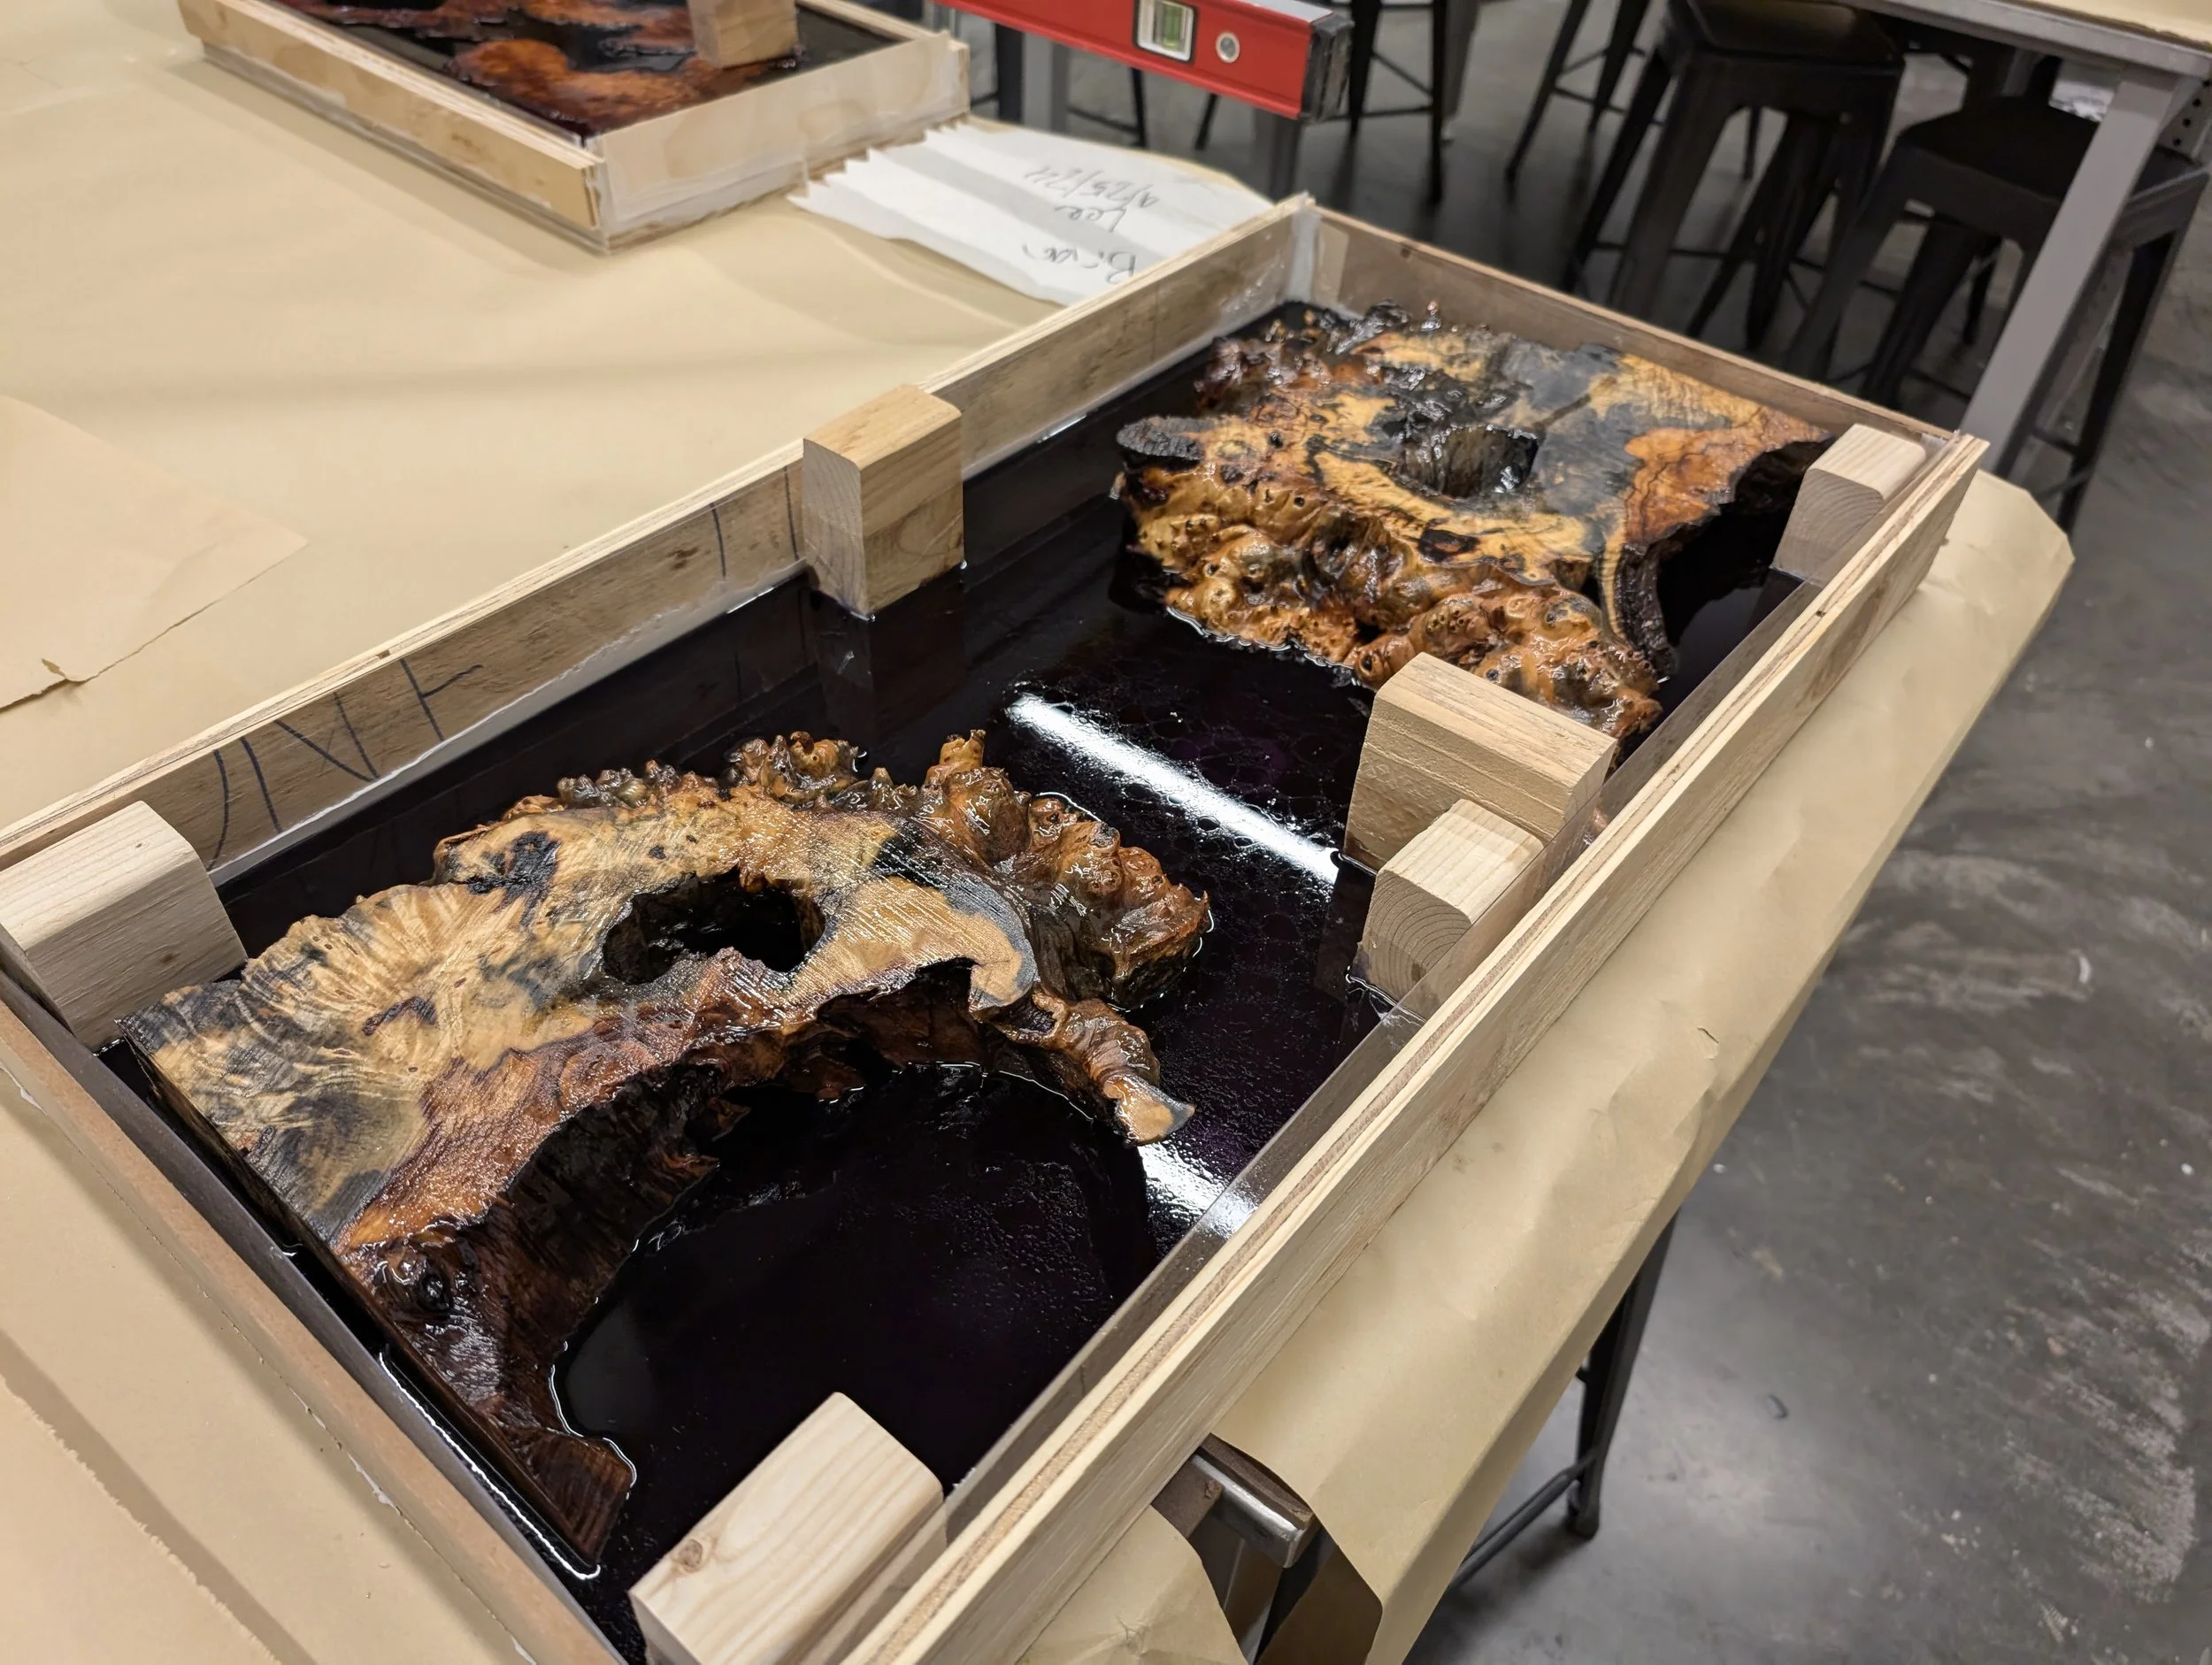
Building the epoxy form
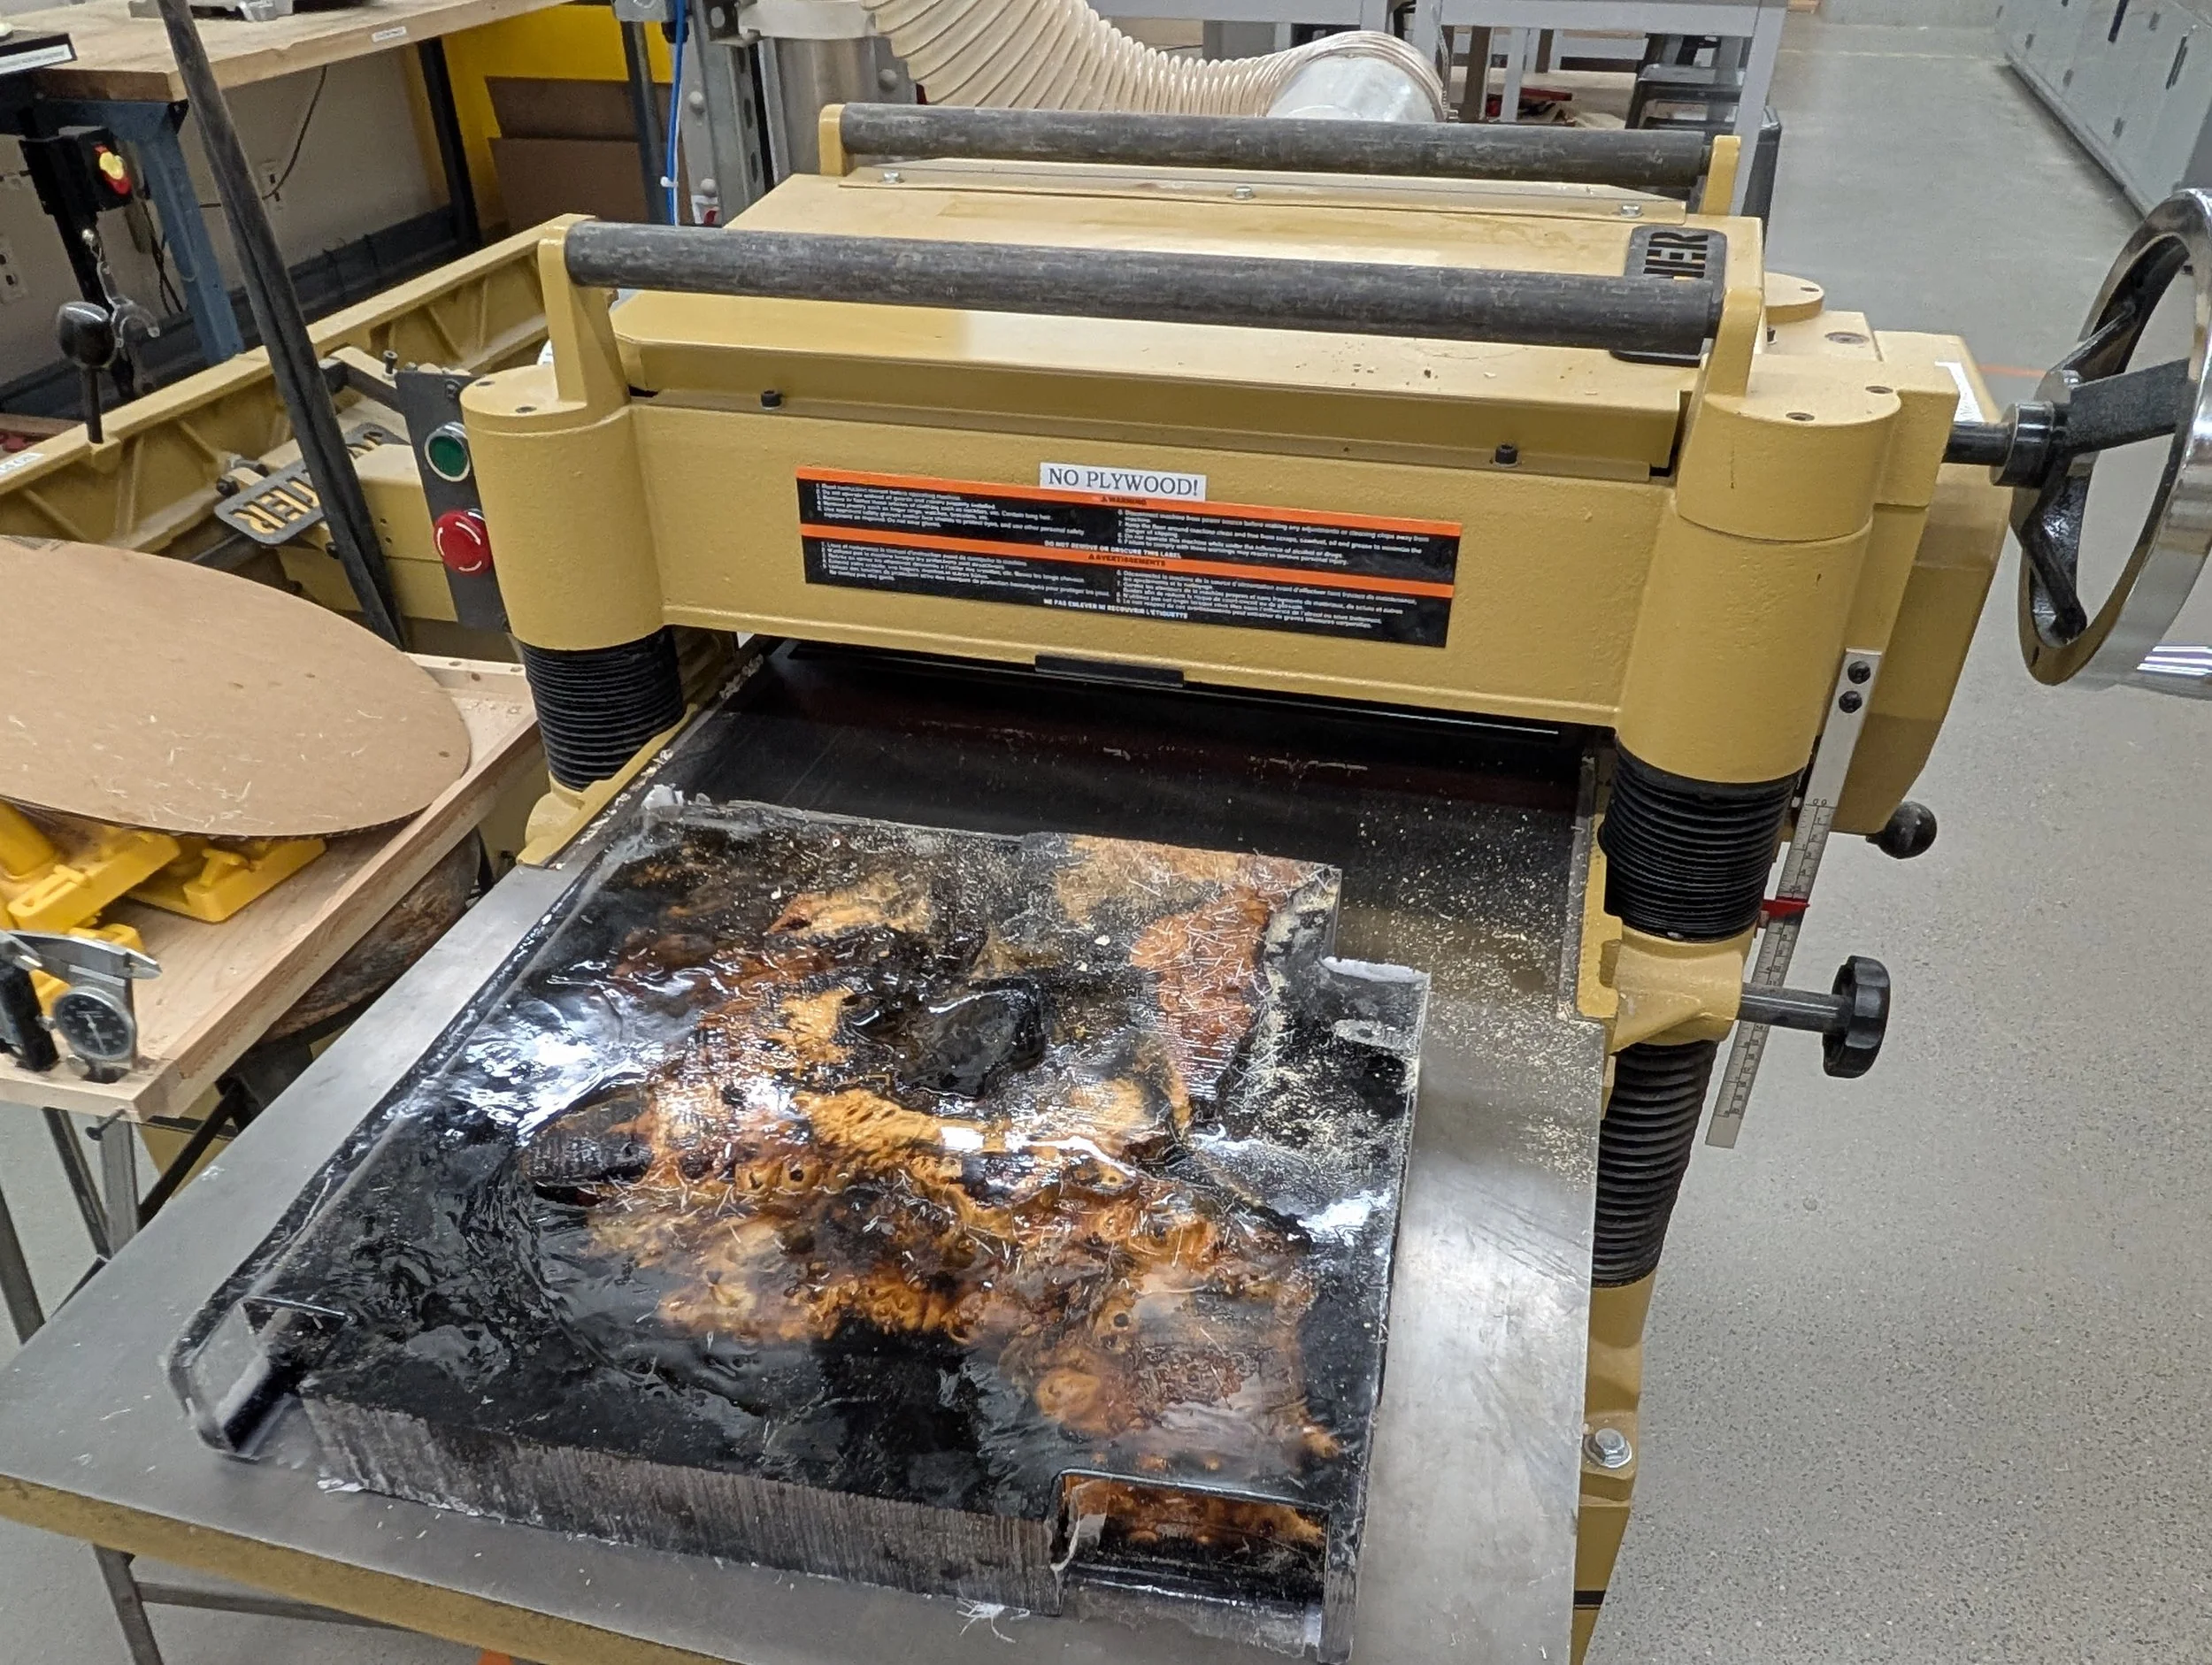
Sealing the wood in epoxy
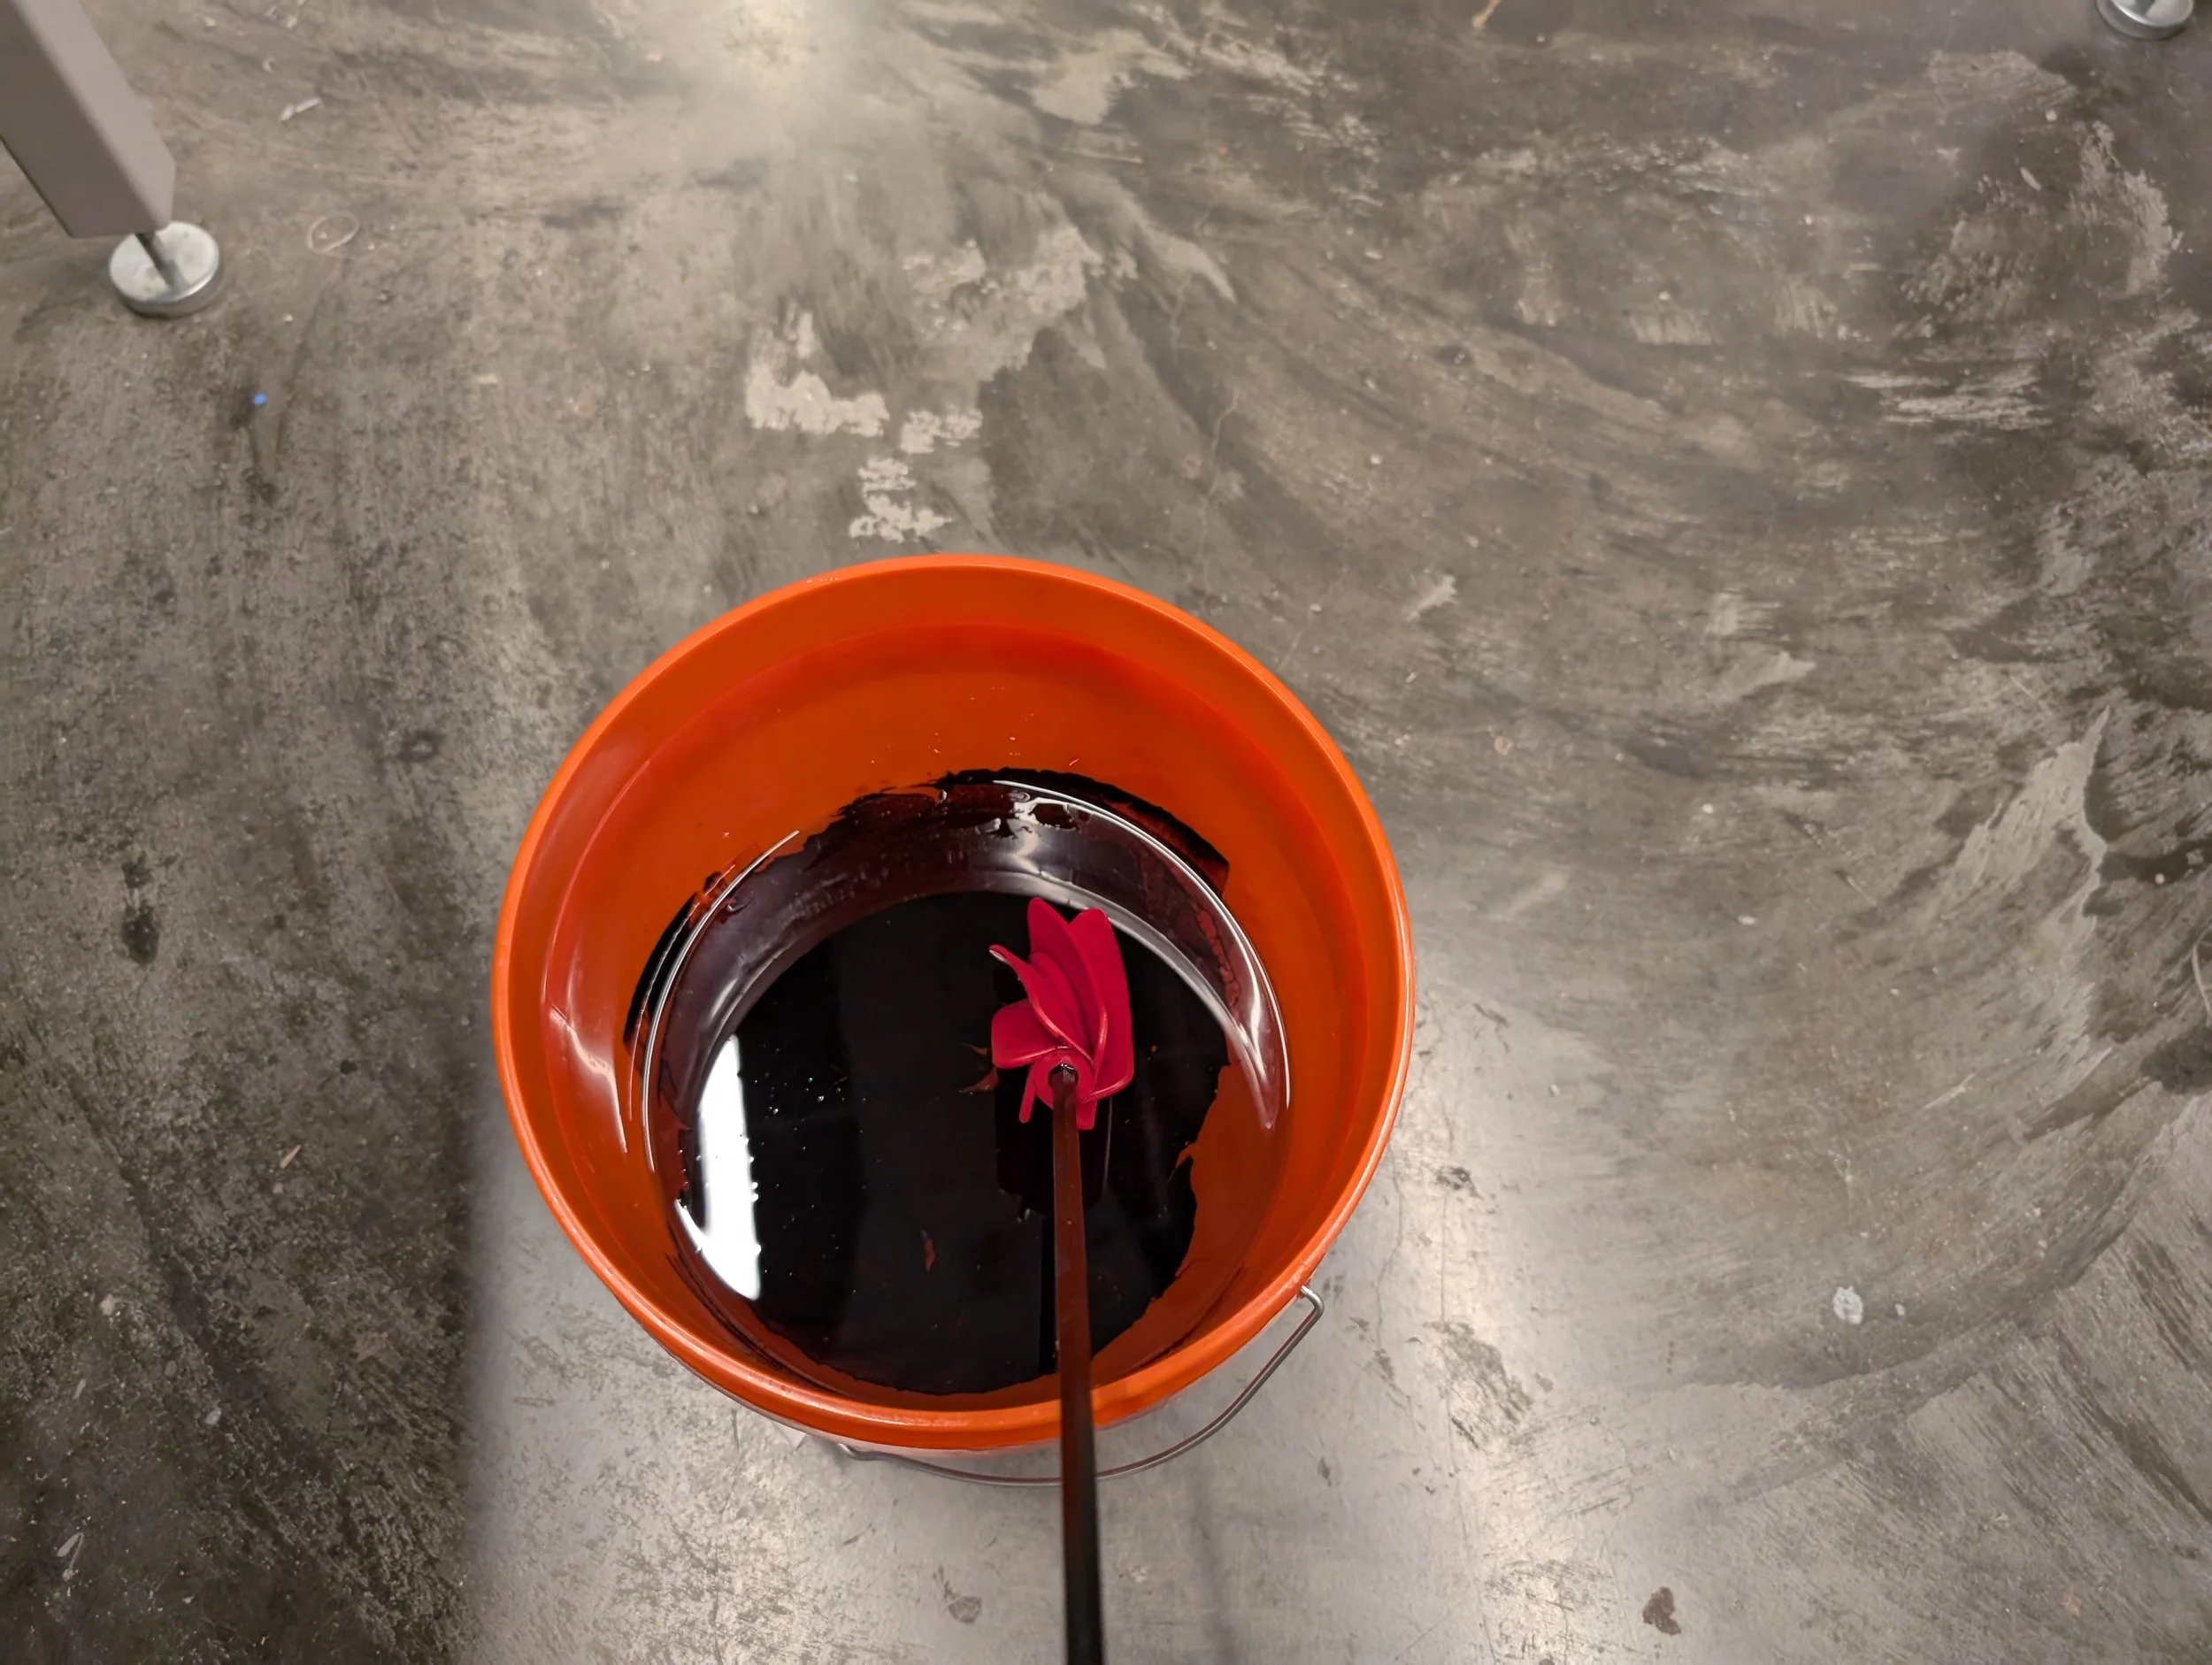
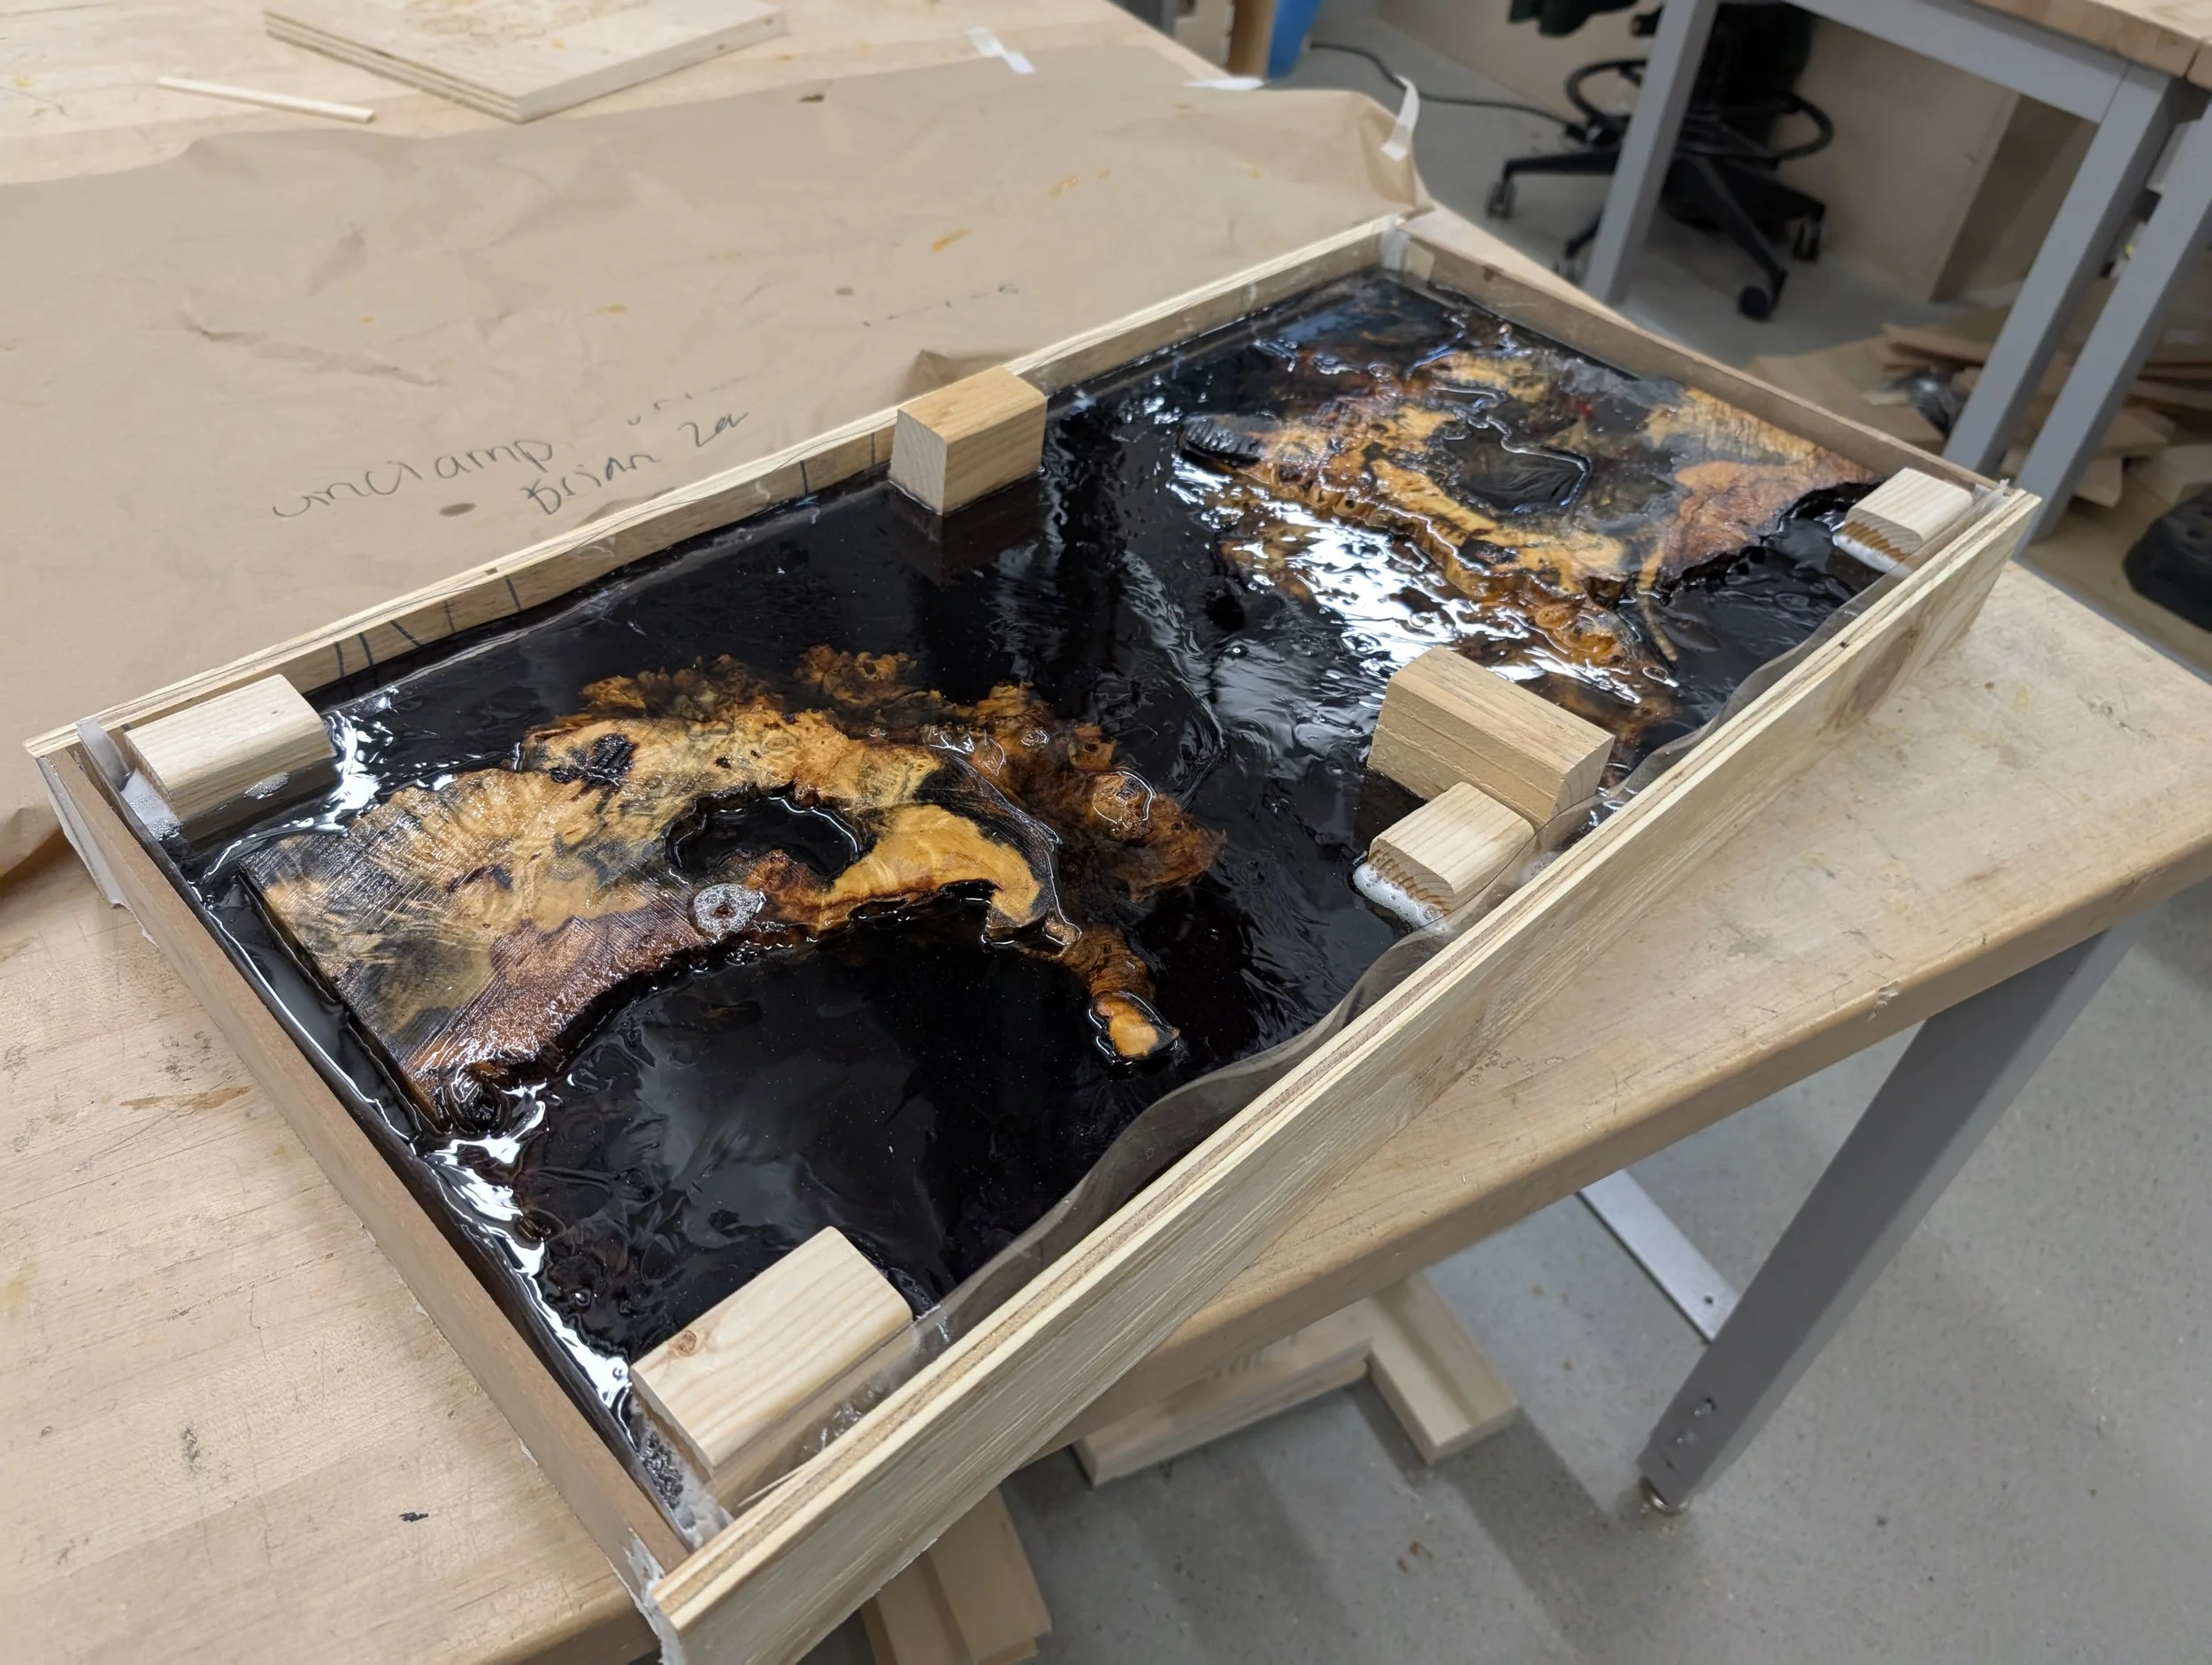
Pouring the Liquid Glass Deep Pour epoxy and allowing it to cure
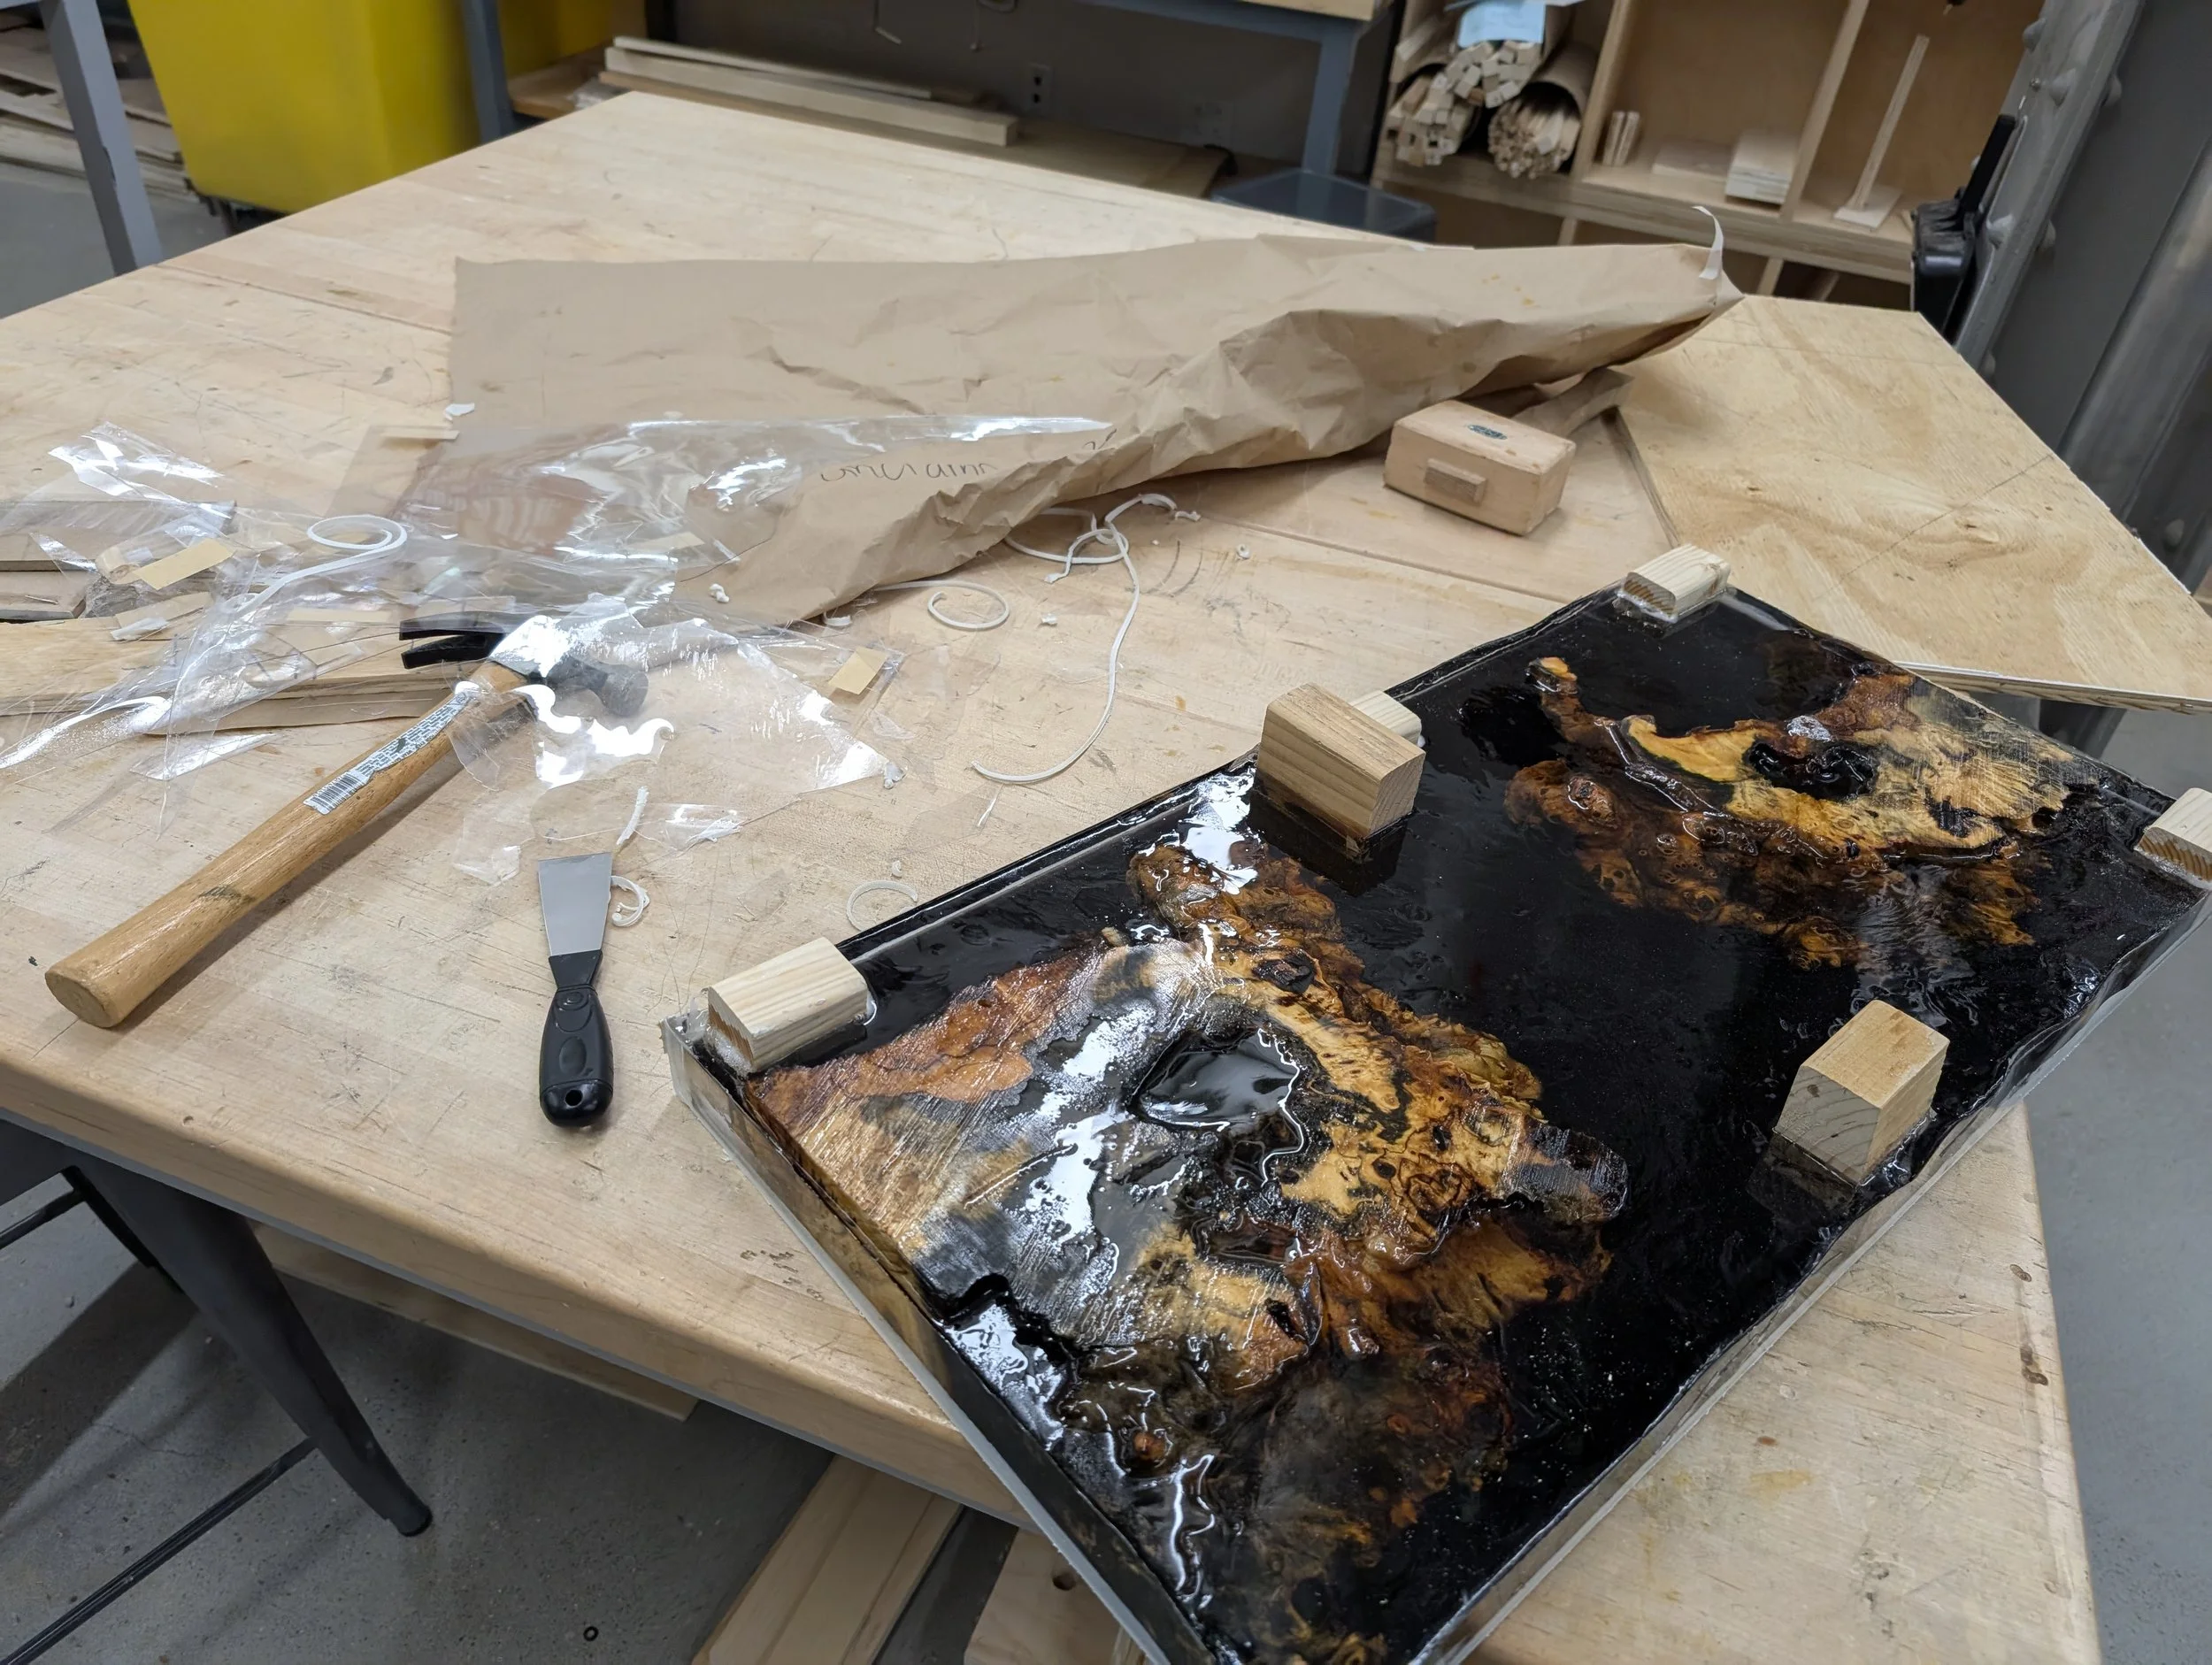
Demolding after a week
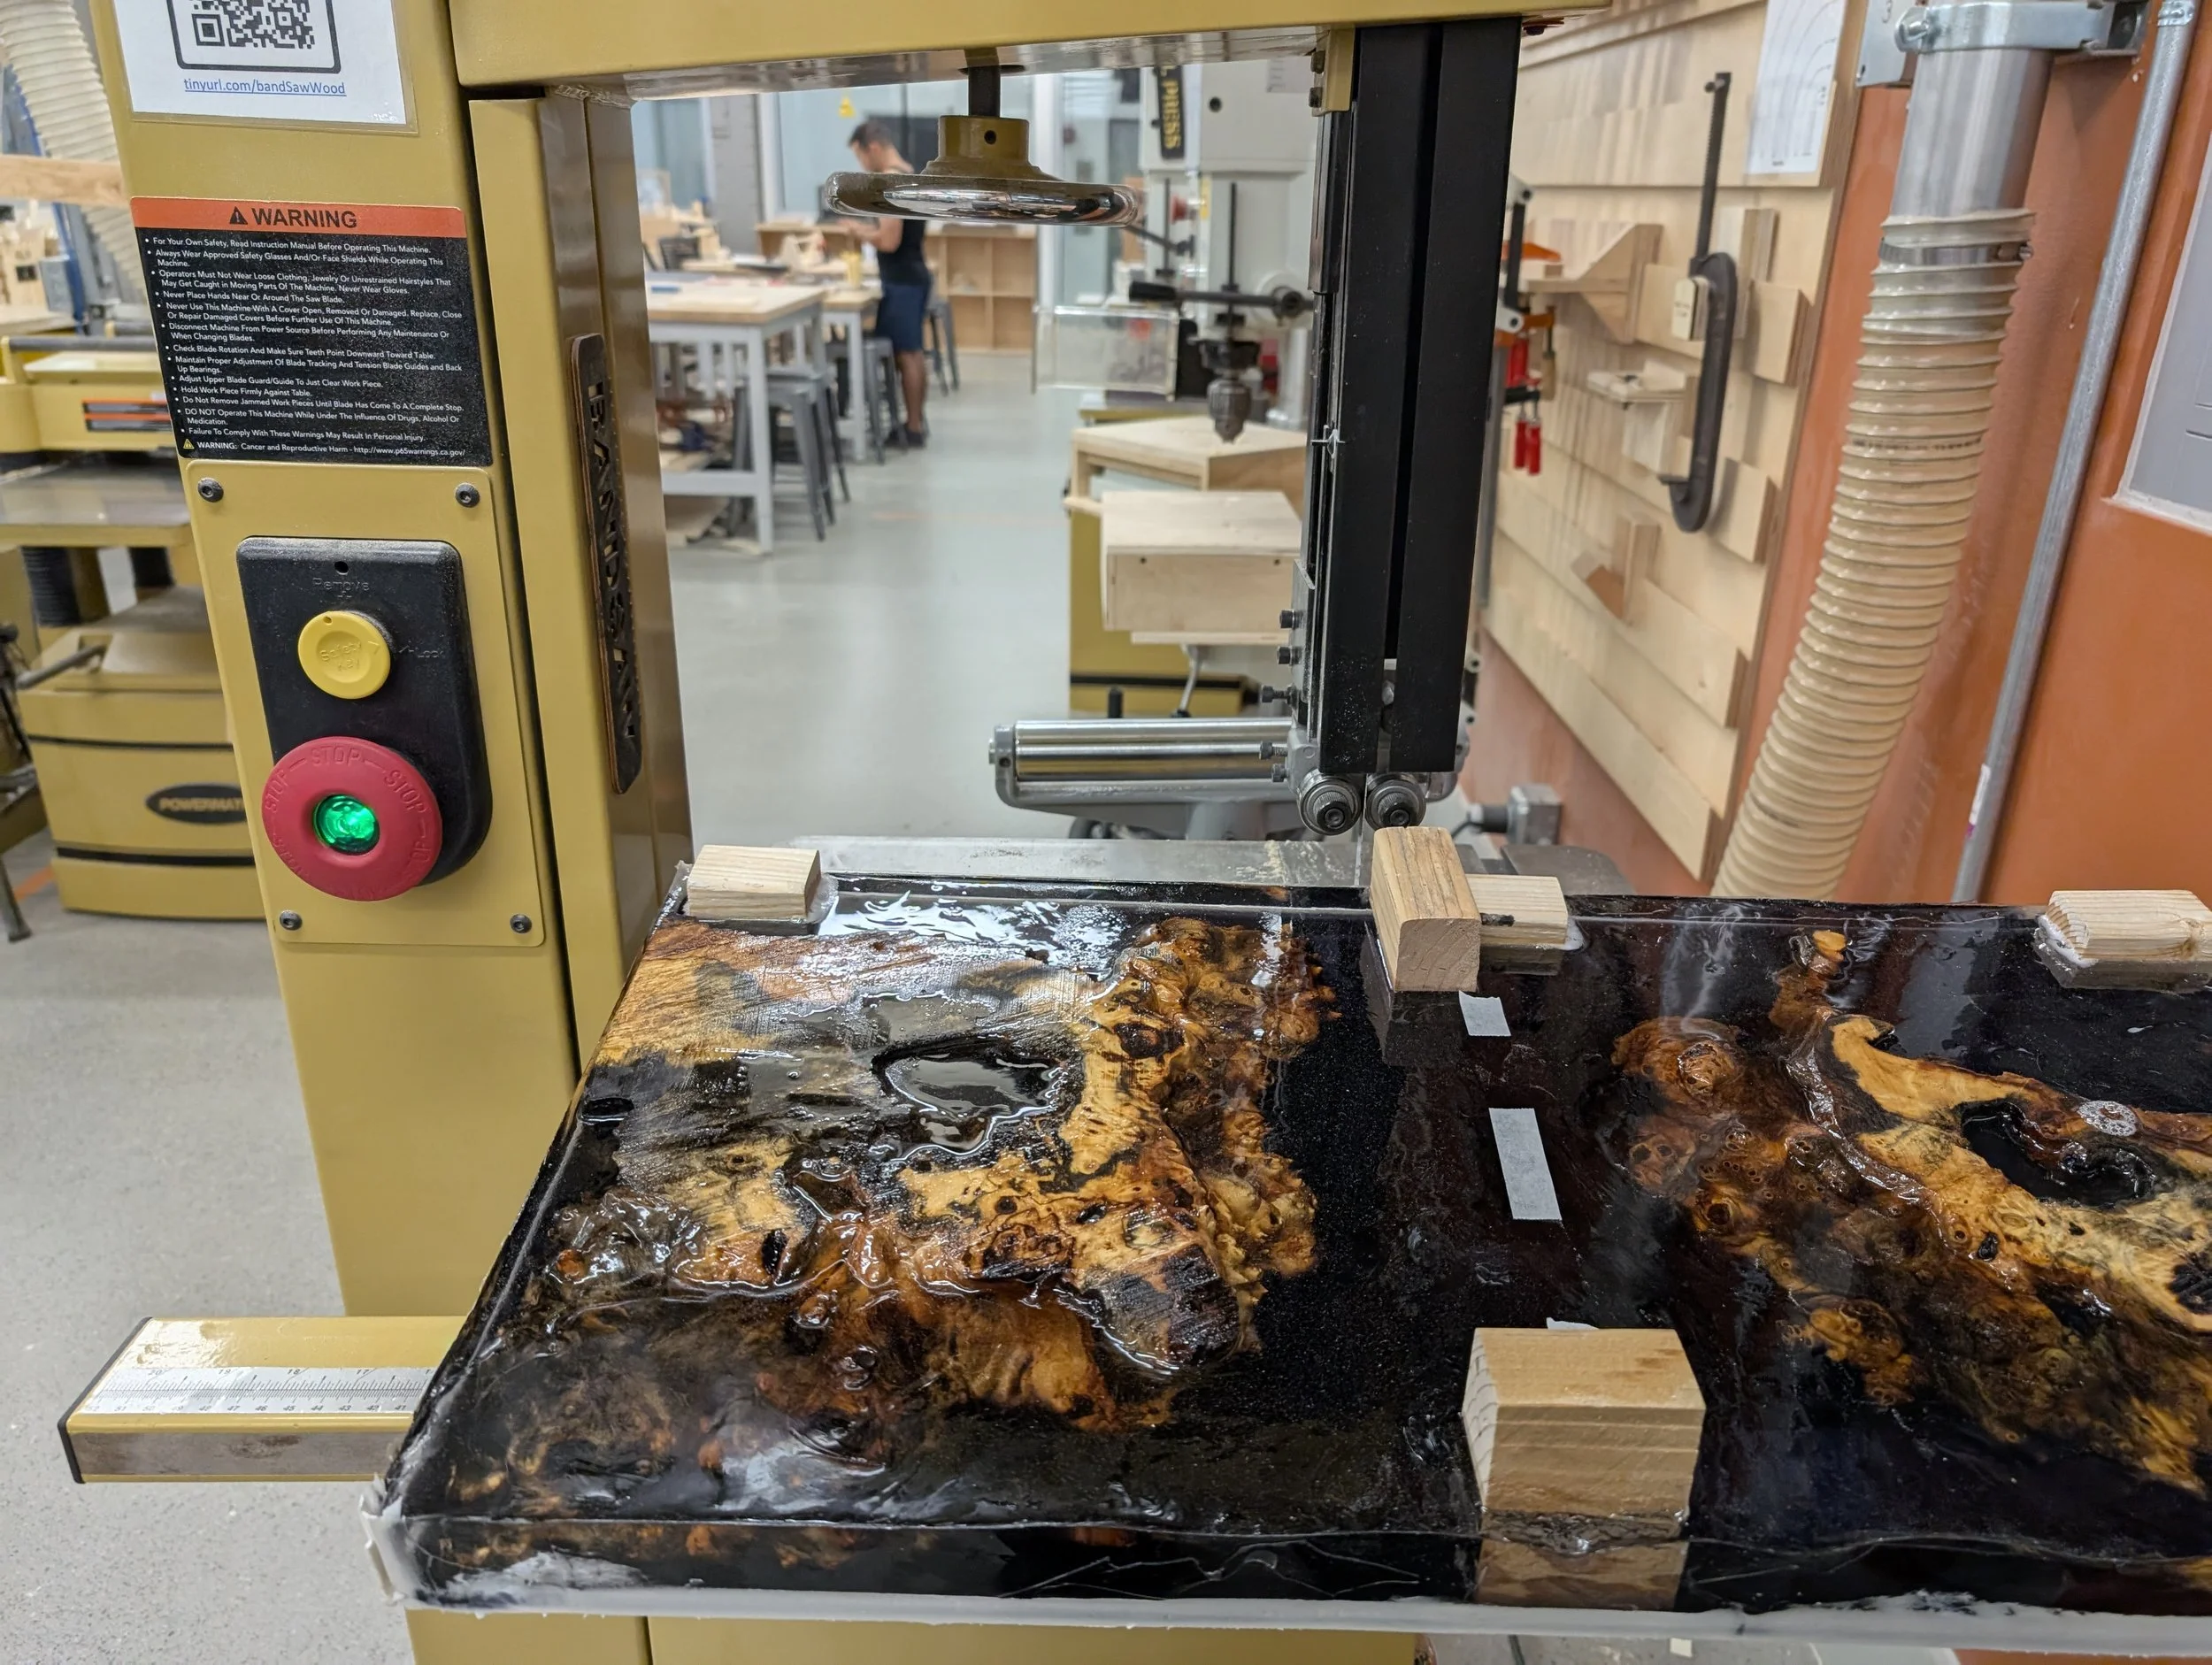
Cutting the wood to rough size
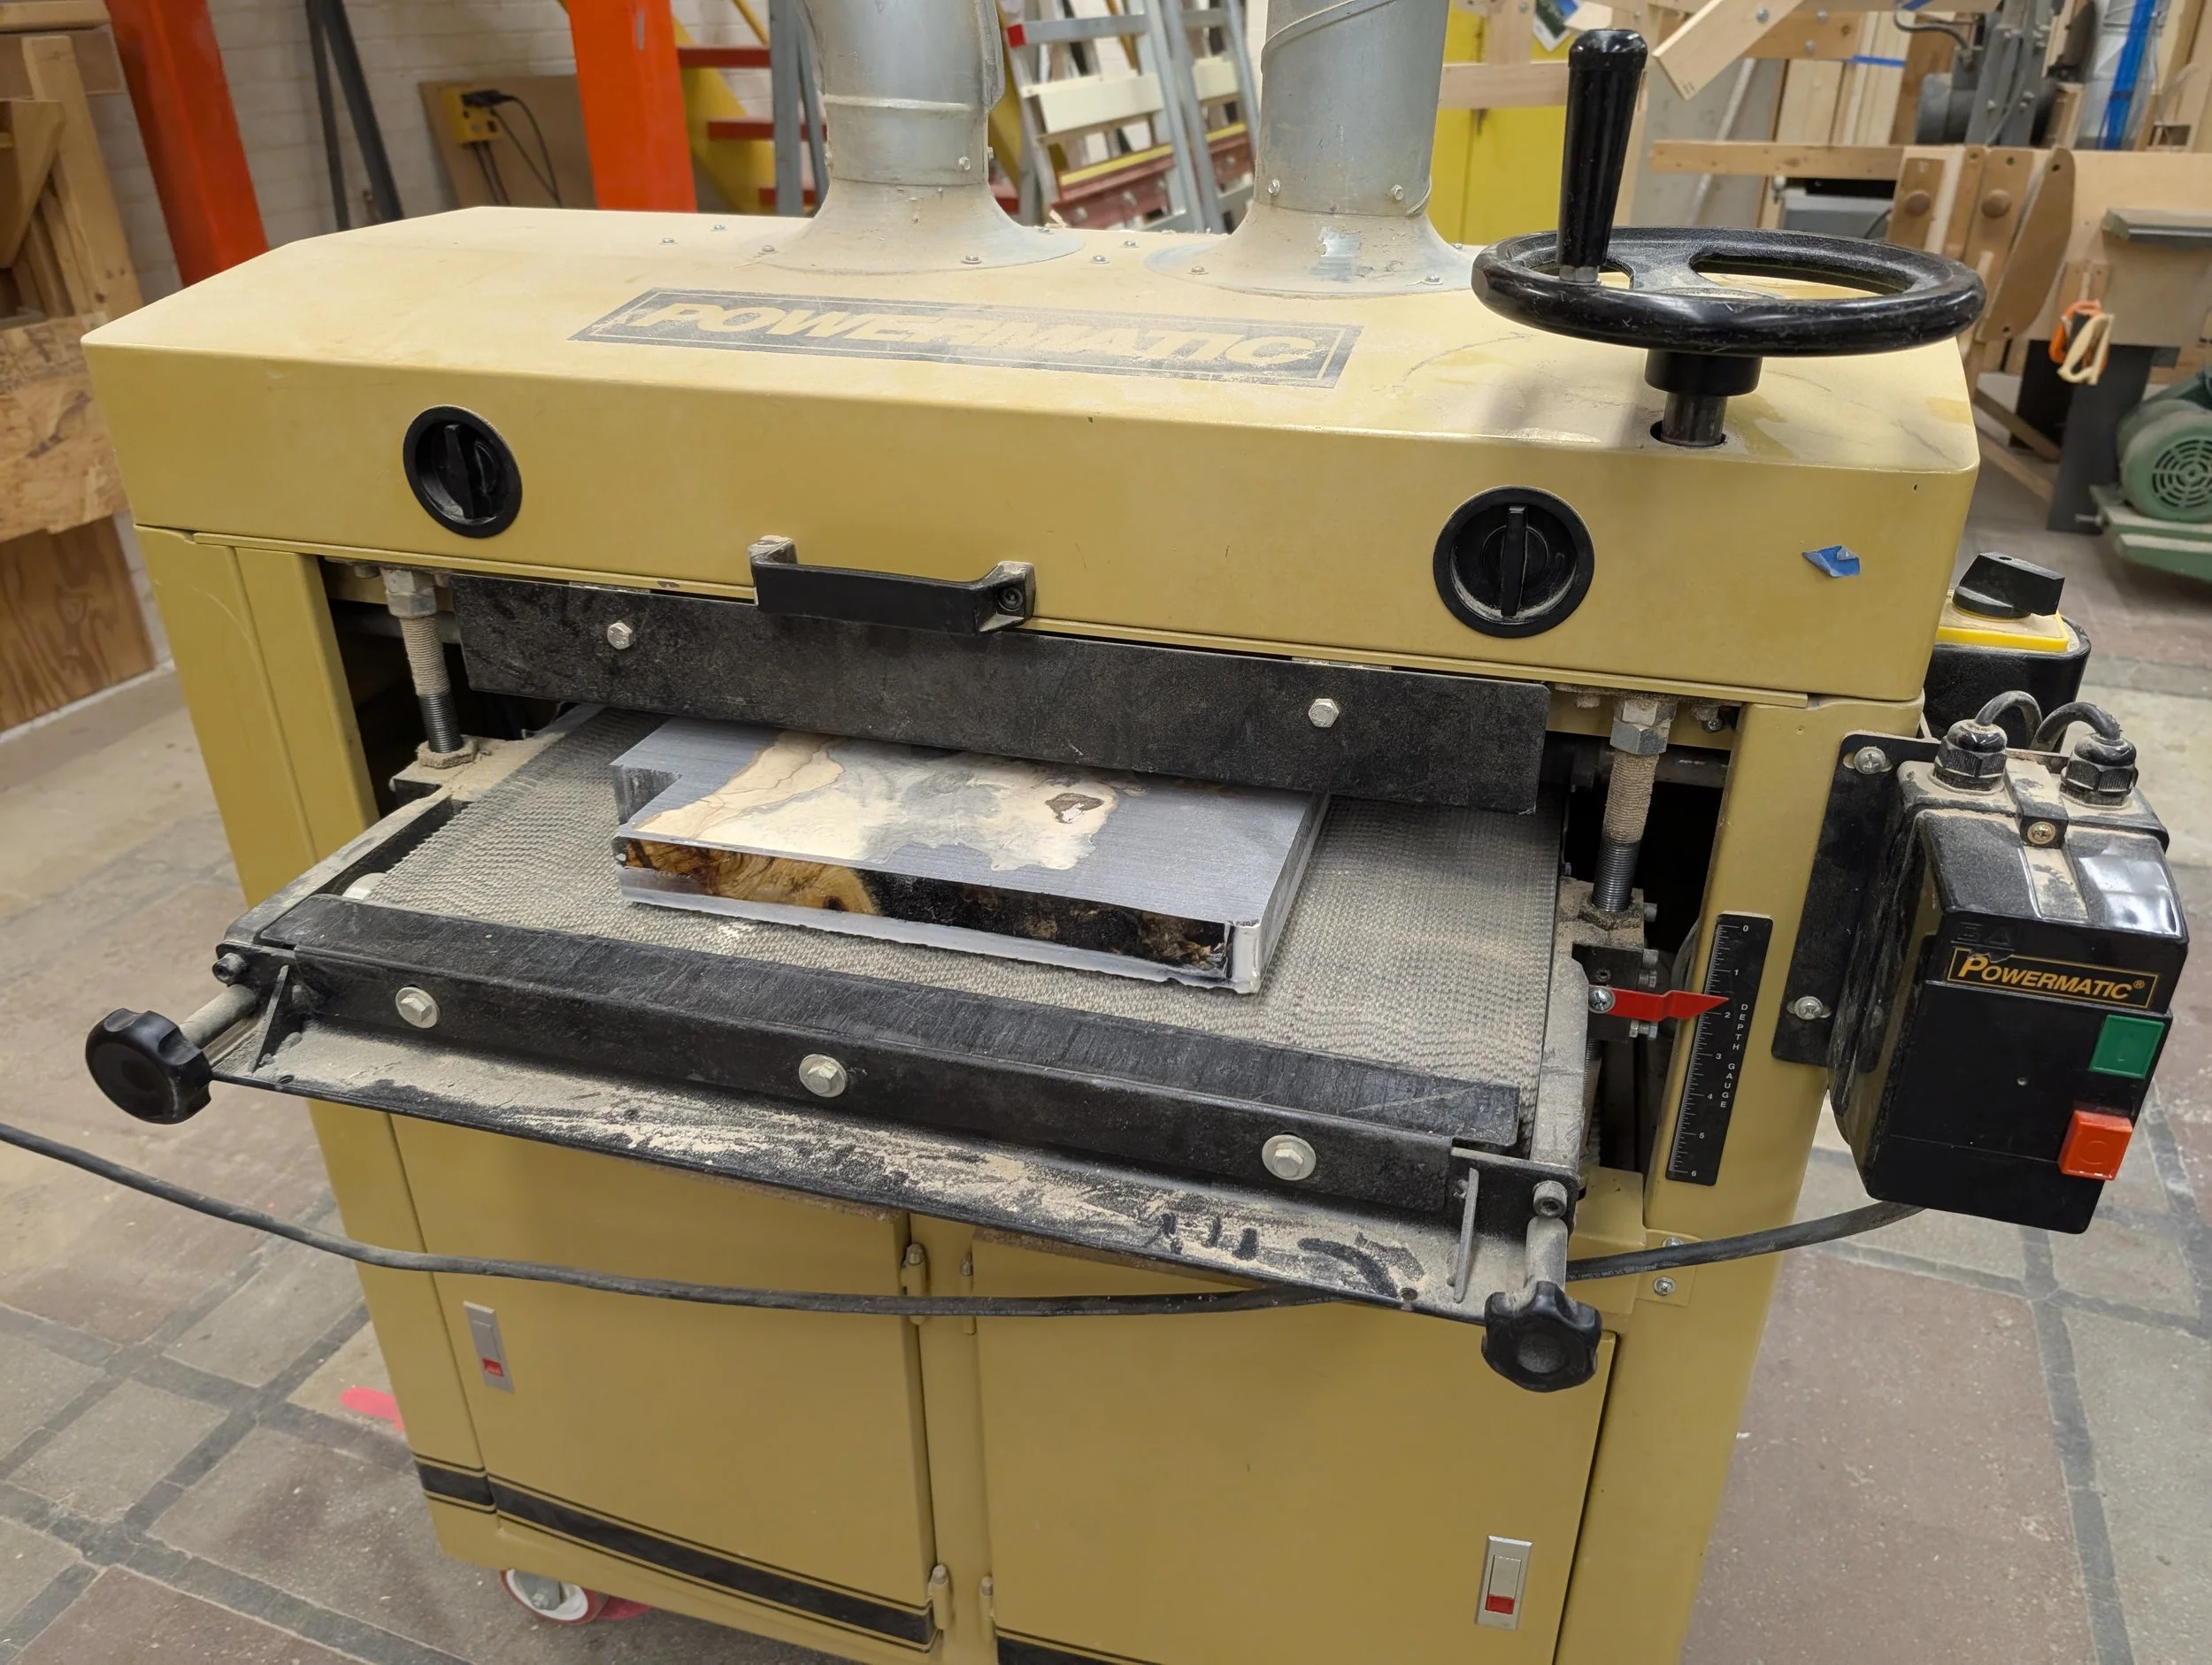
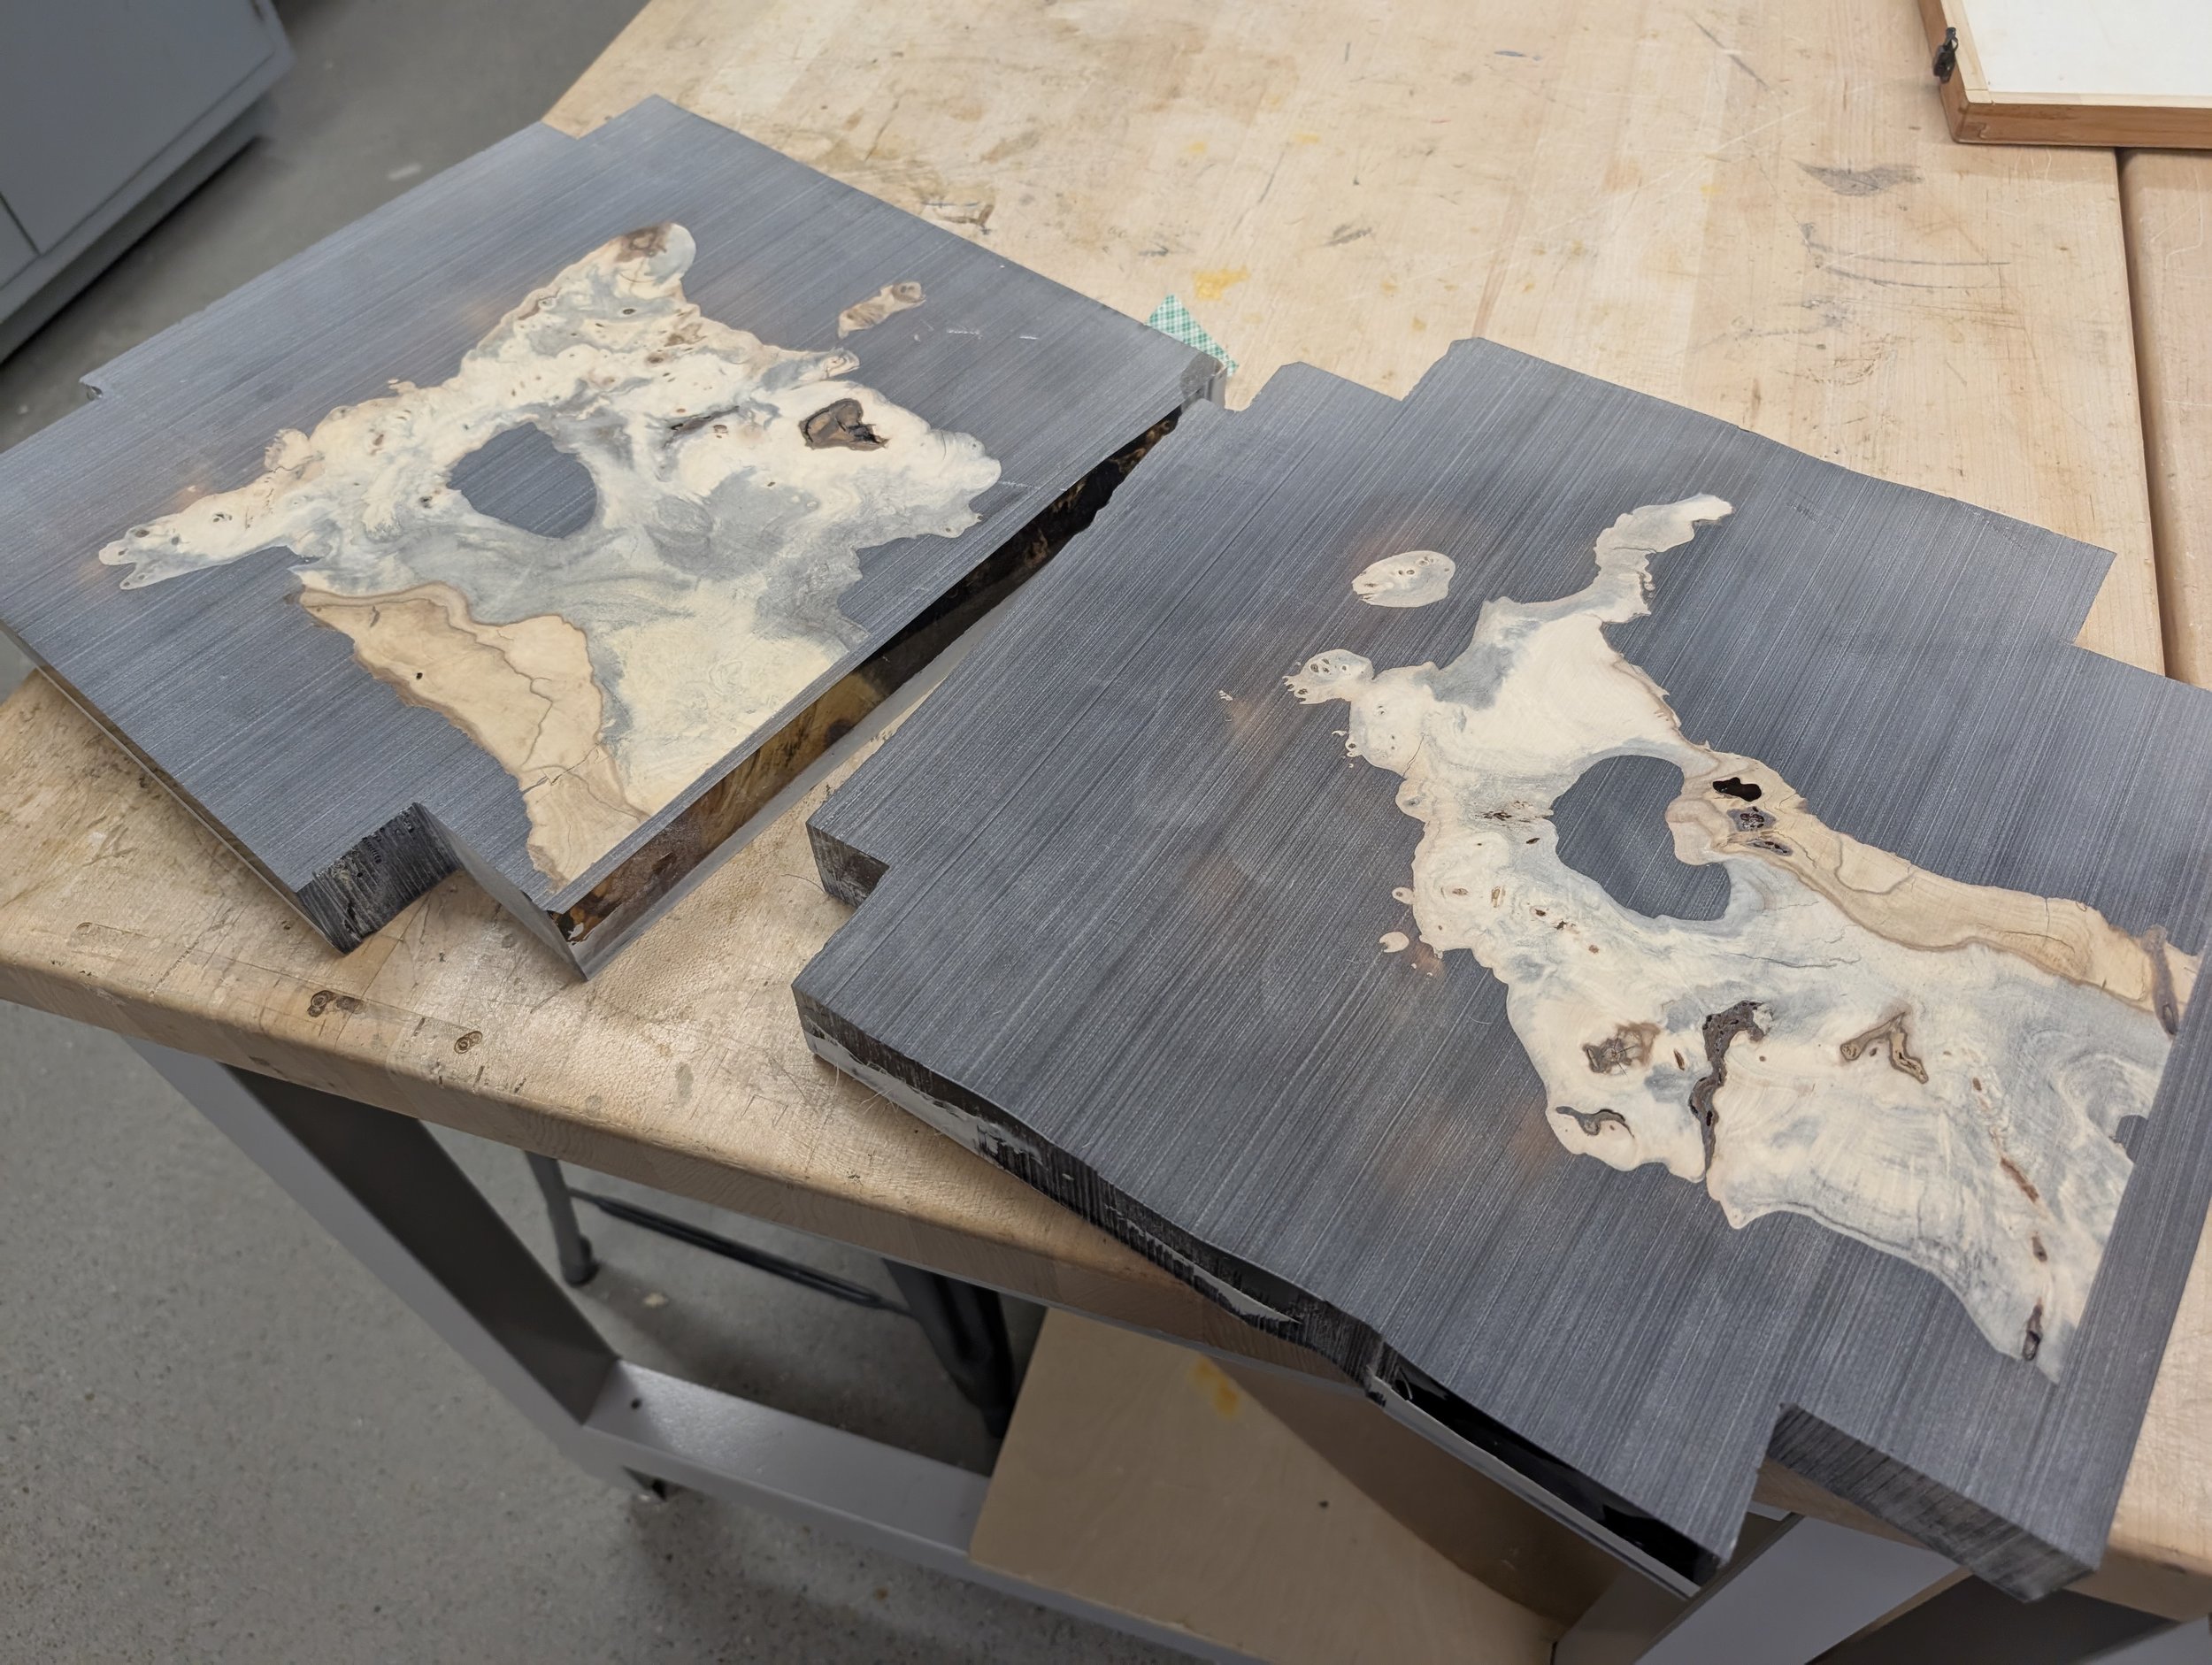
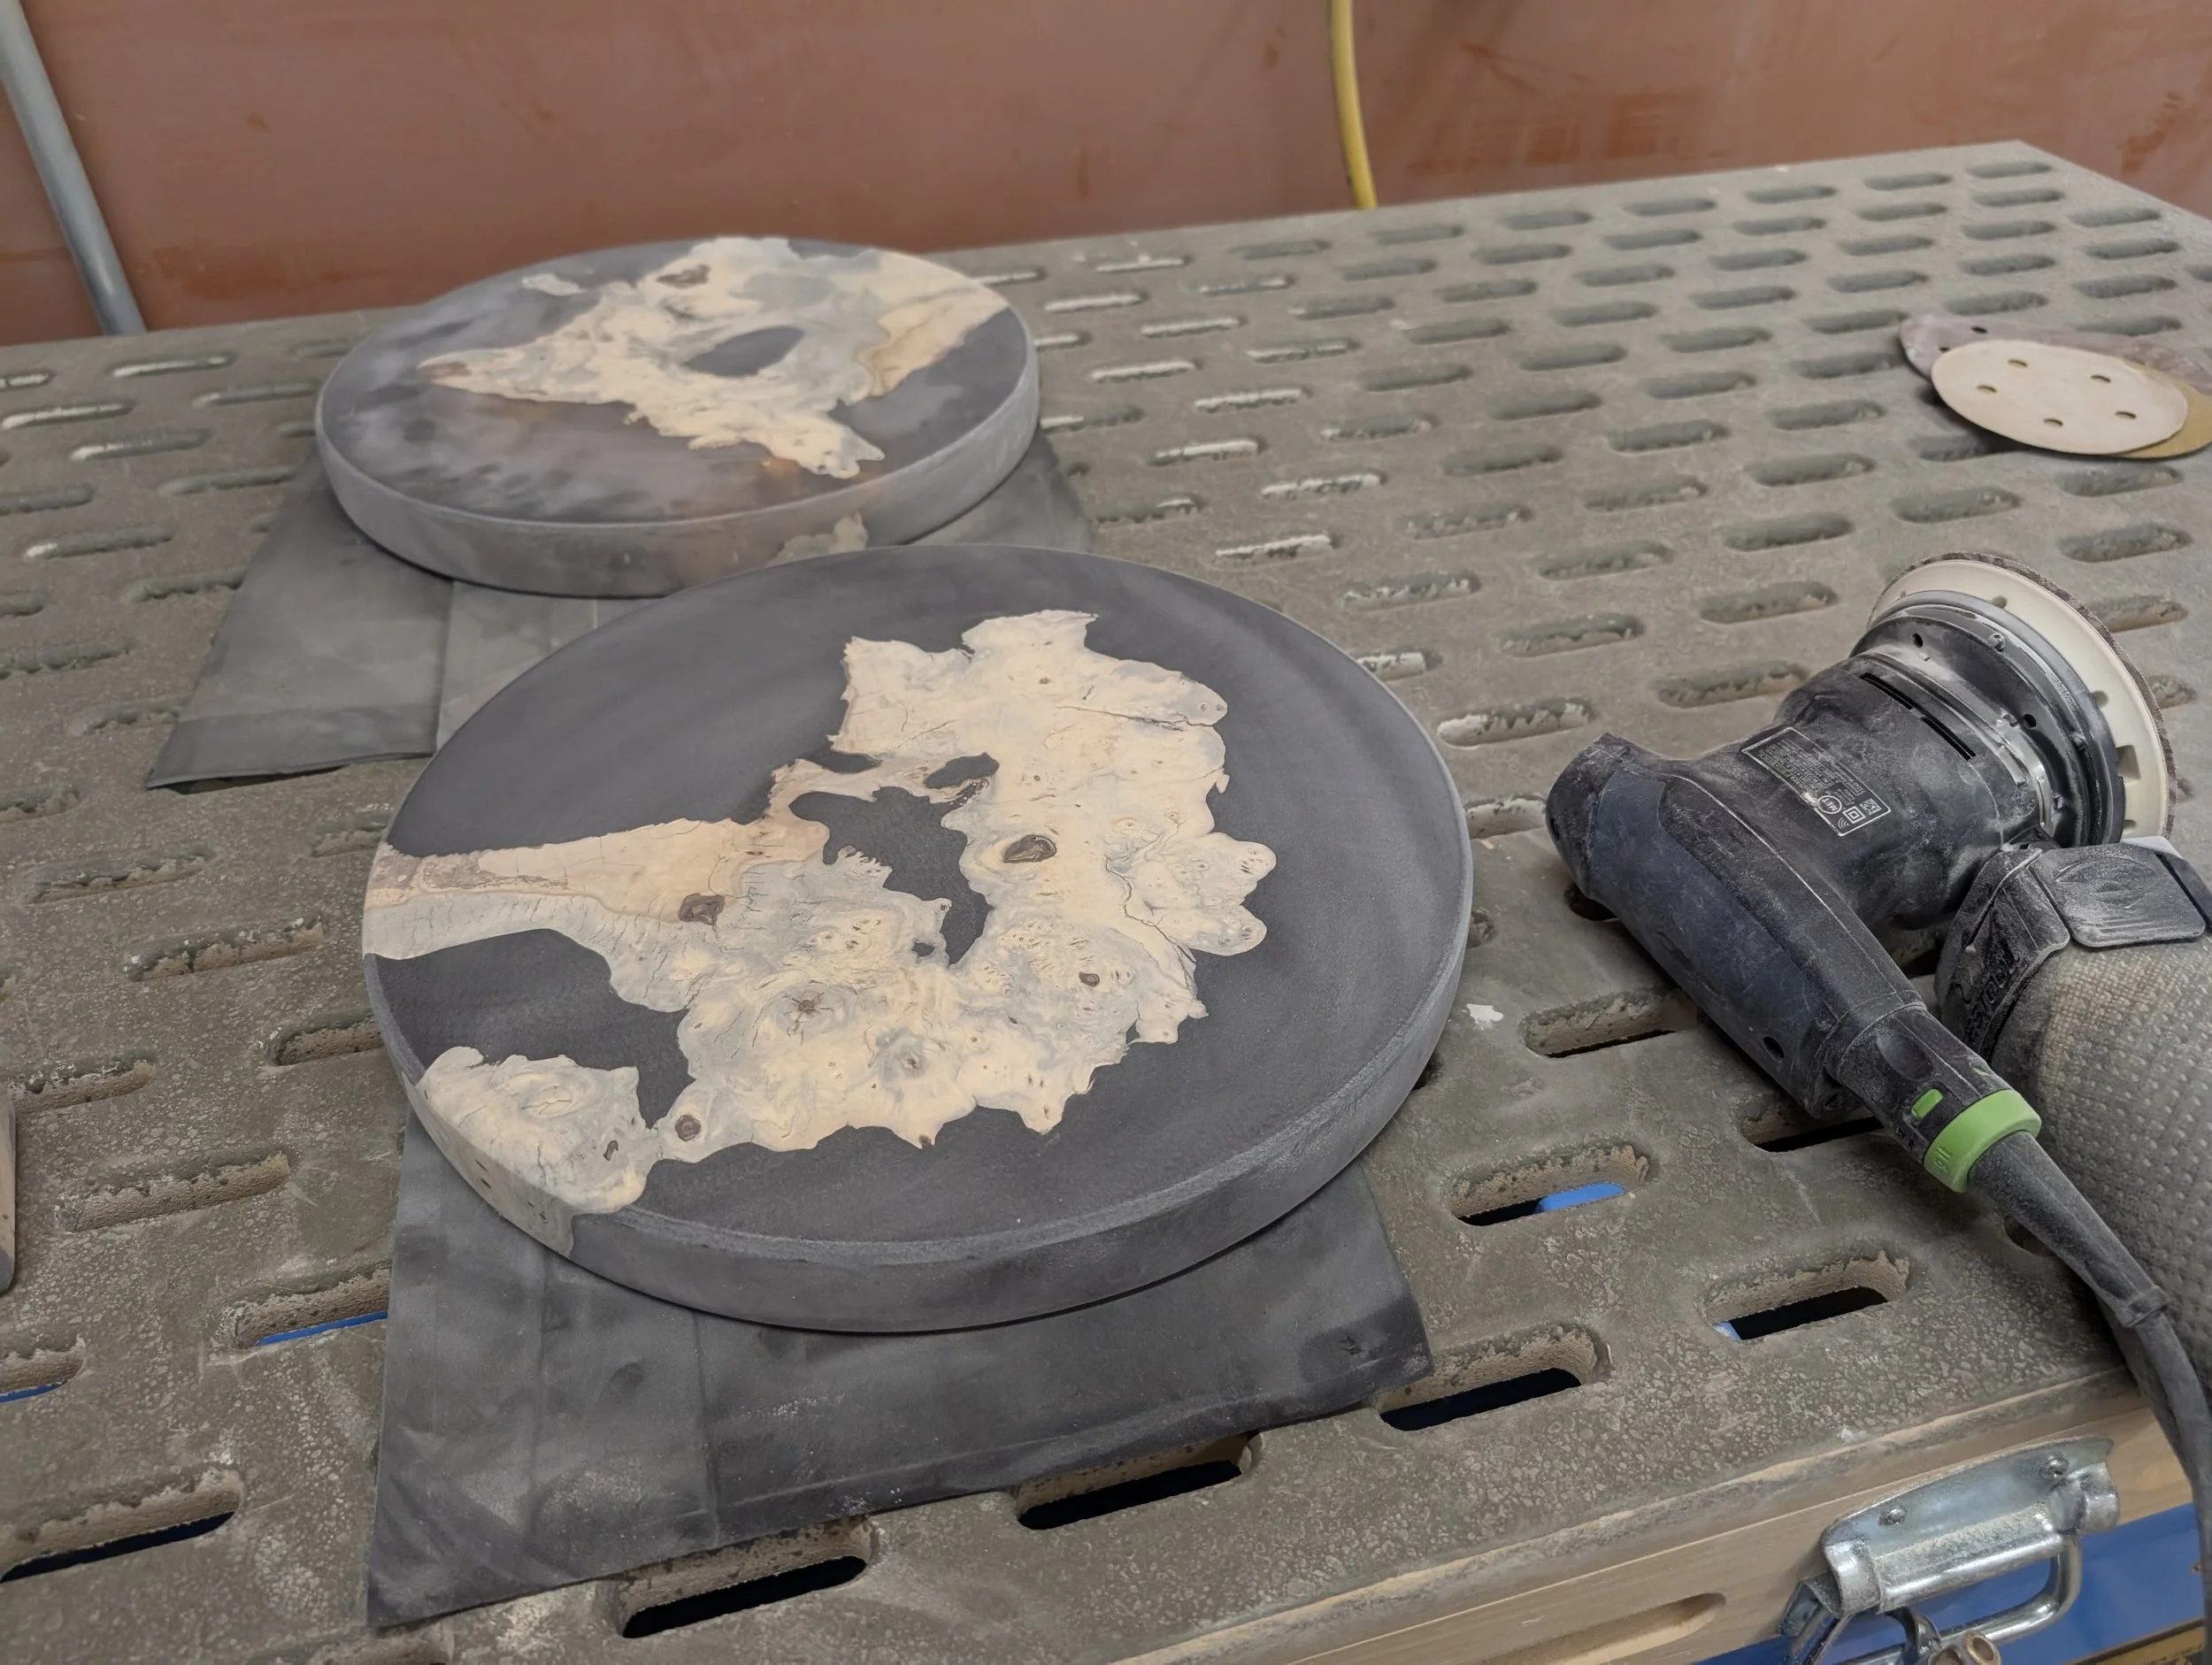
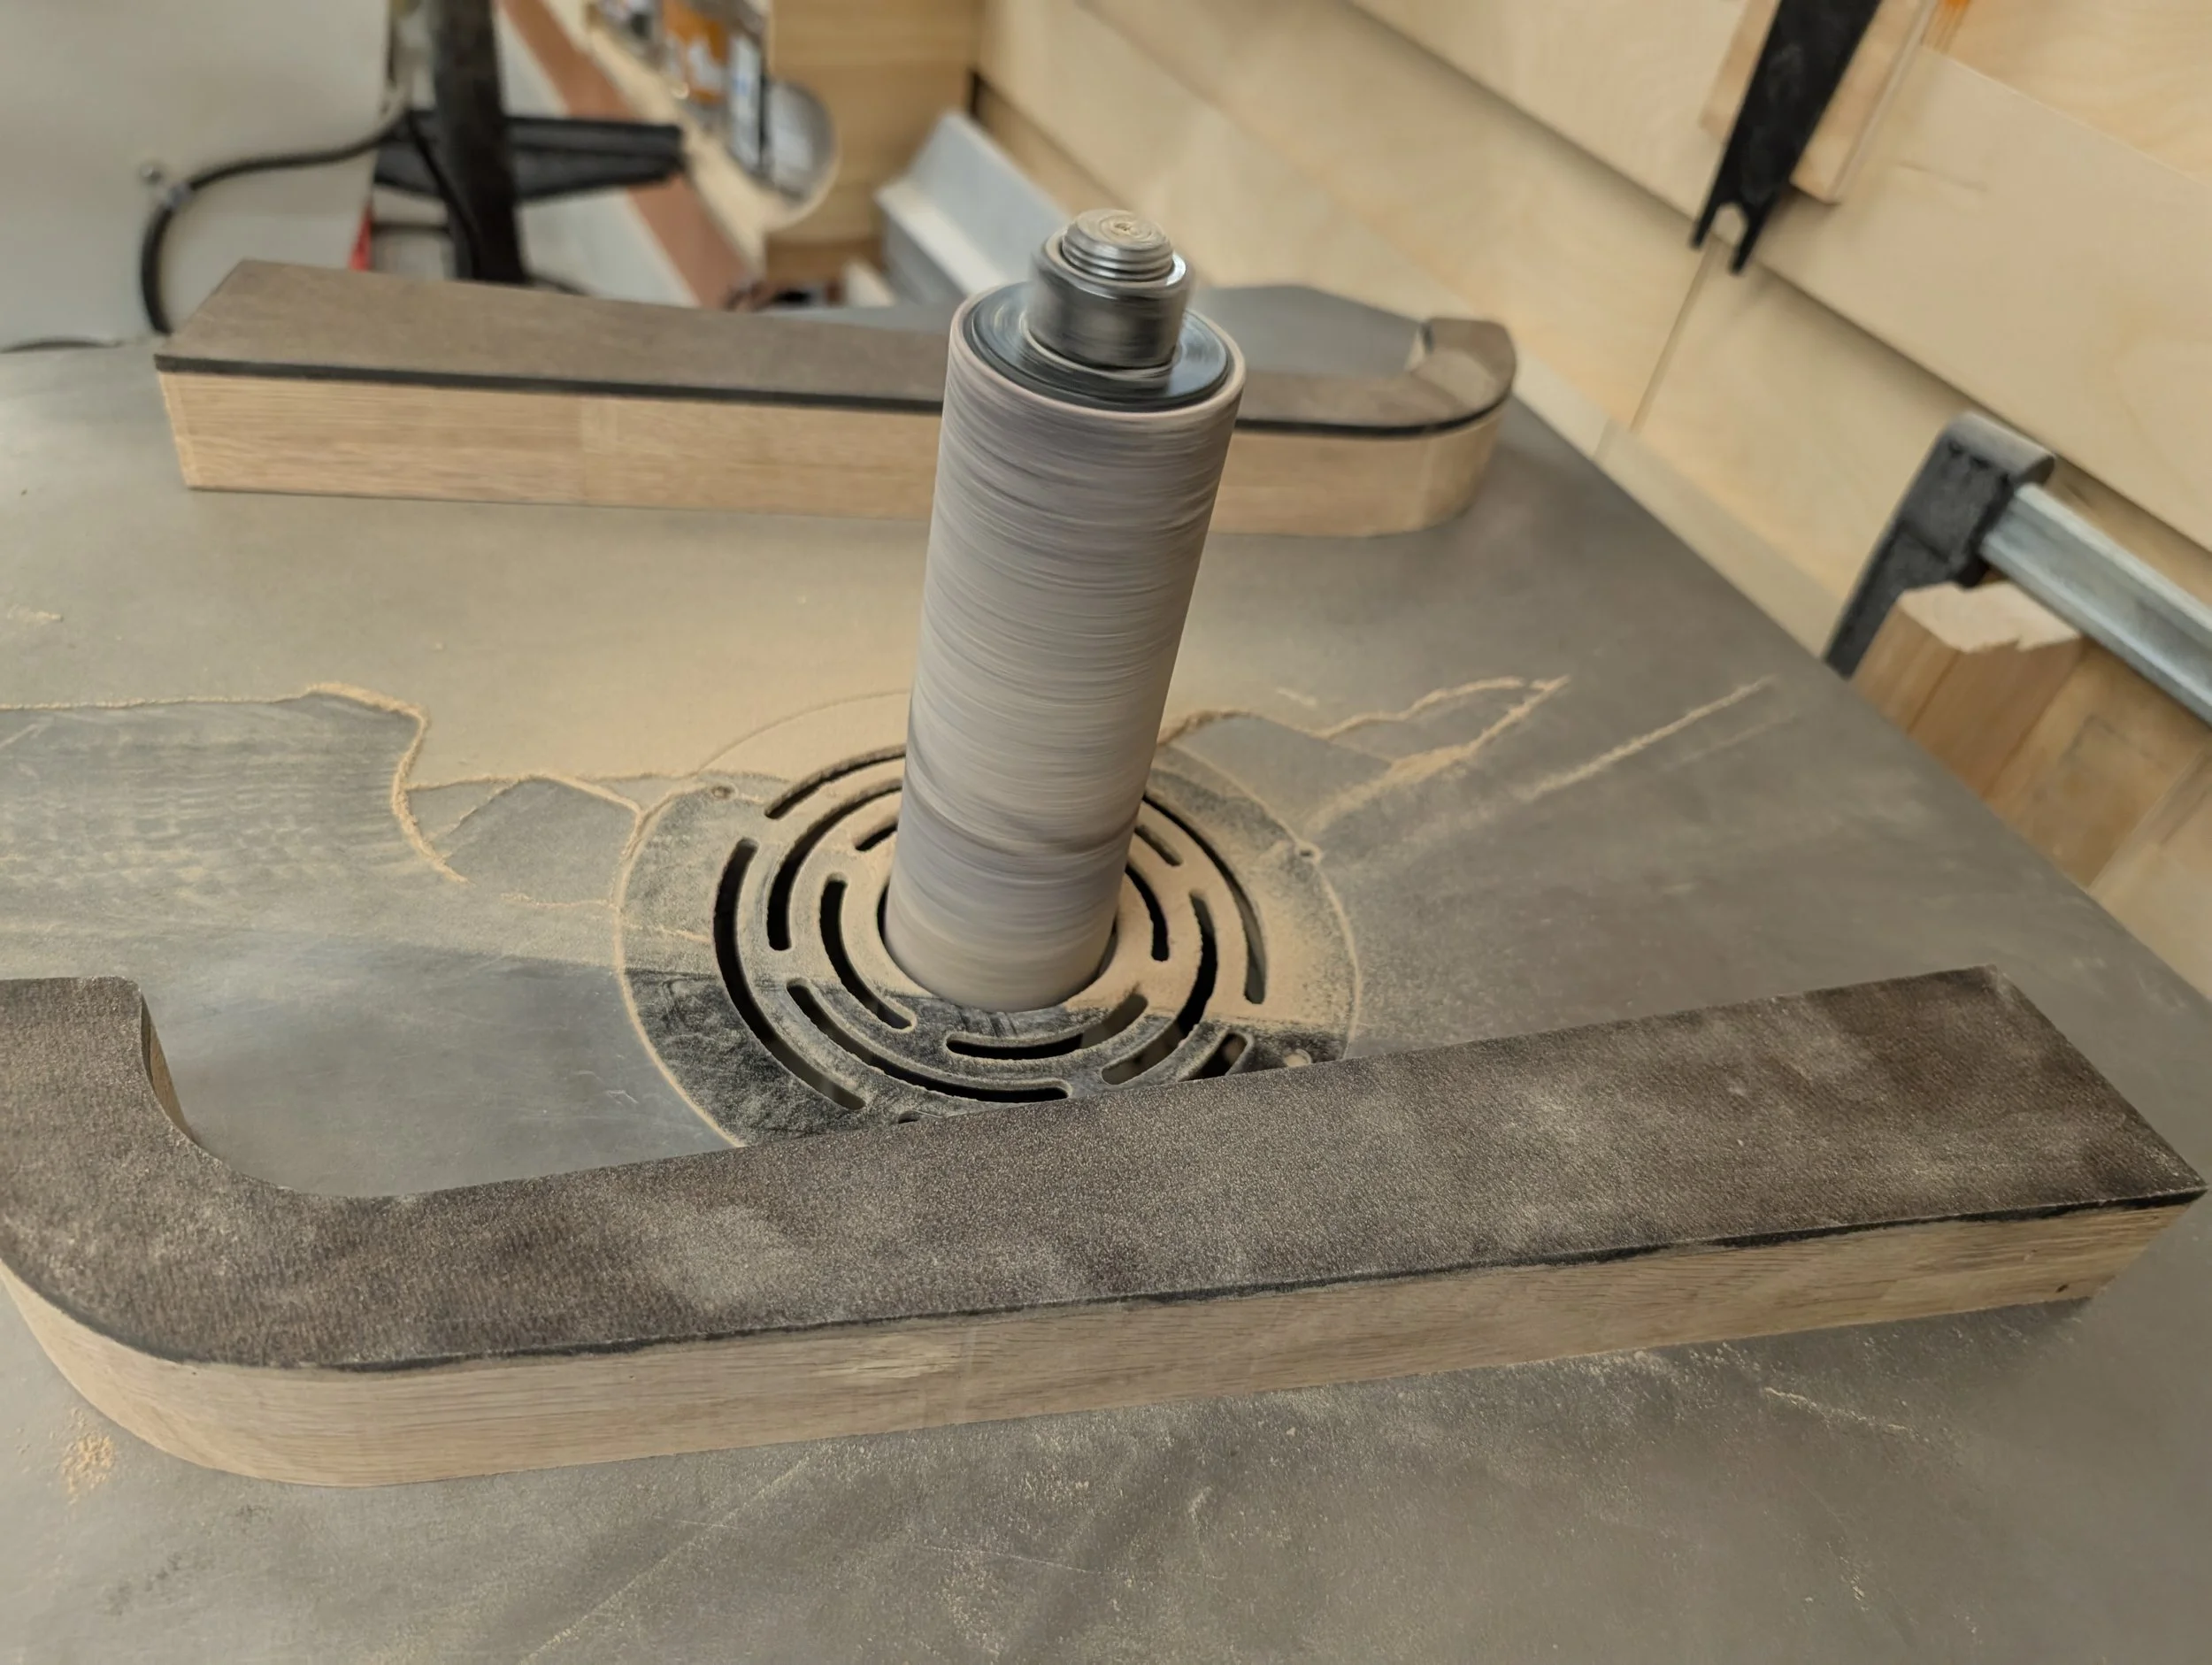
Surfacing with a planer and drum sander
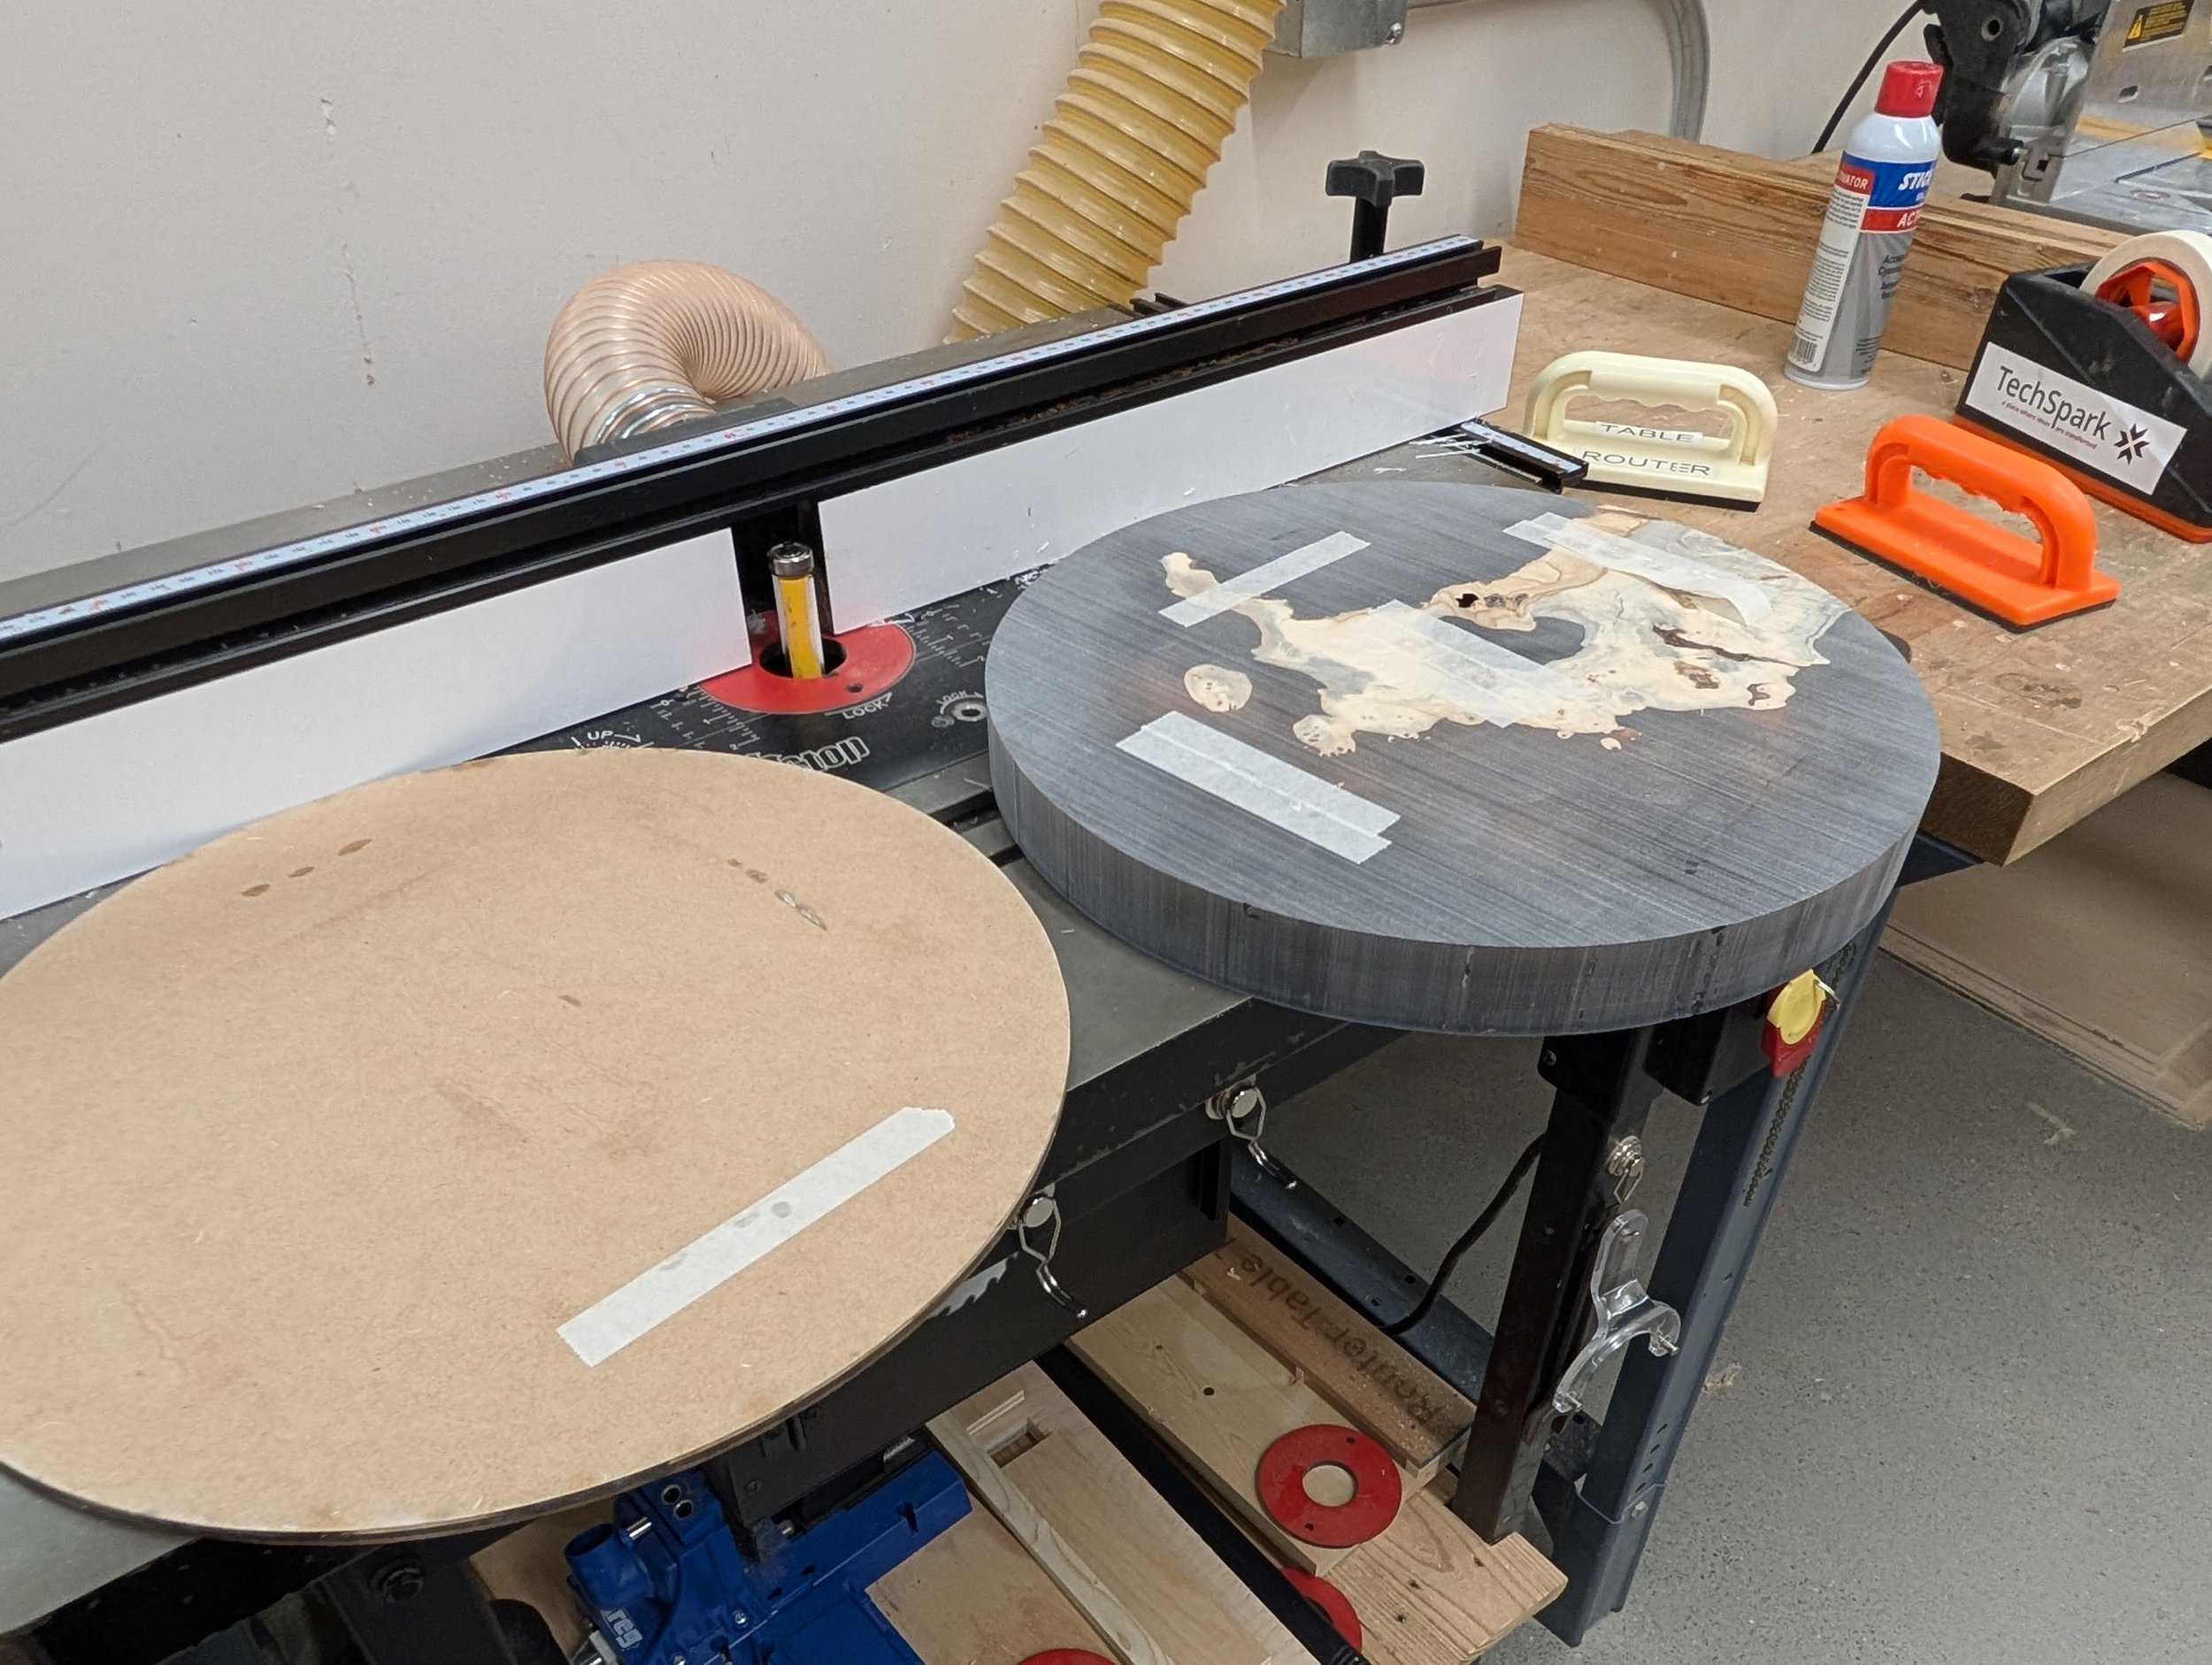
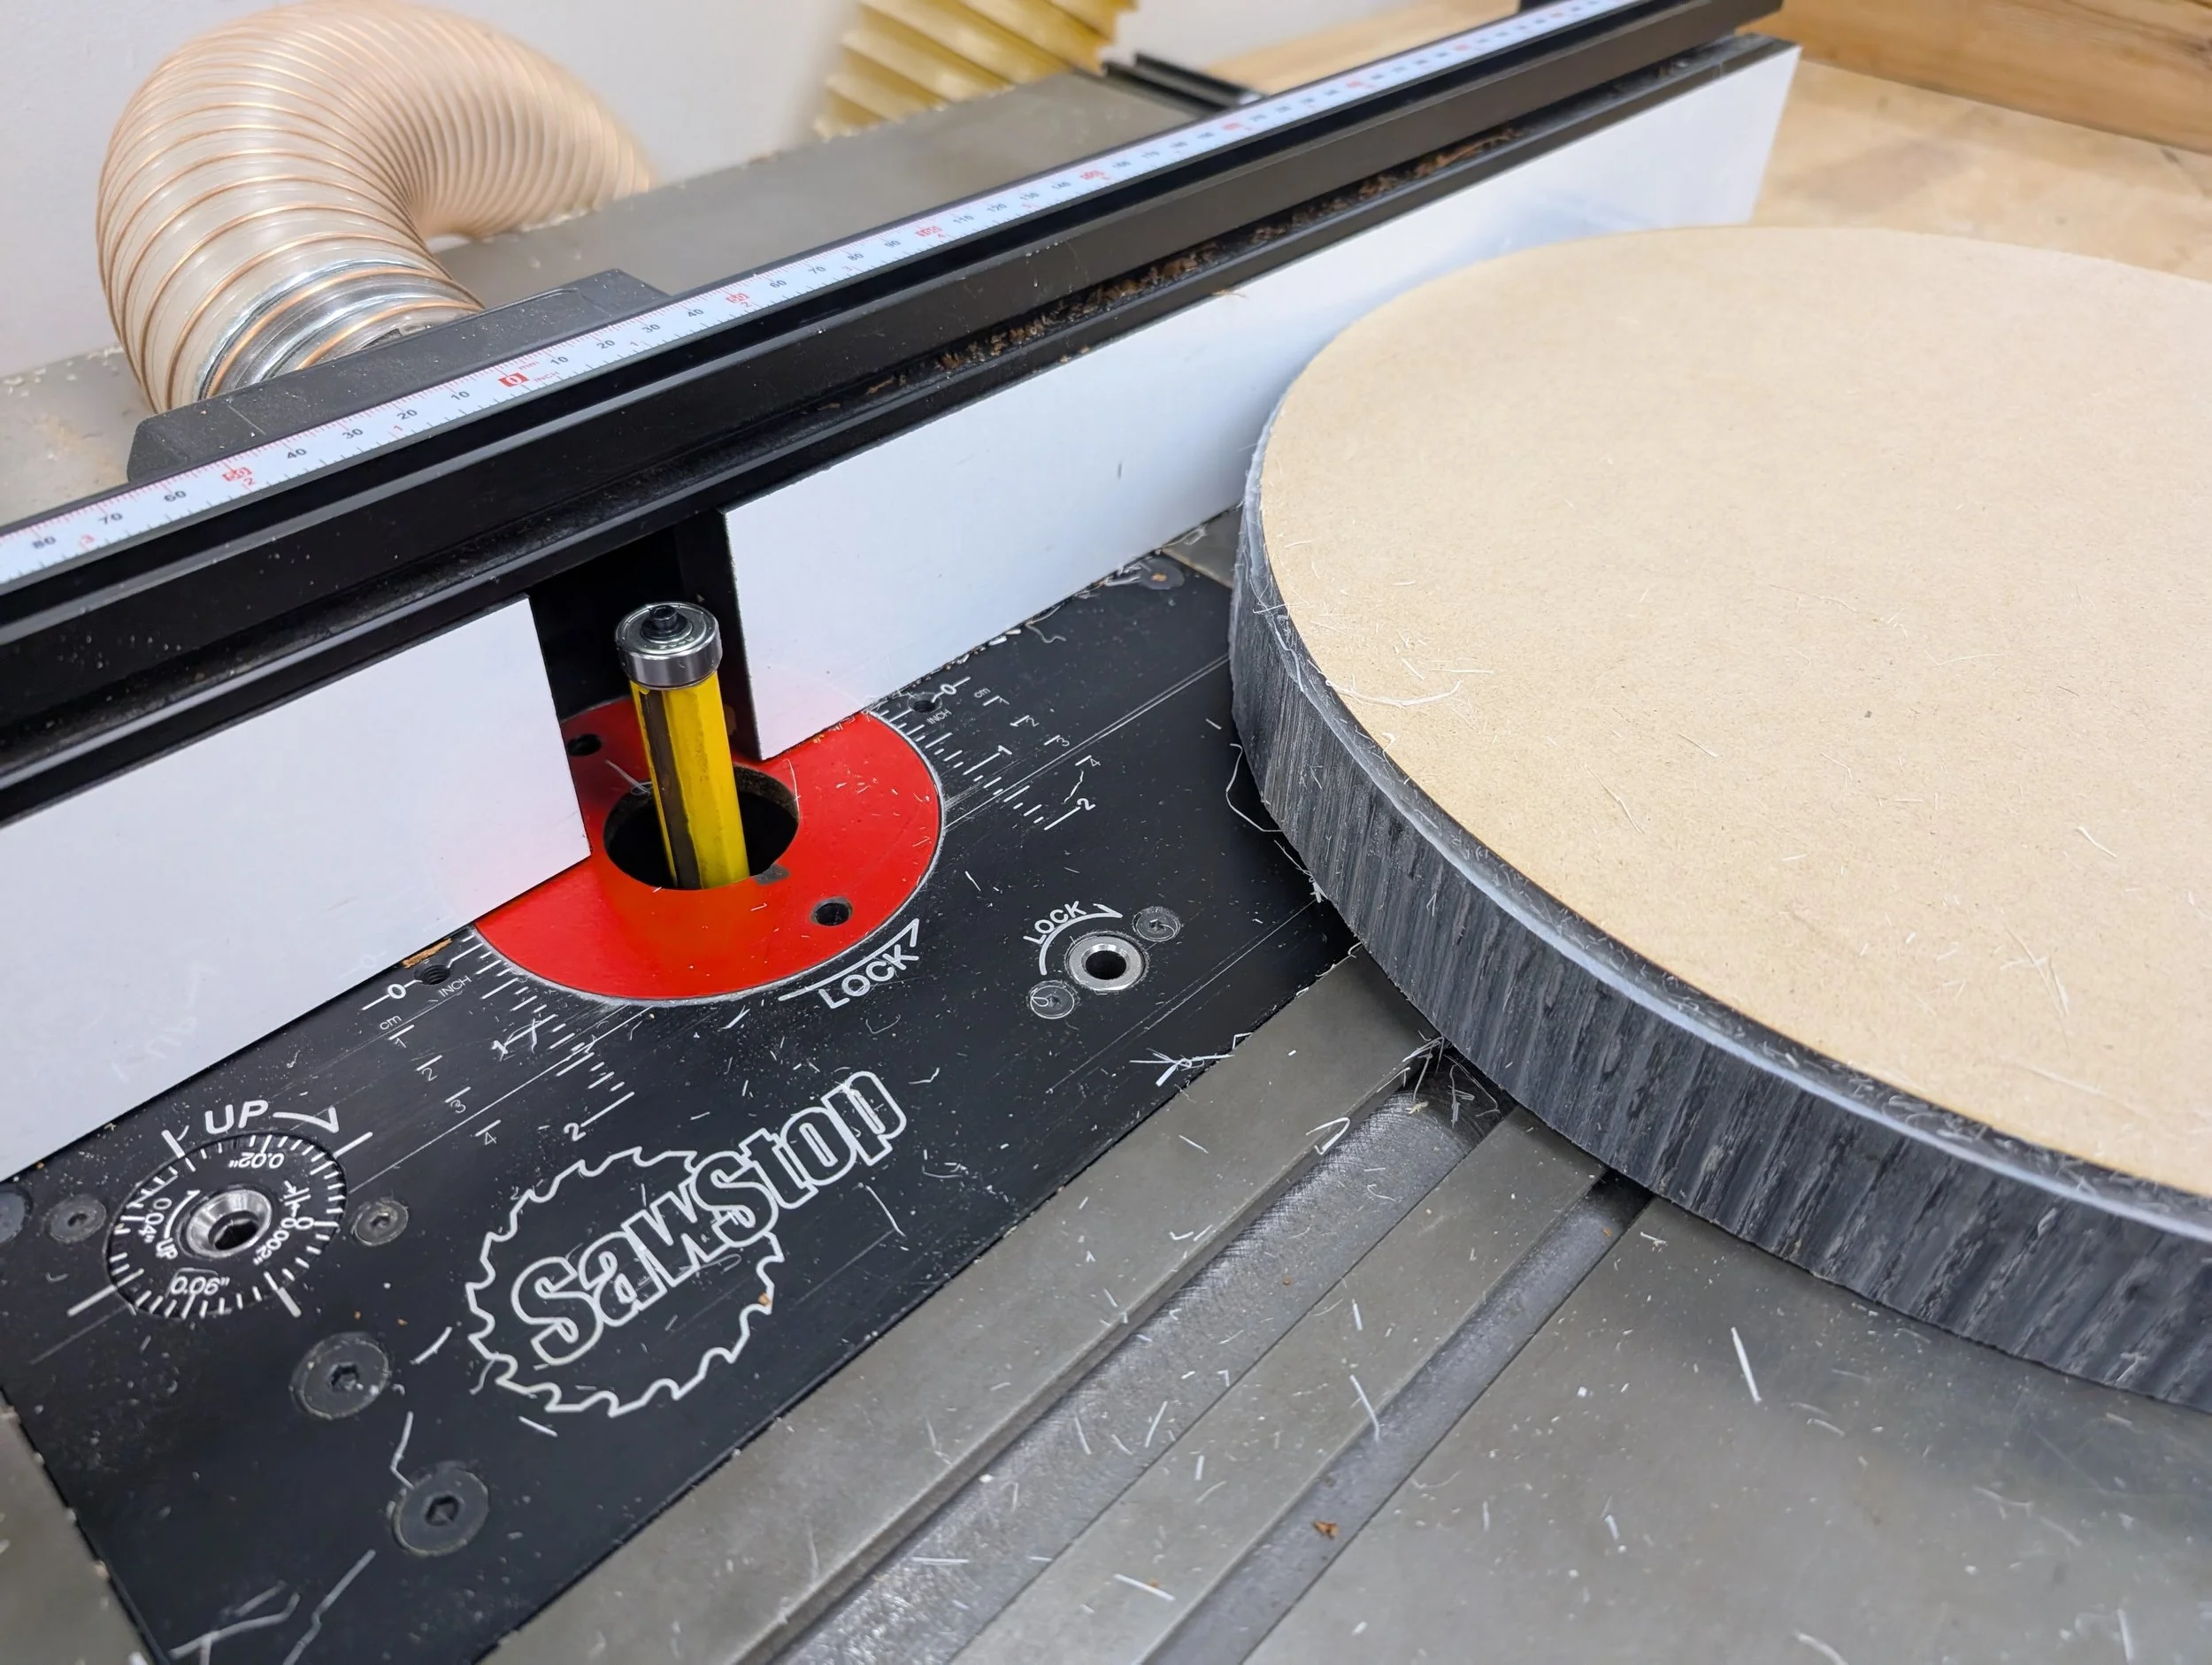
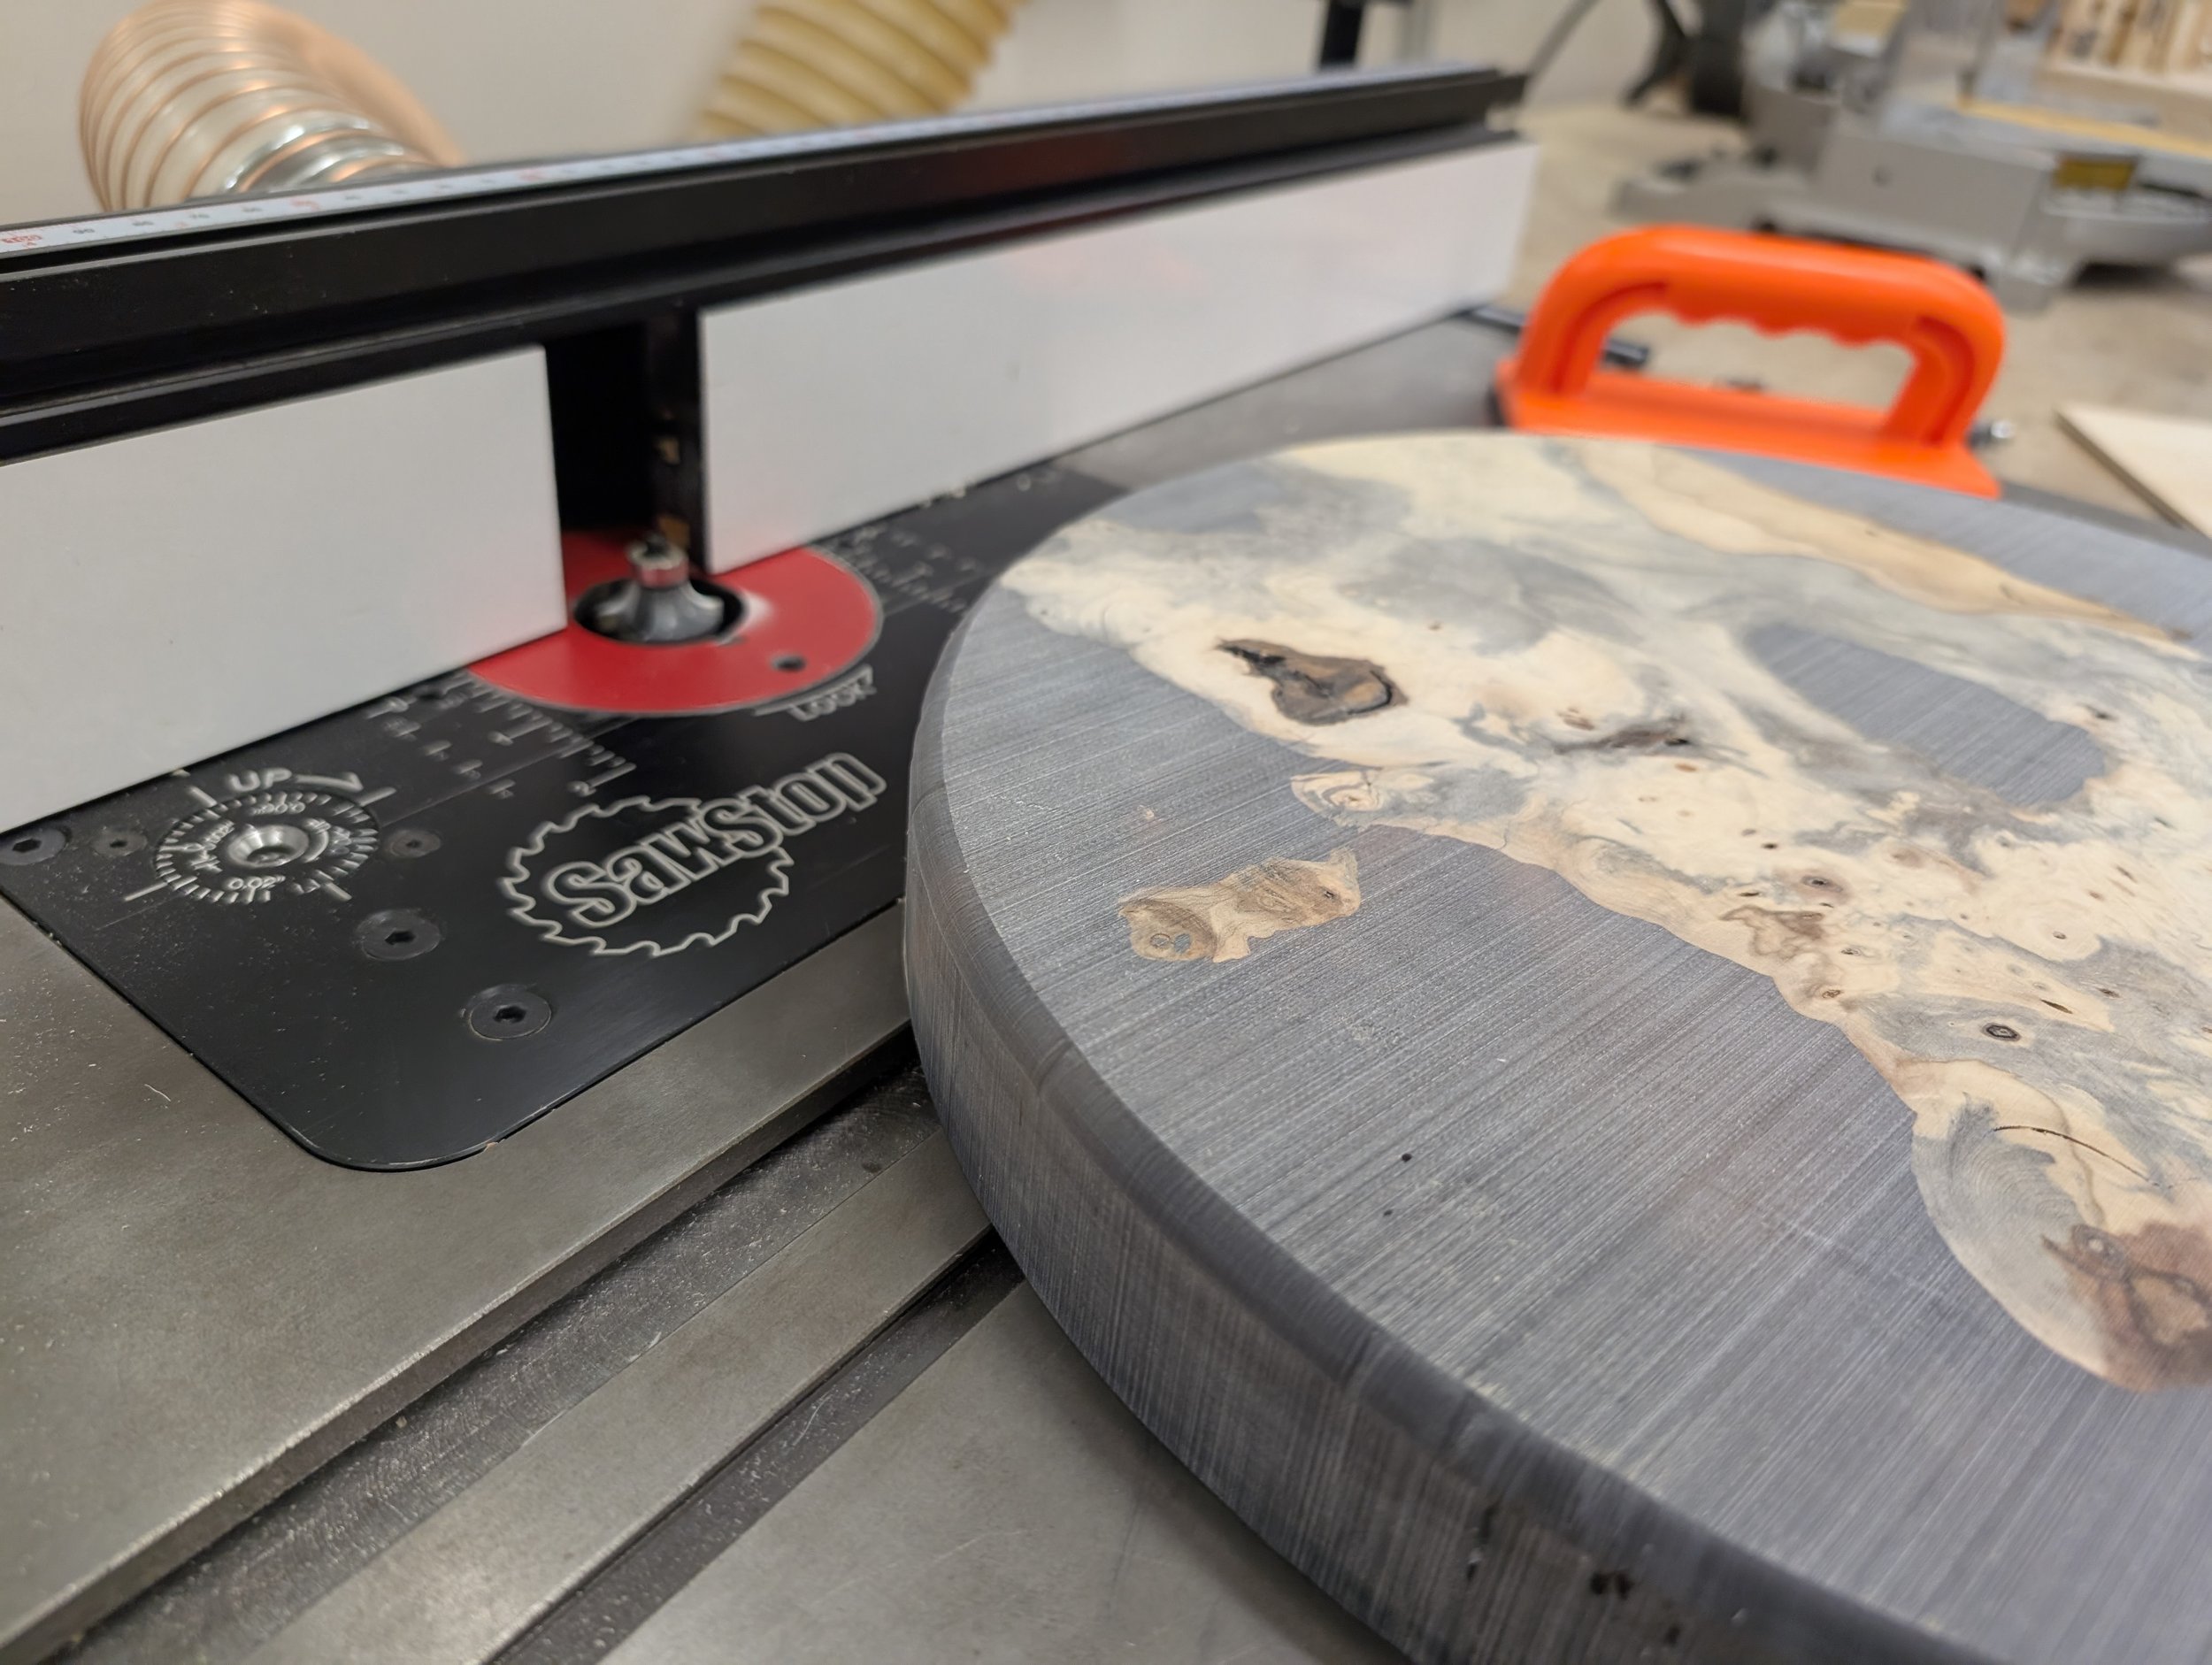
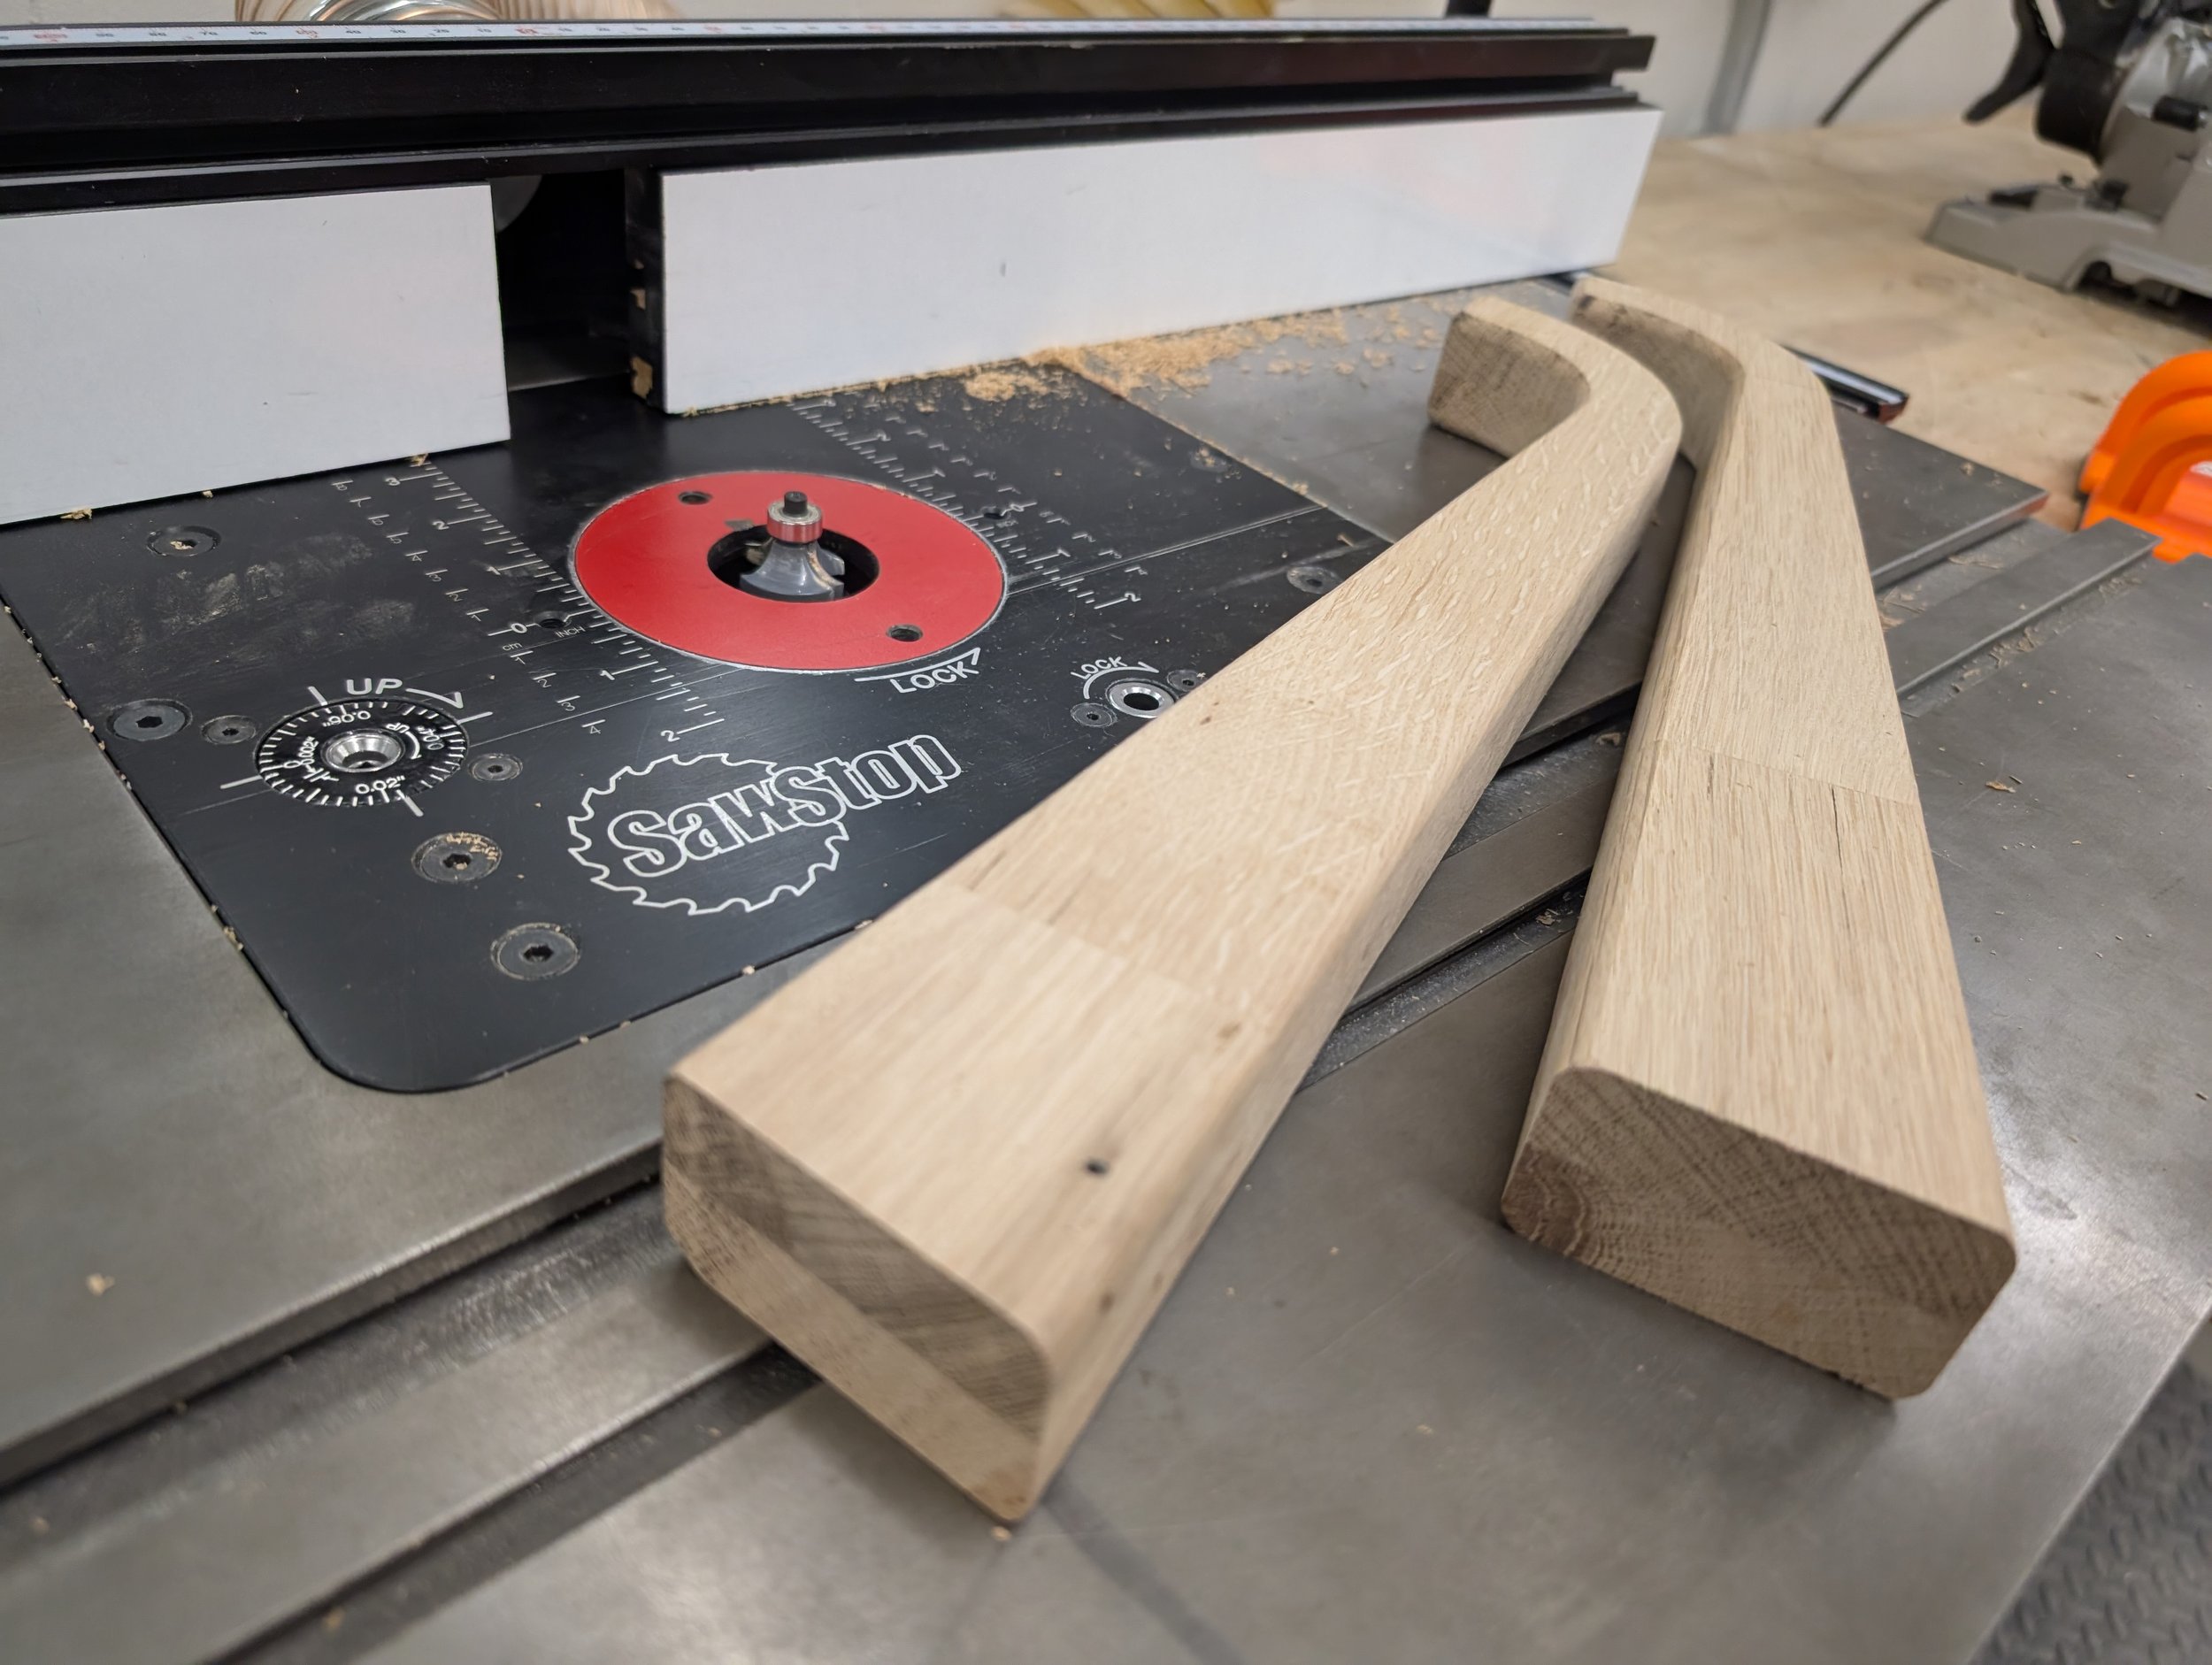
Cutting to final shape and adding a roundover
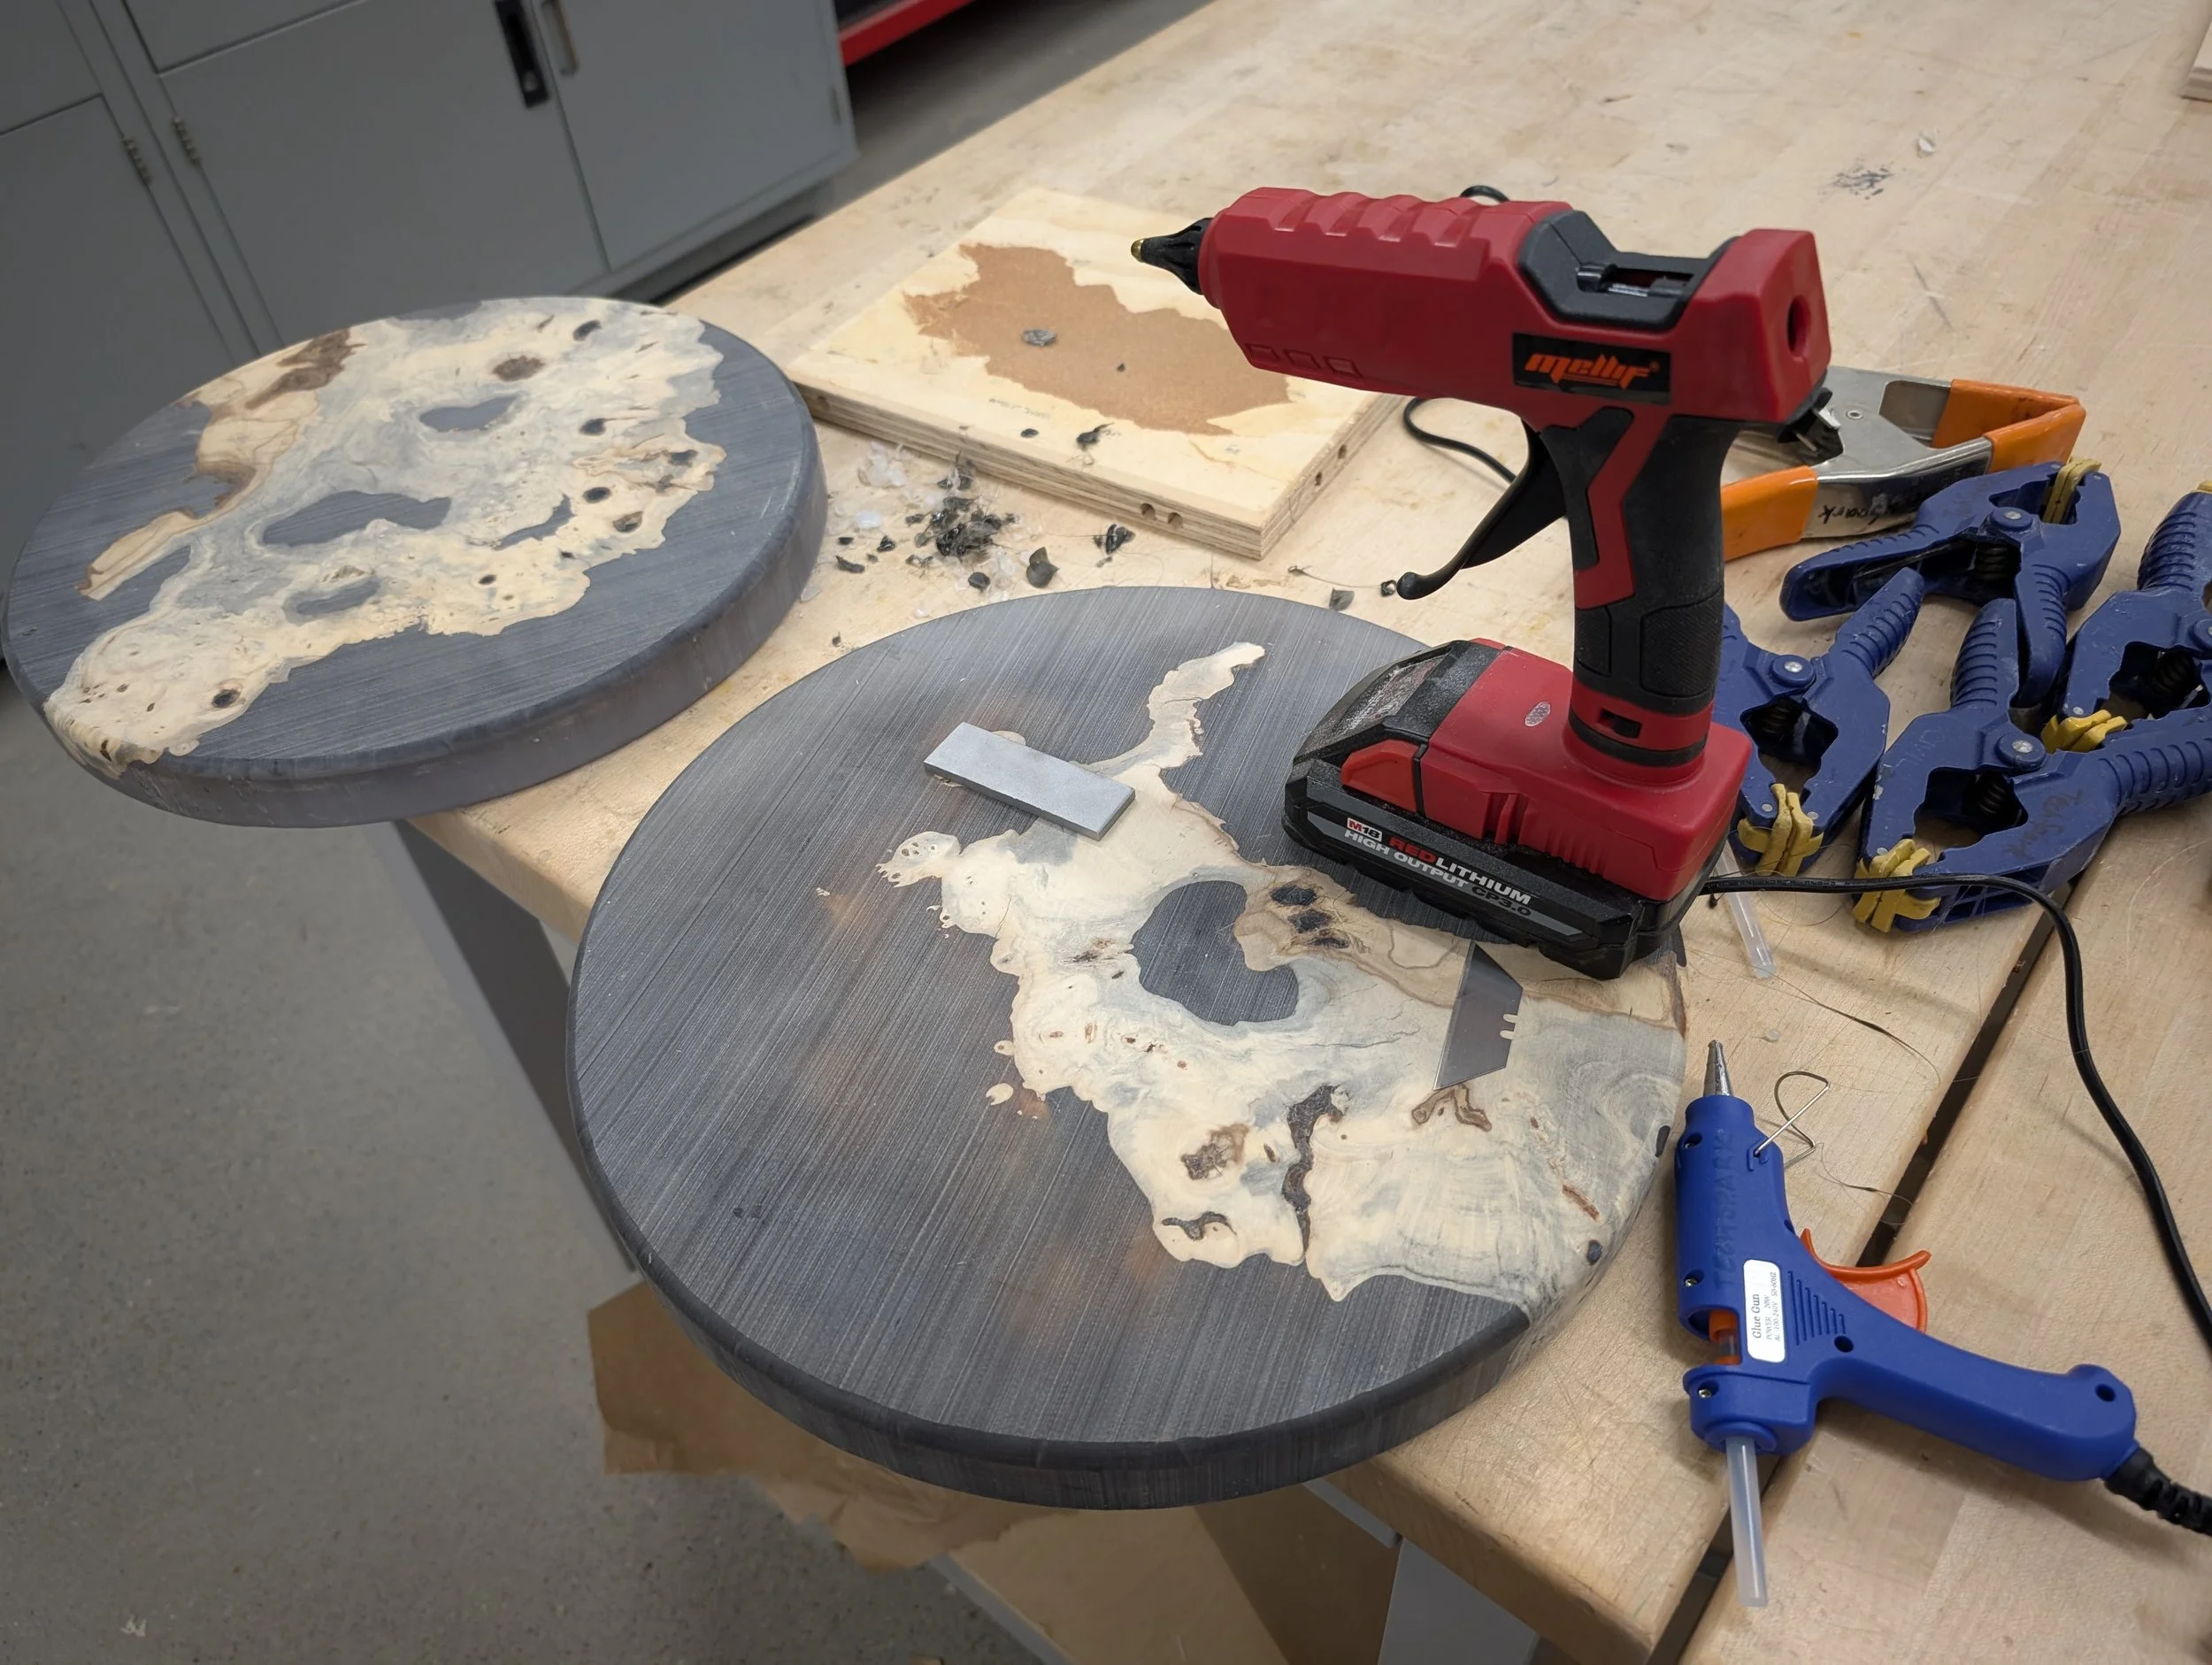
Filling voids in the epoxy
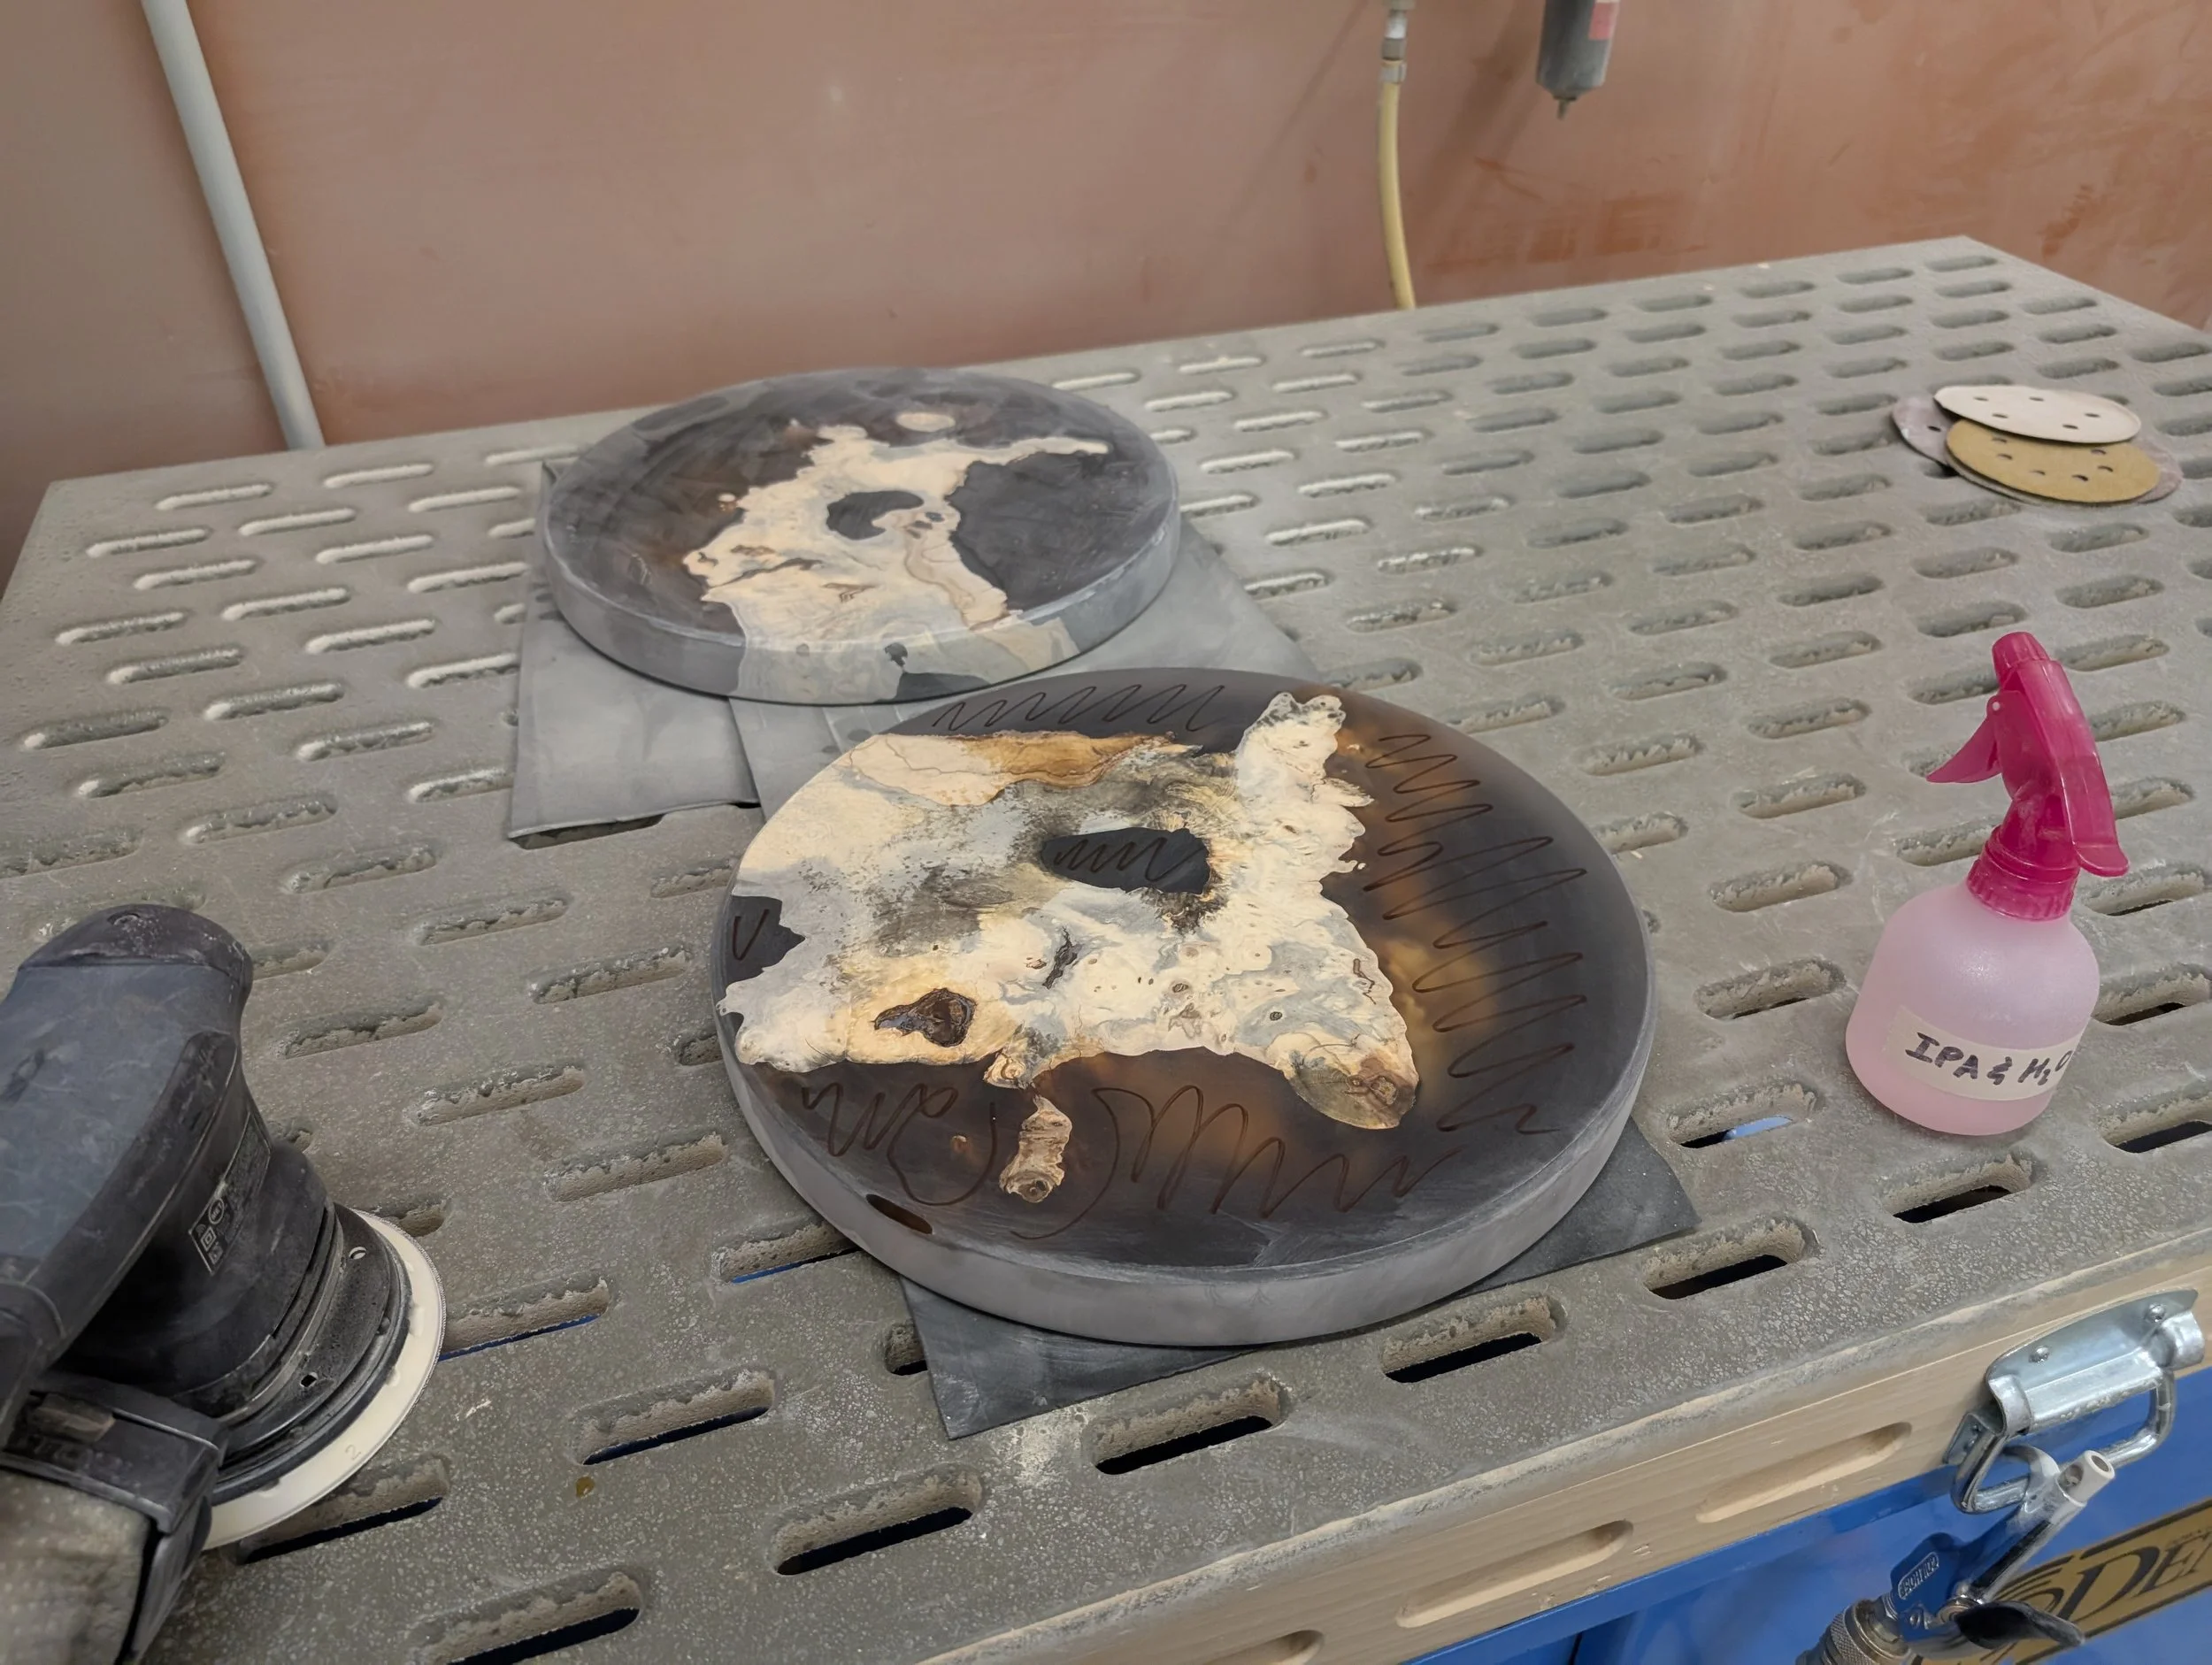
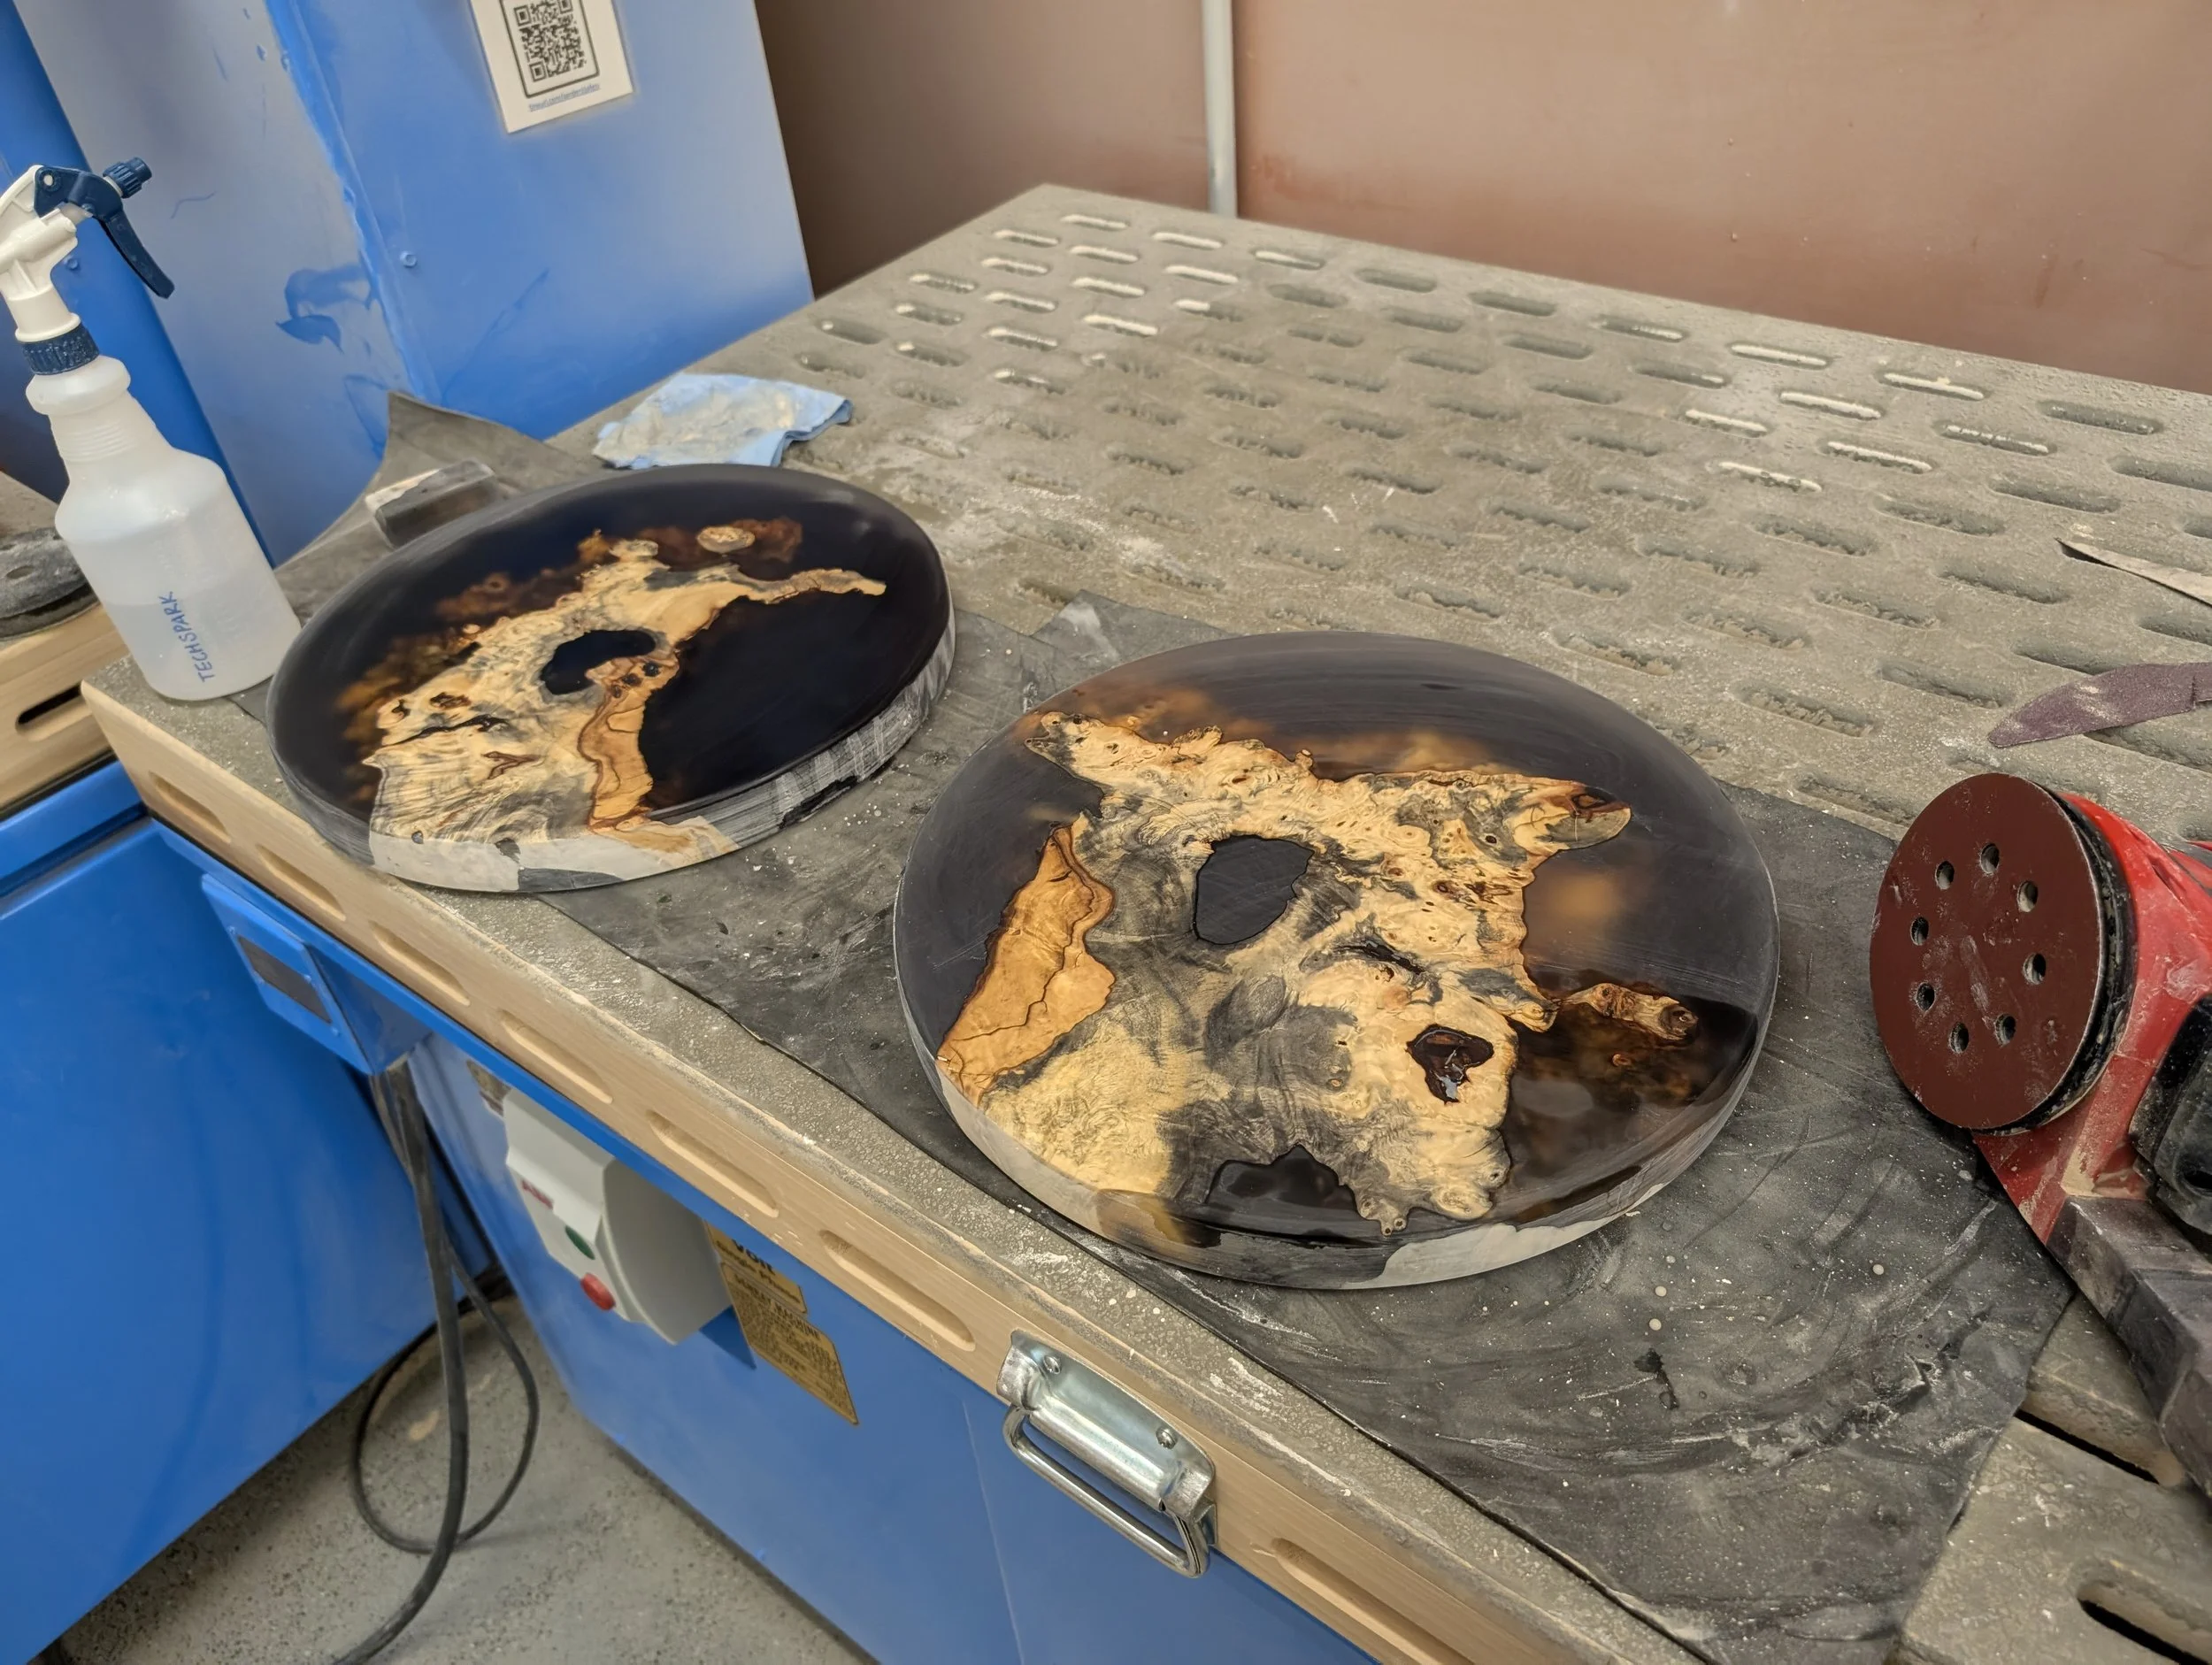
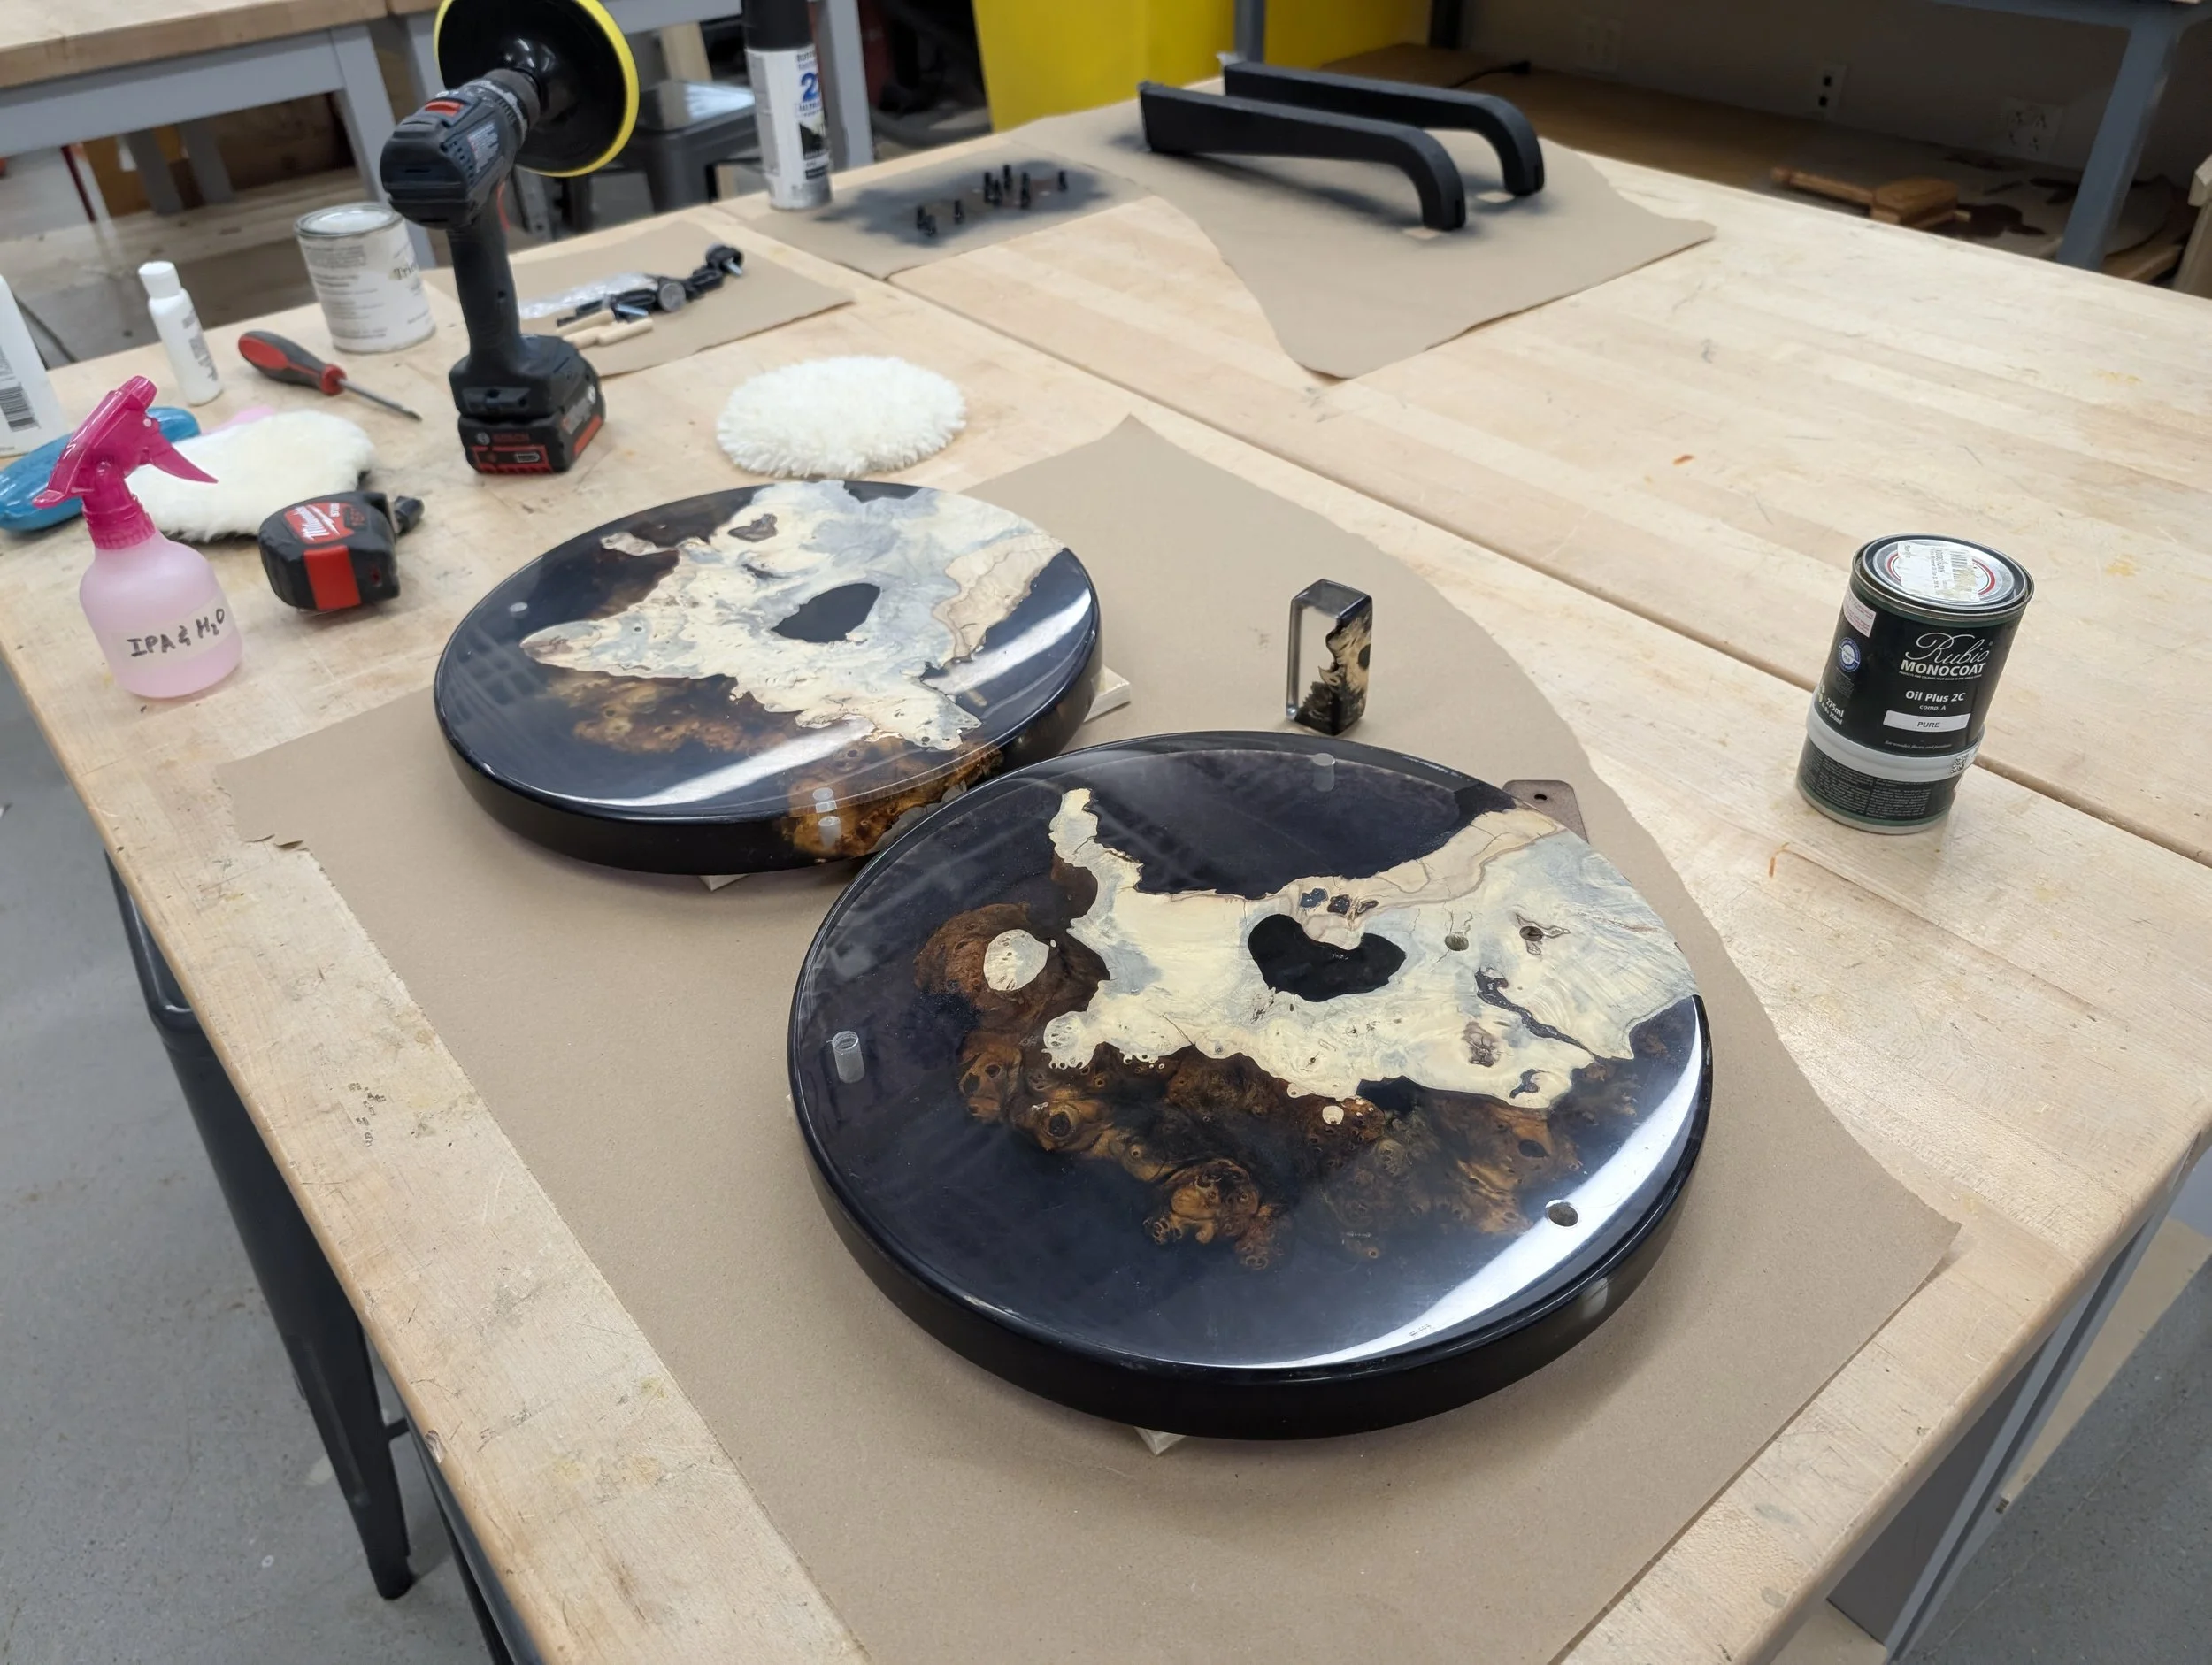
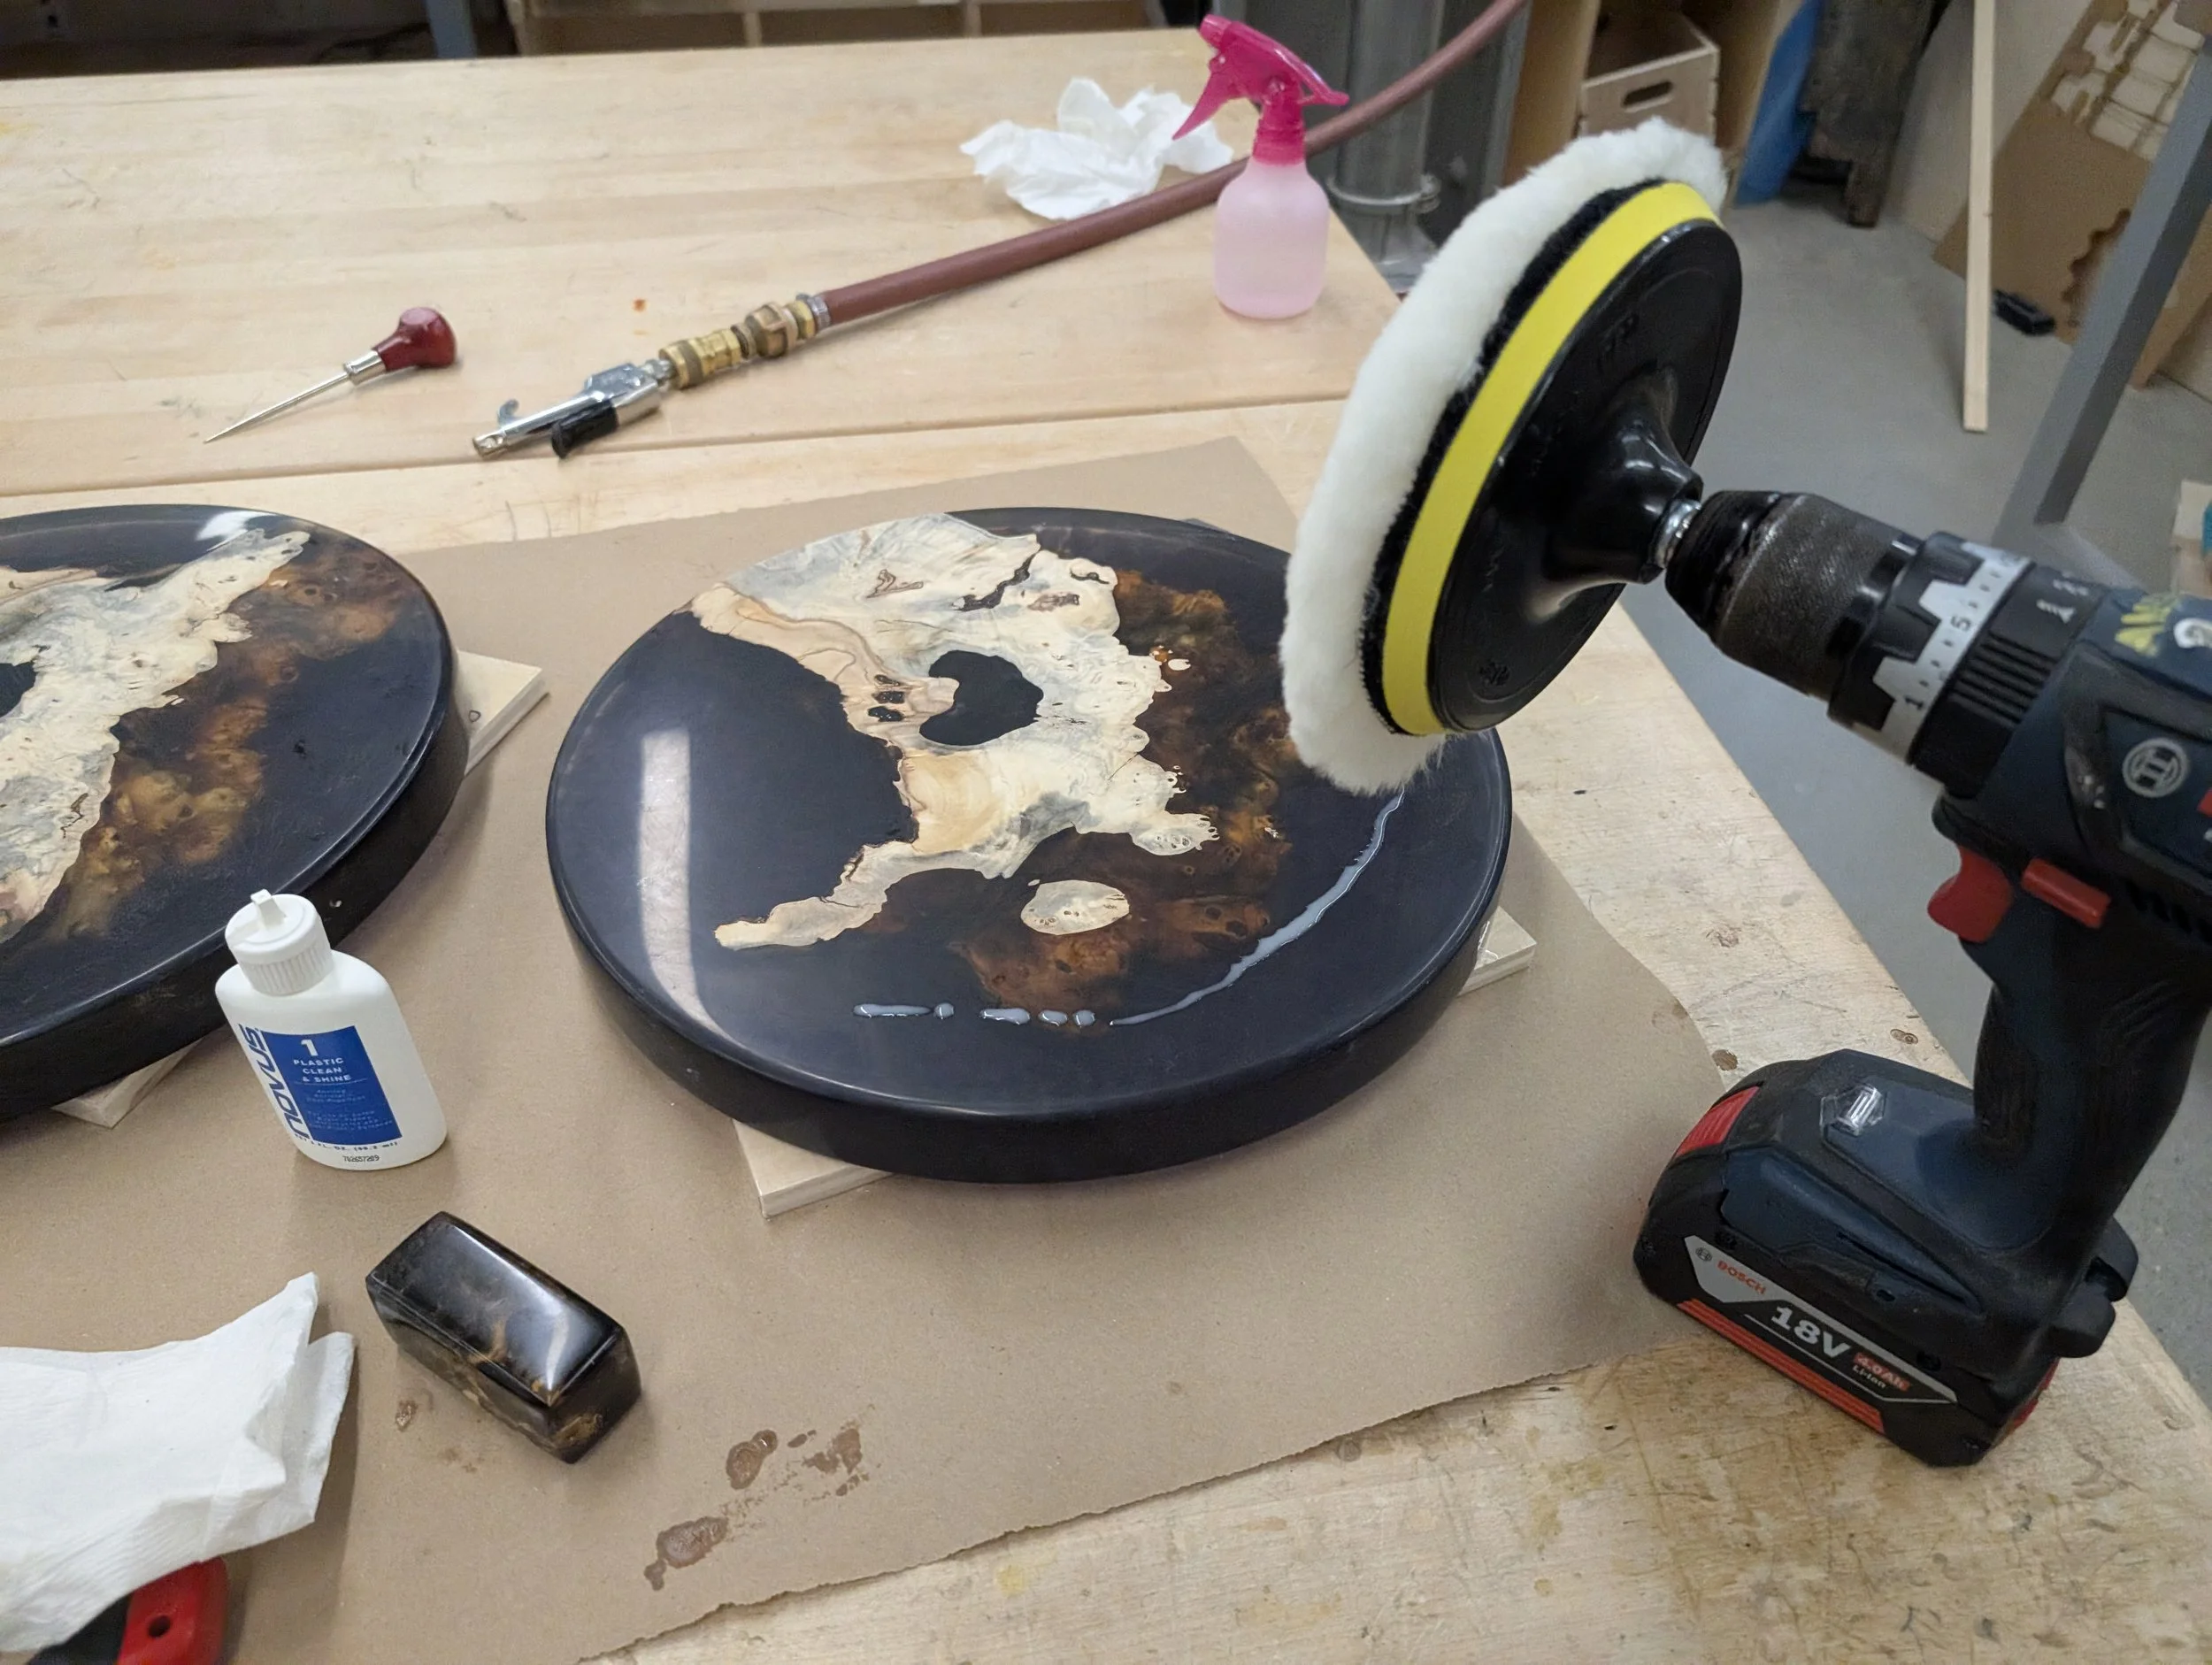
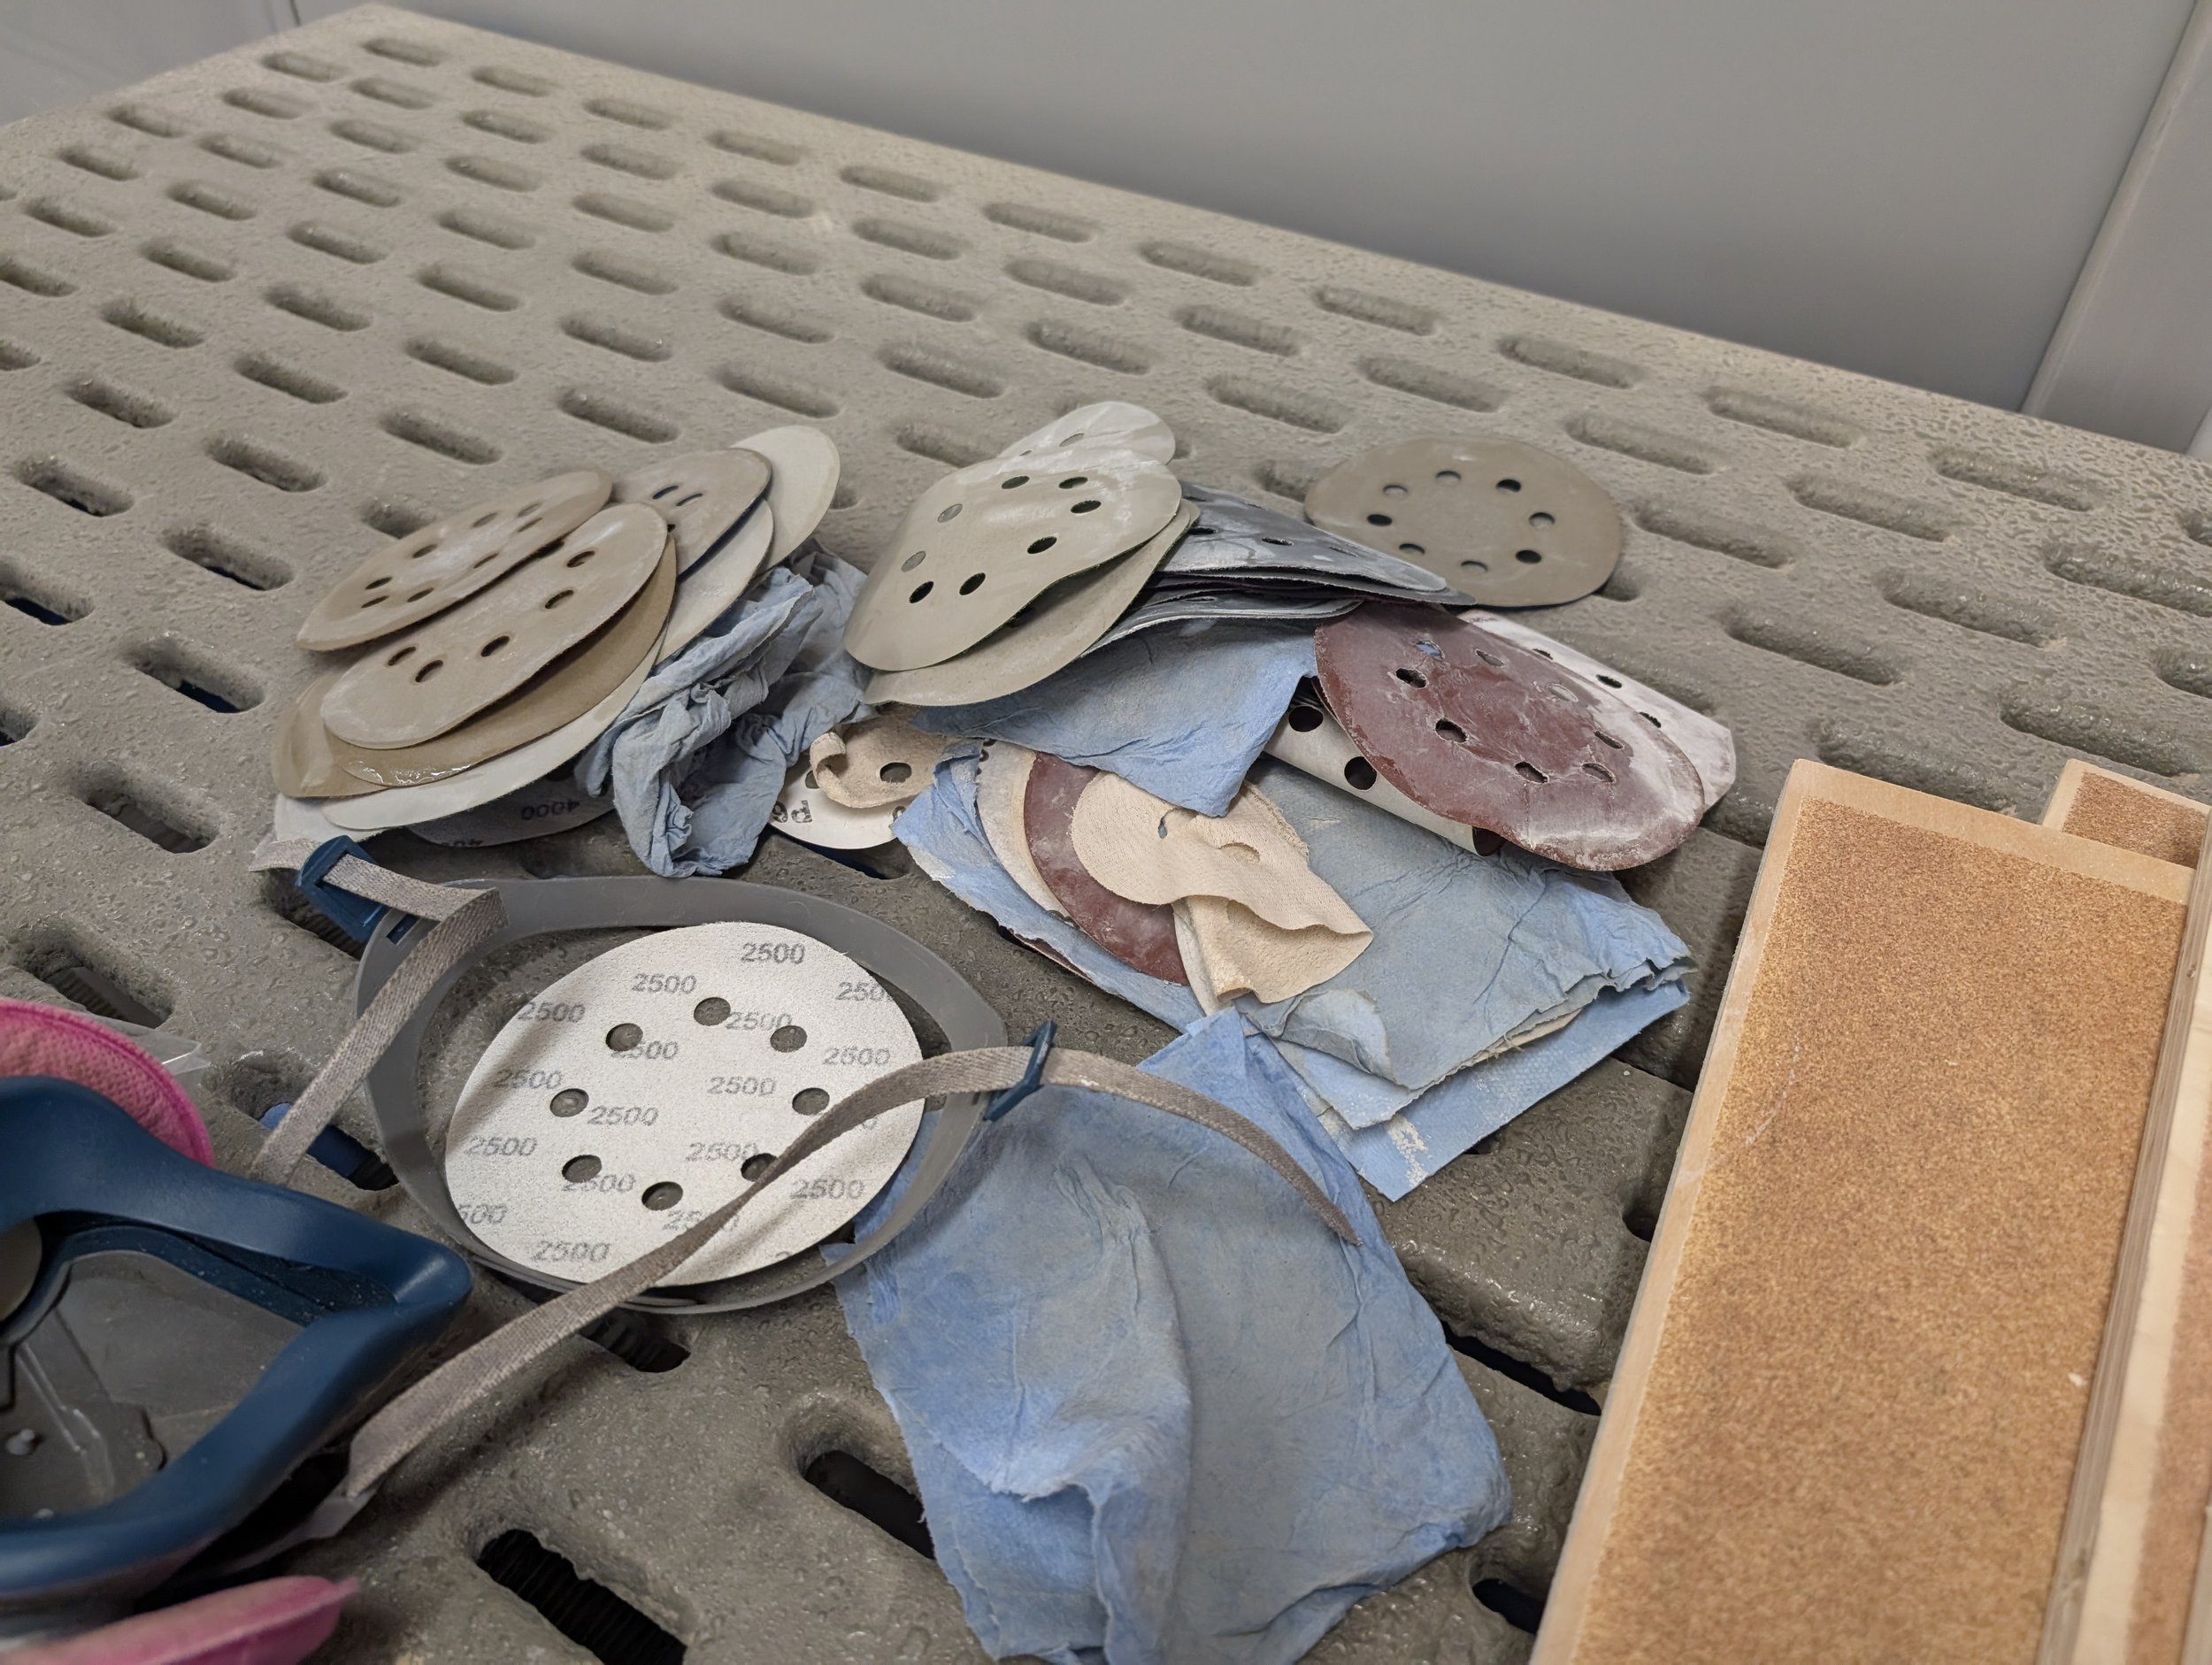
Sanding and polishing from 120 to 10,000 grit (about 8 hours)
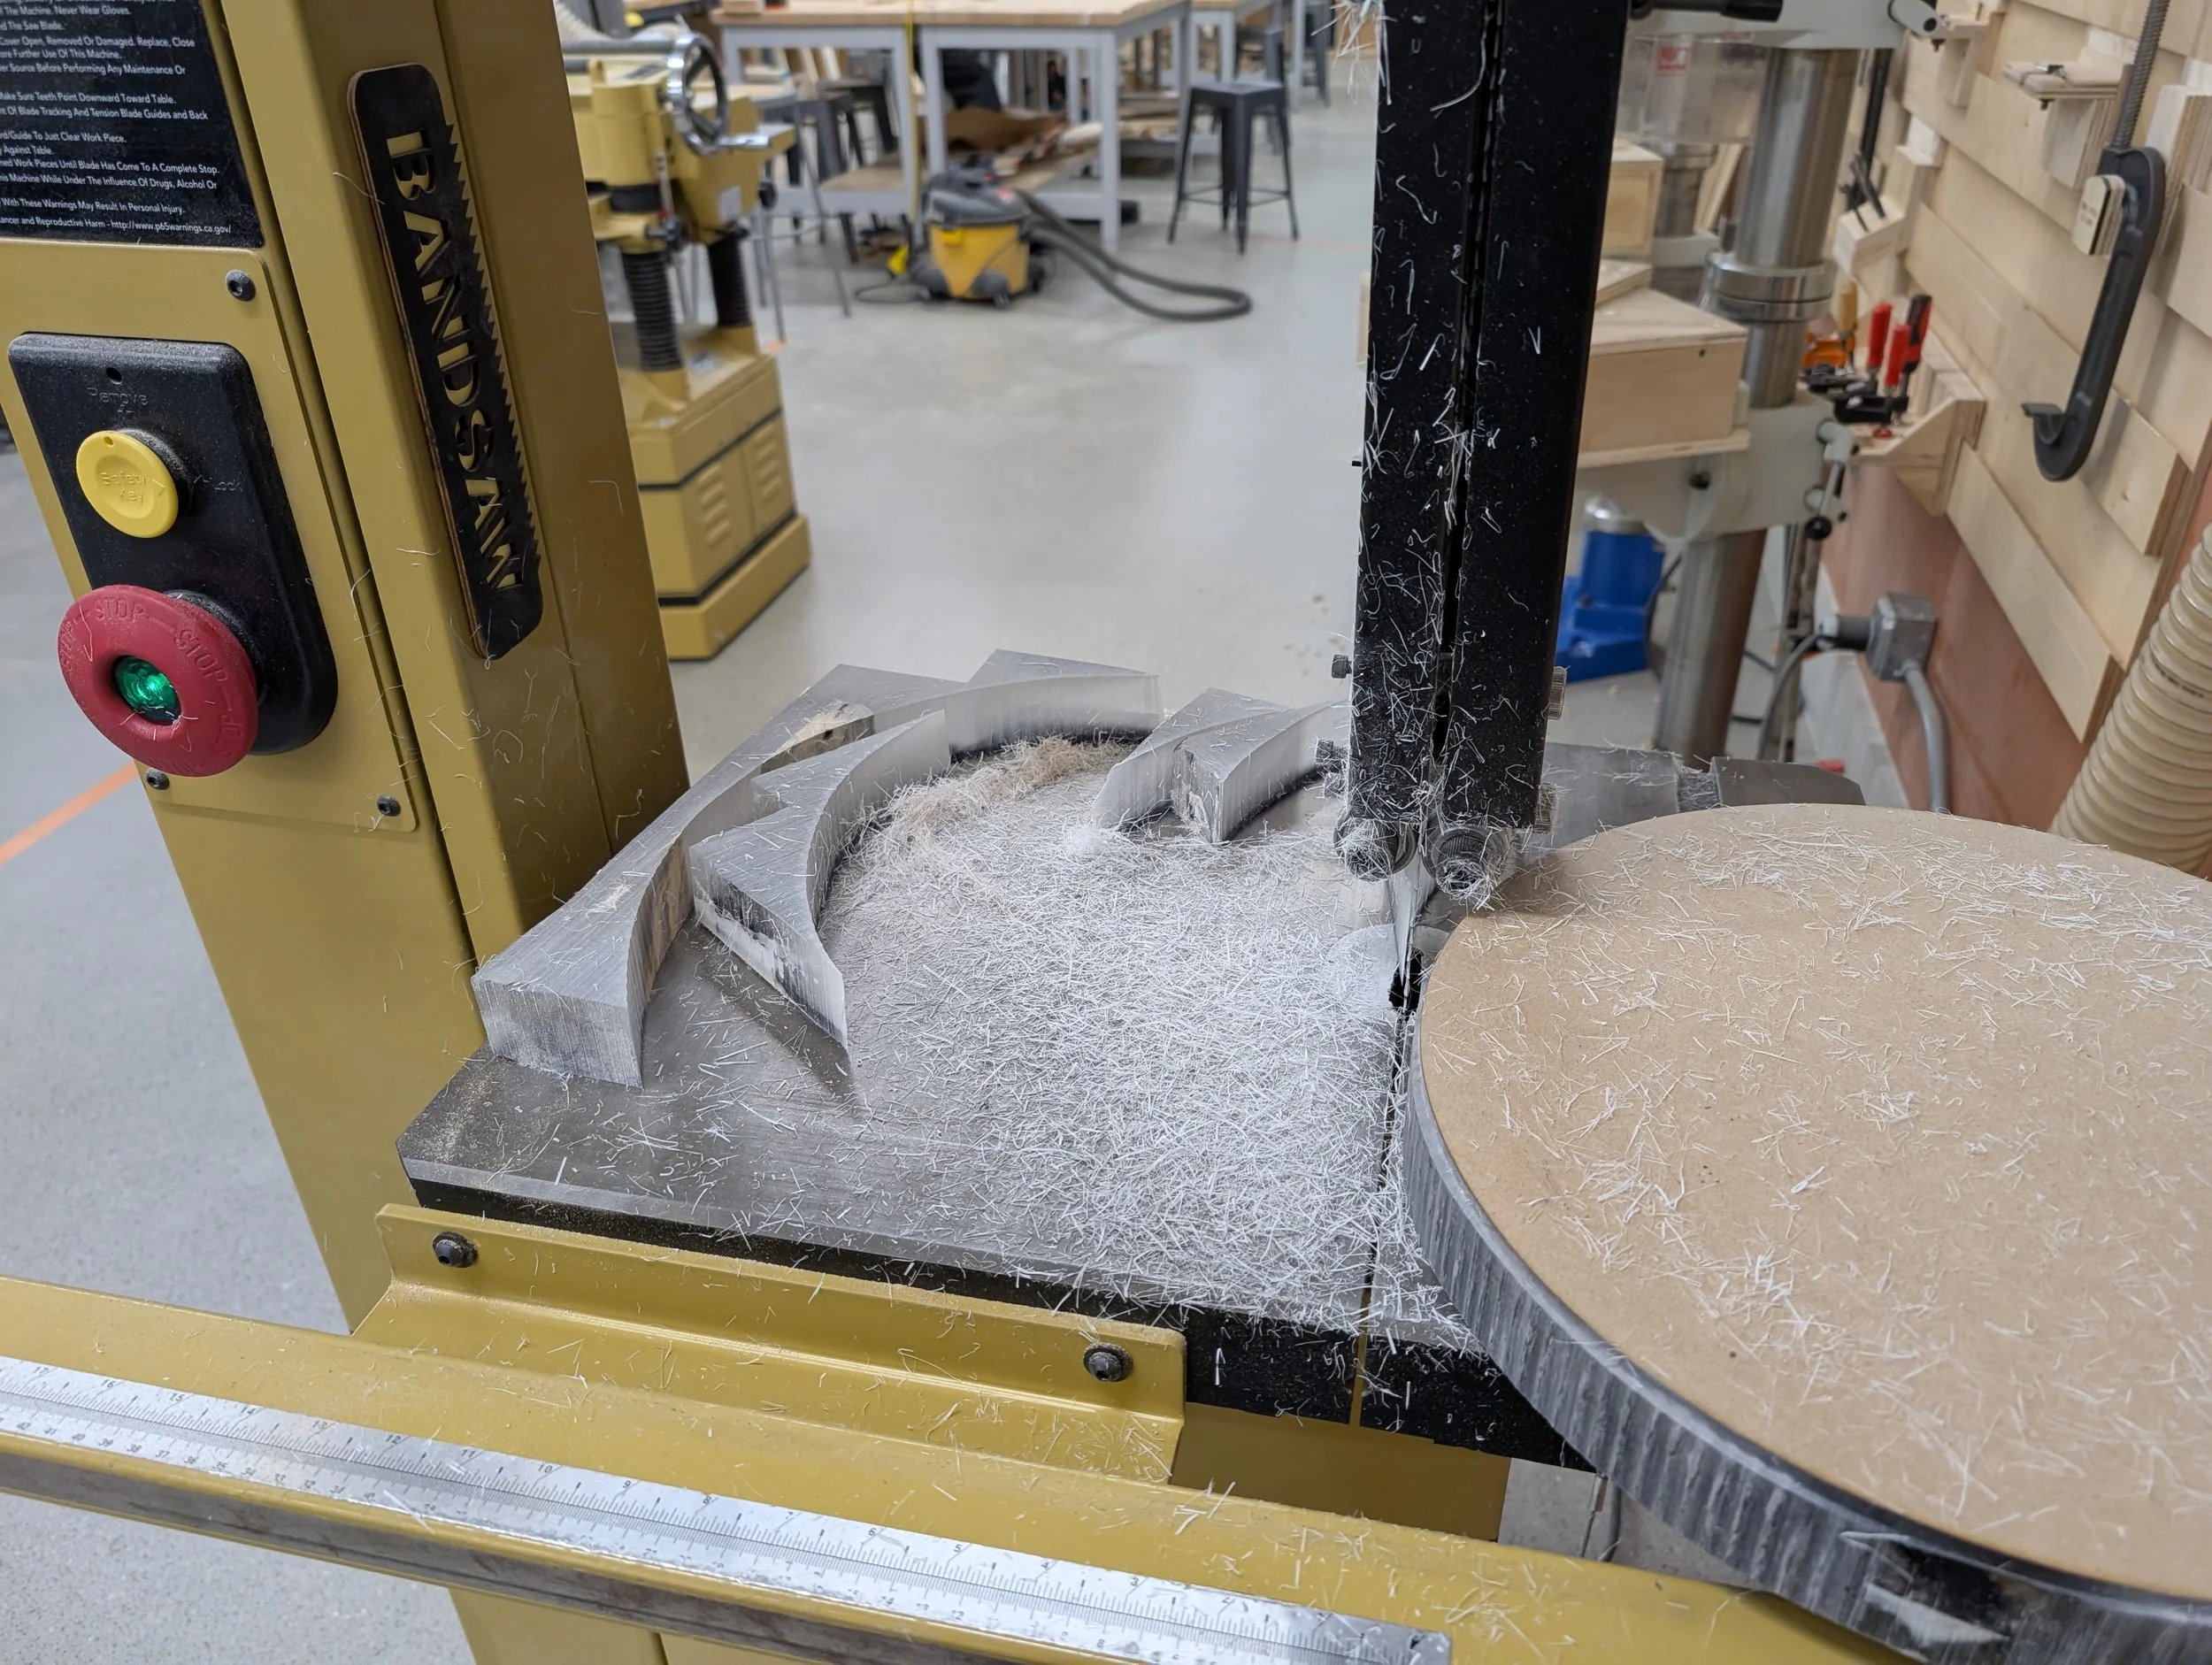
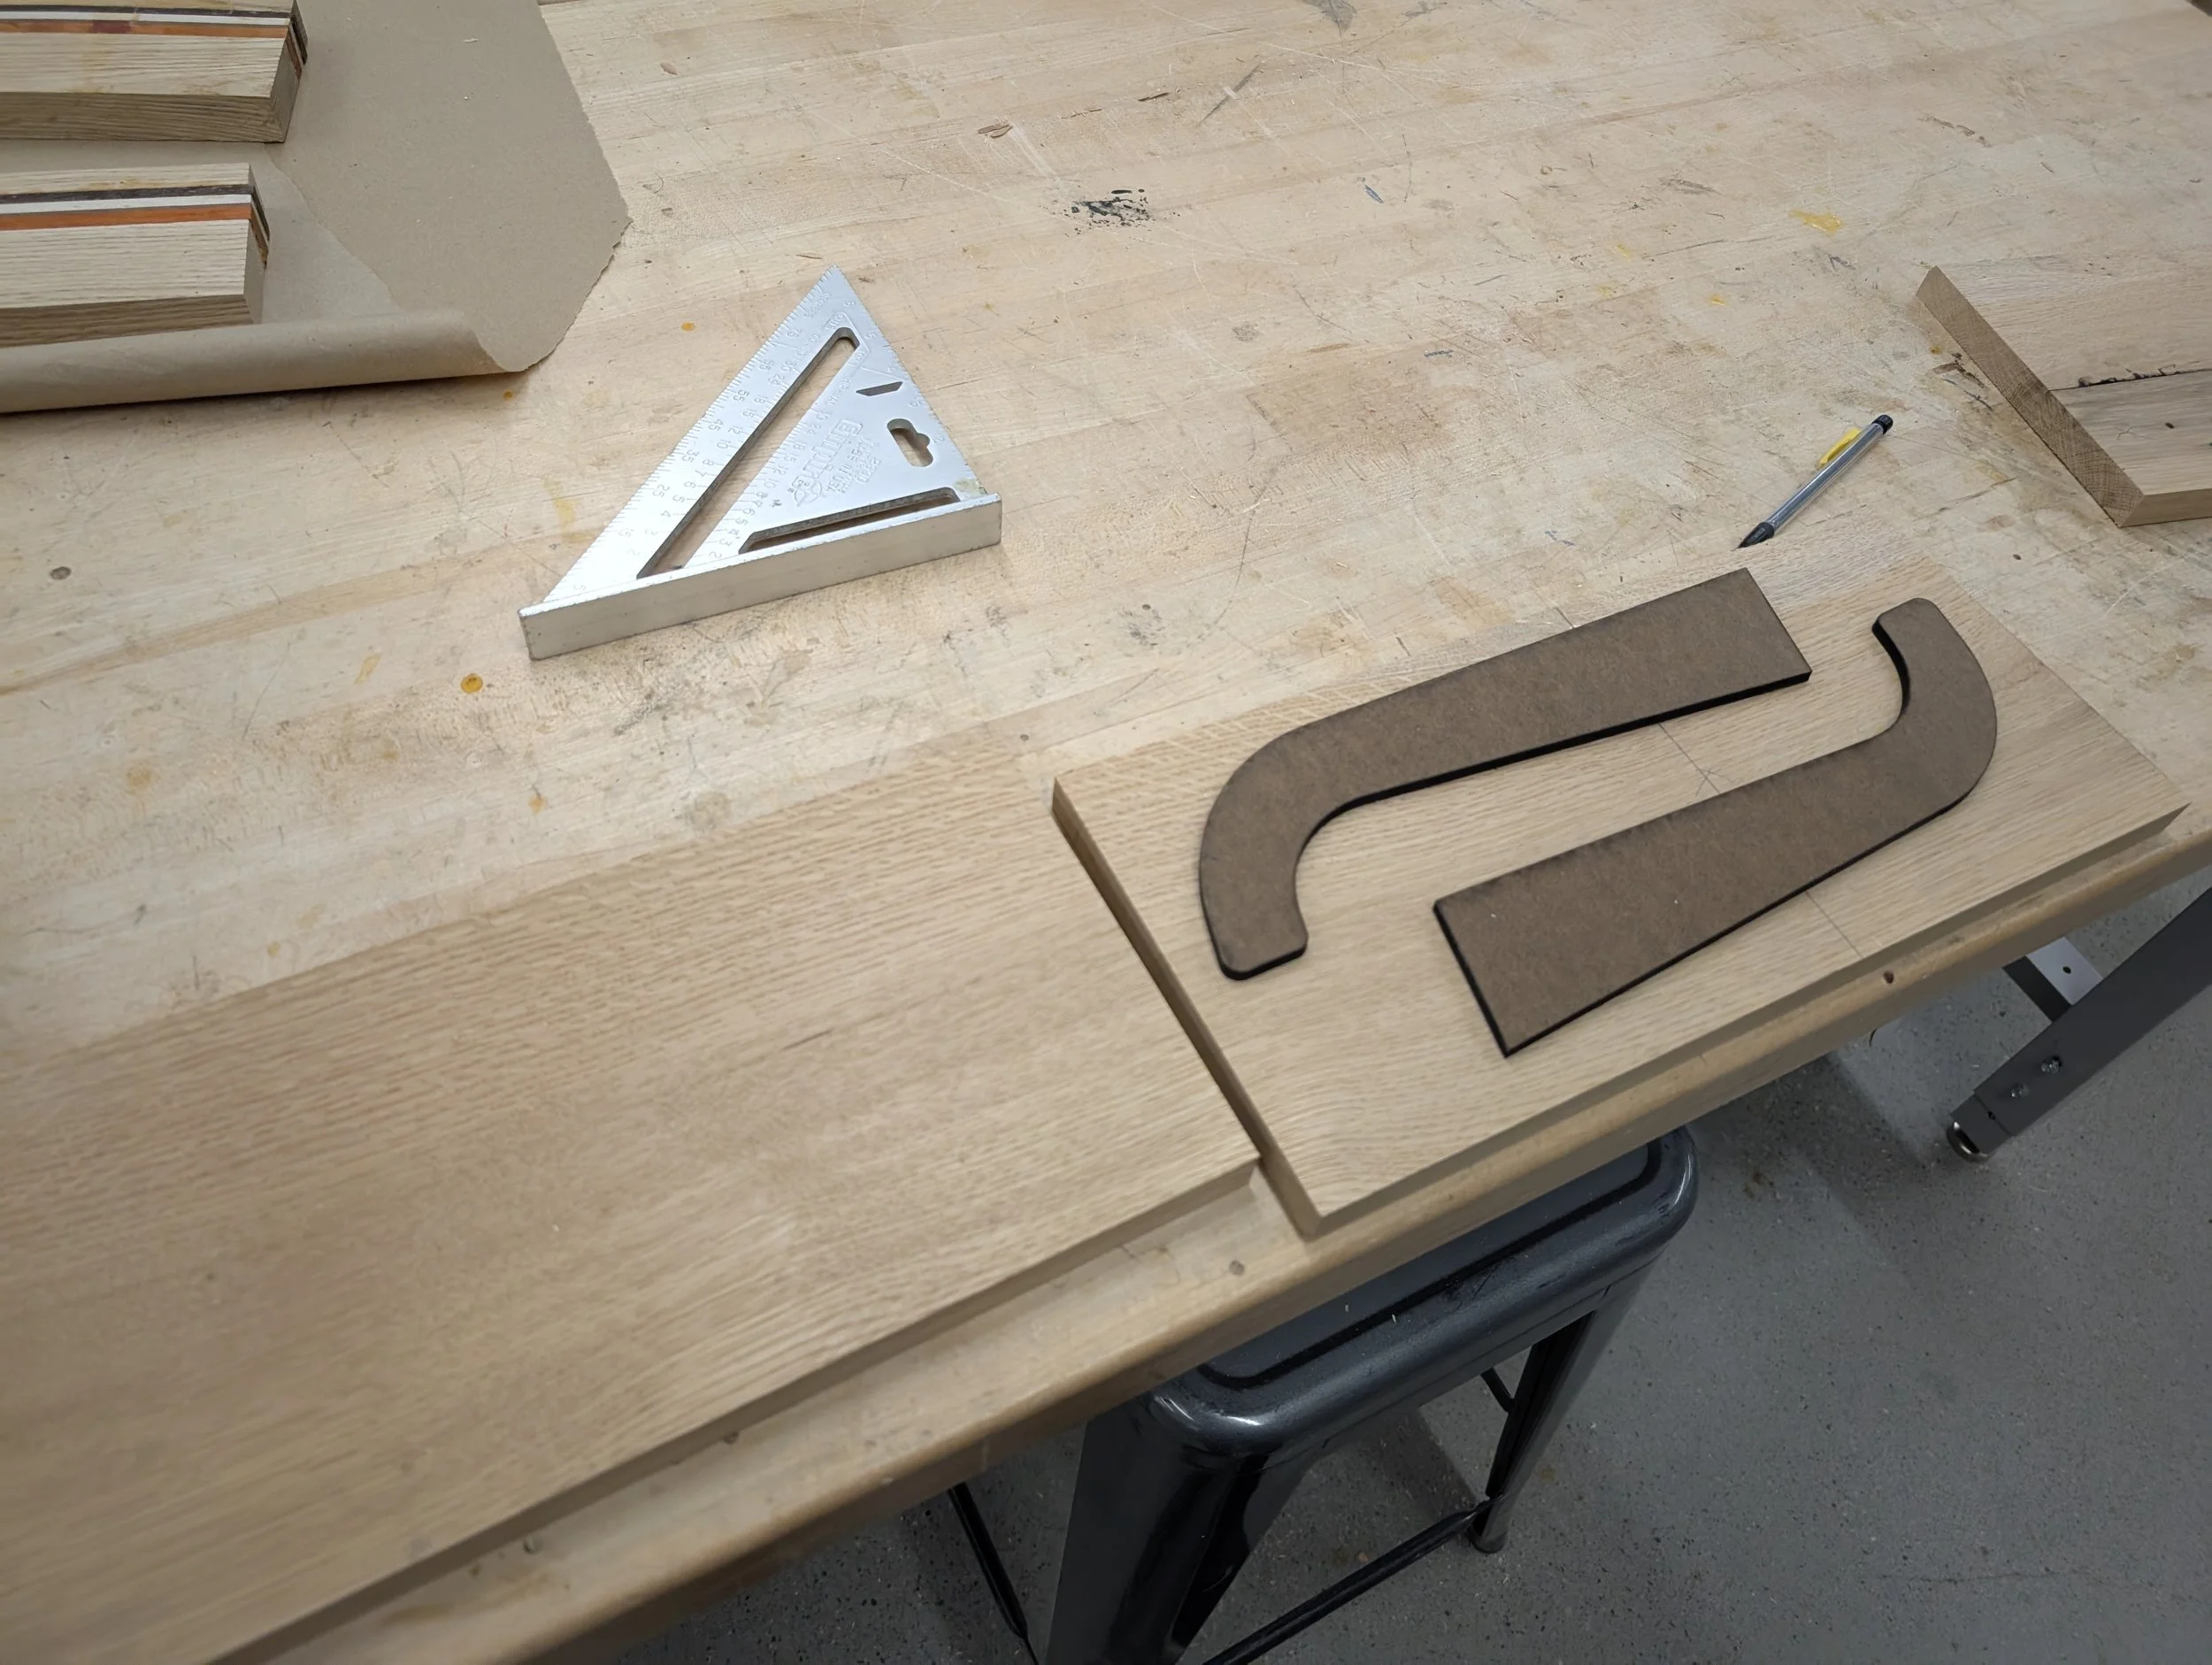
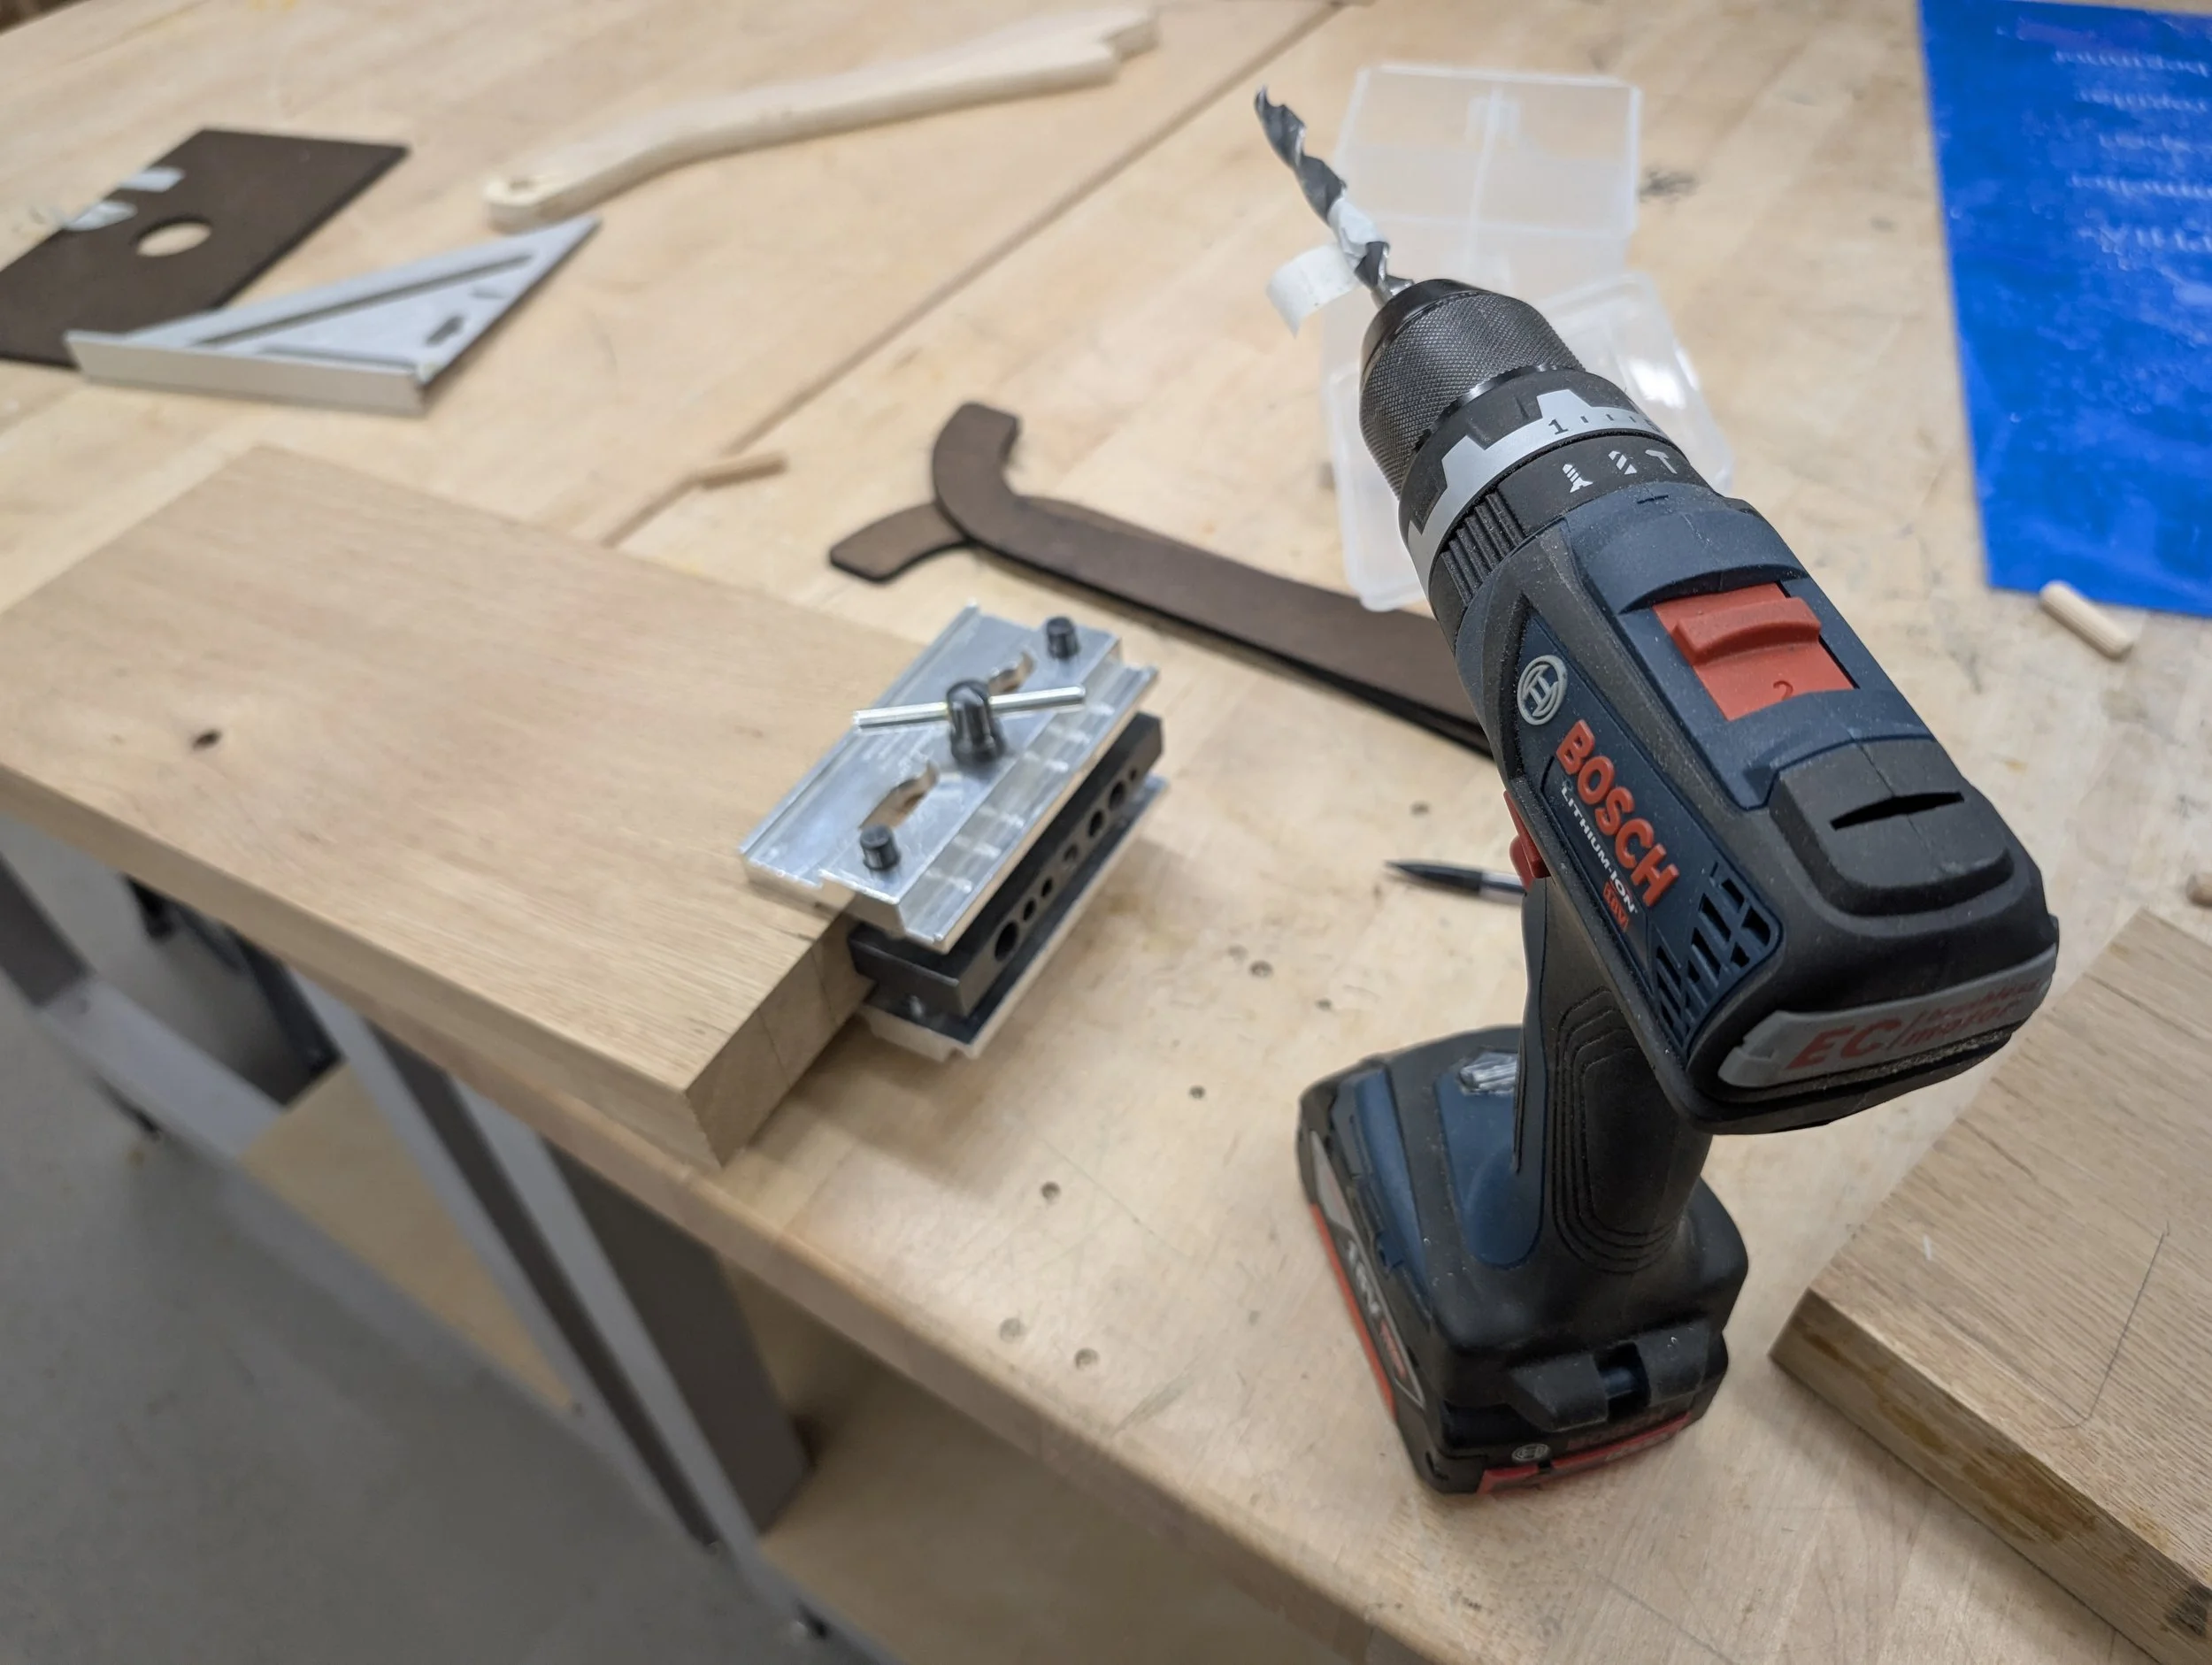
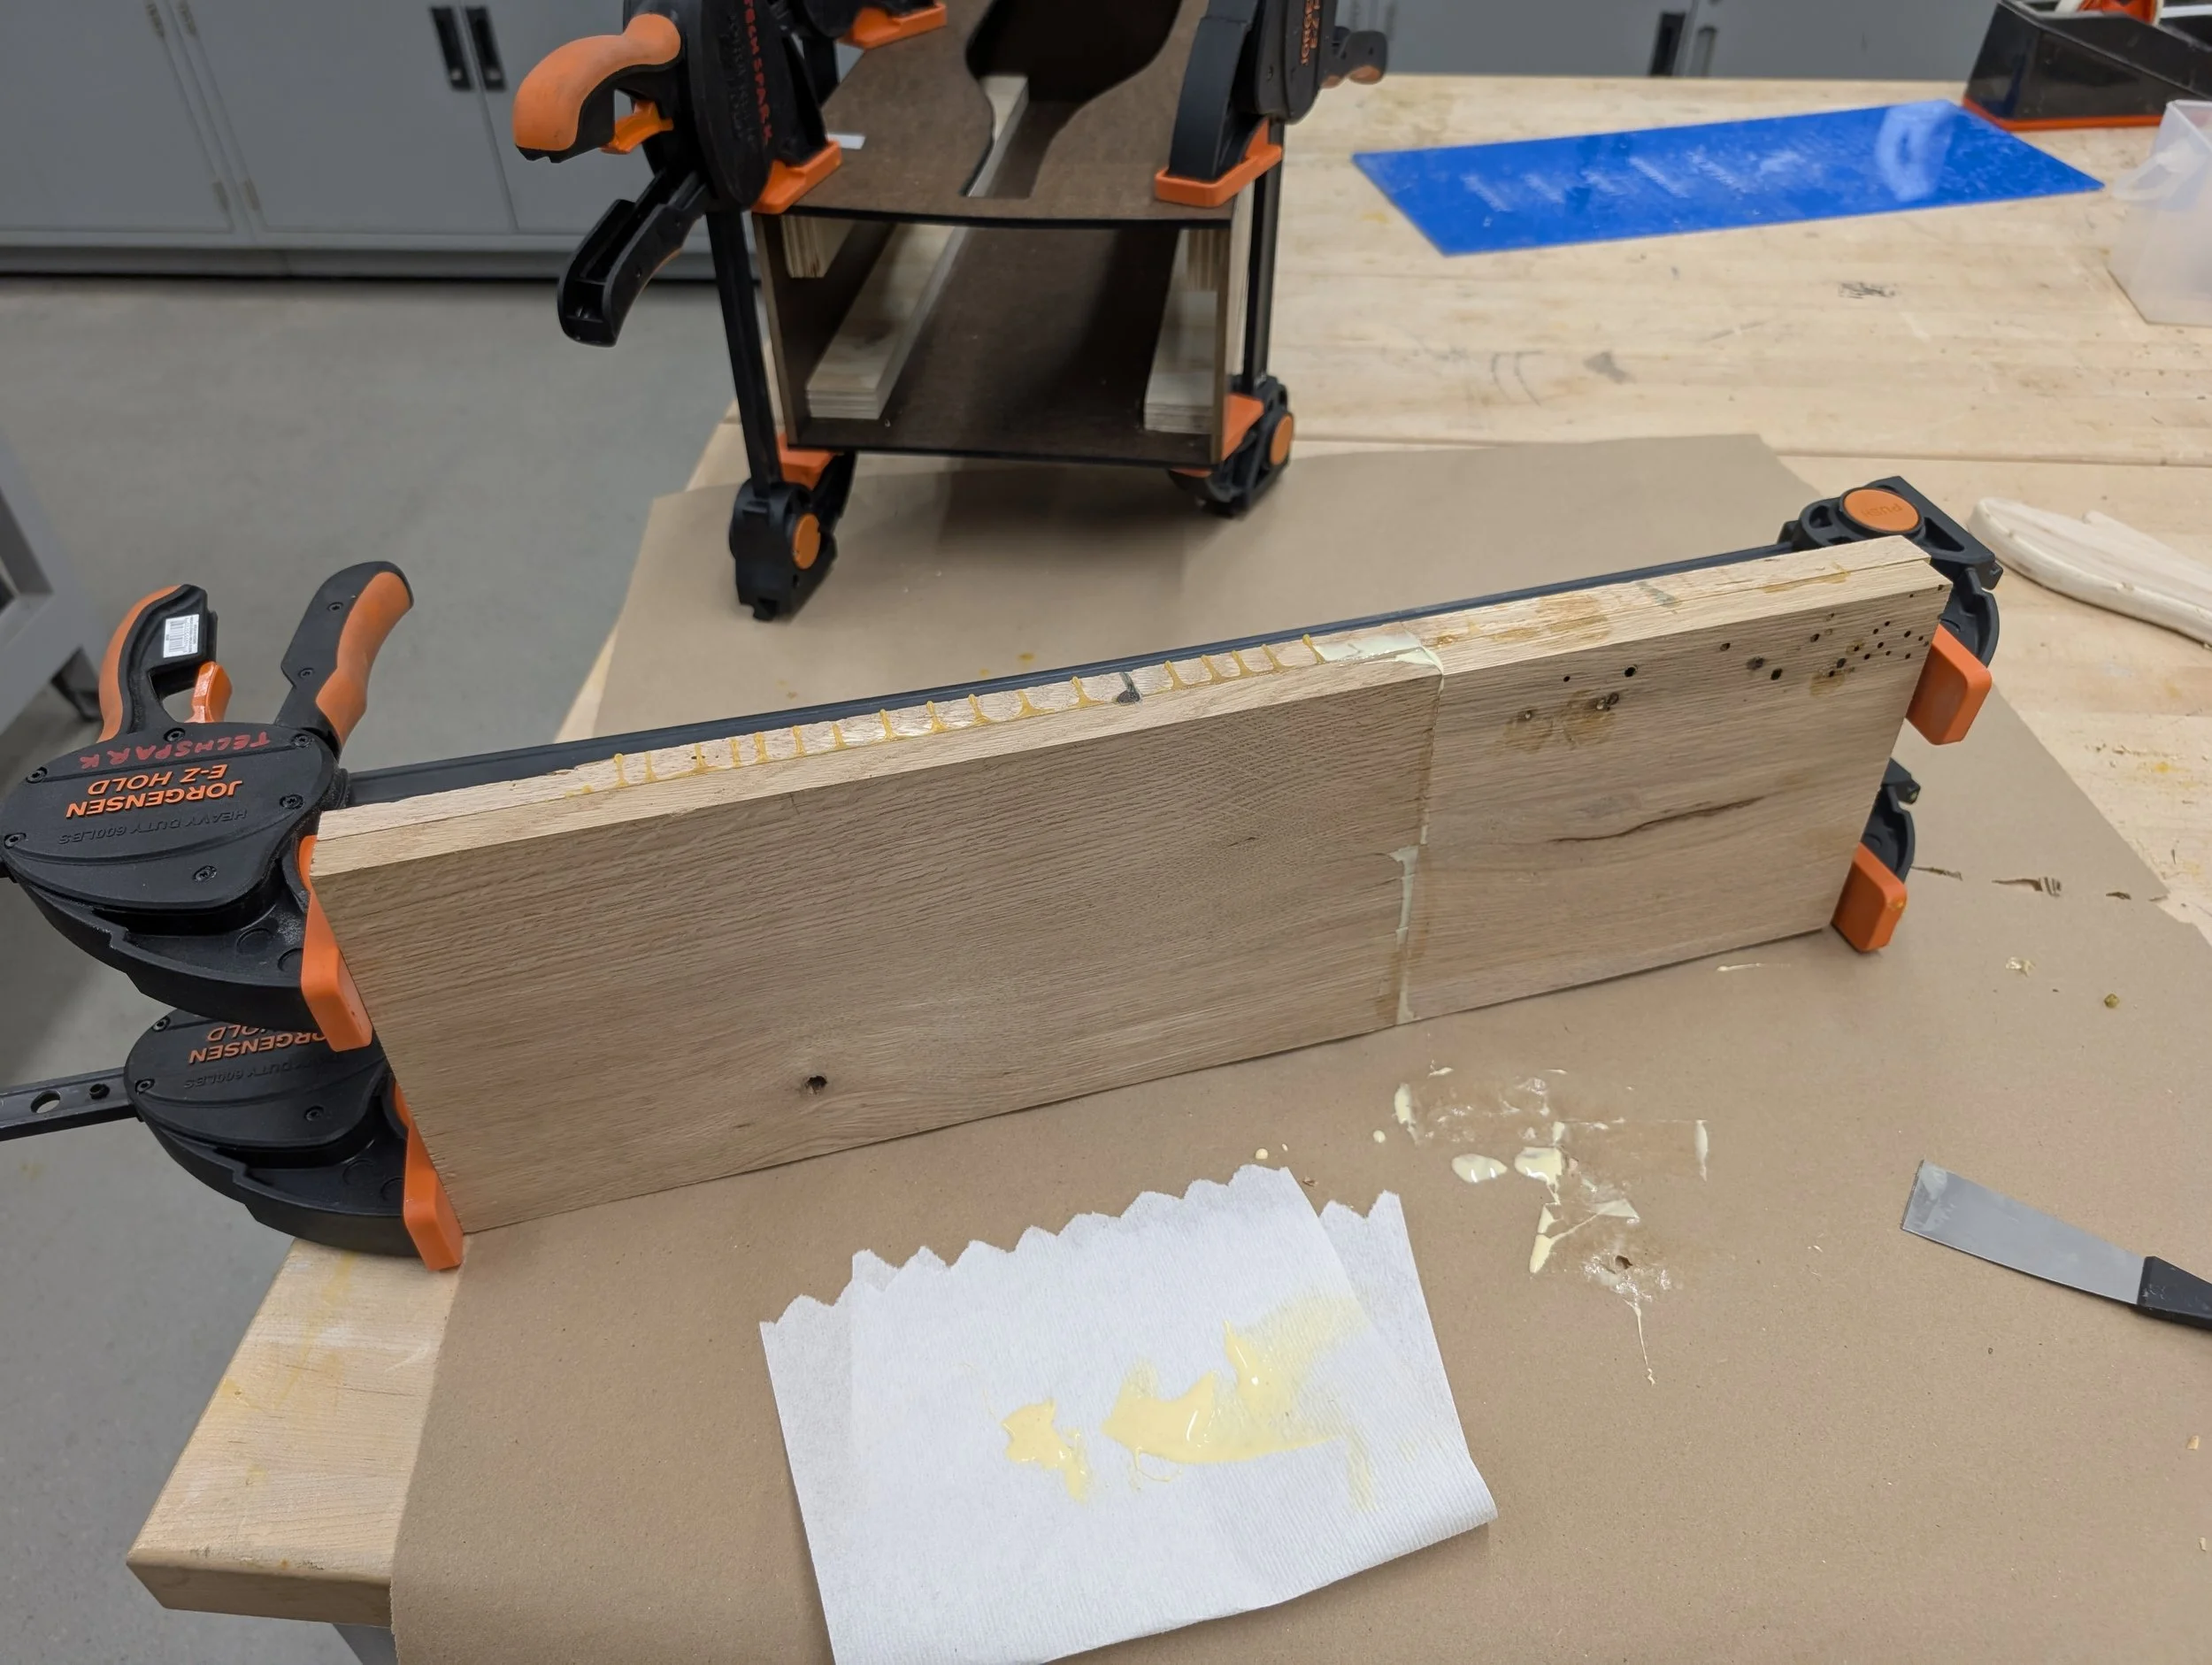
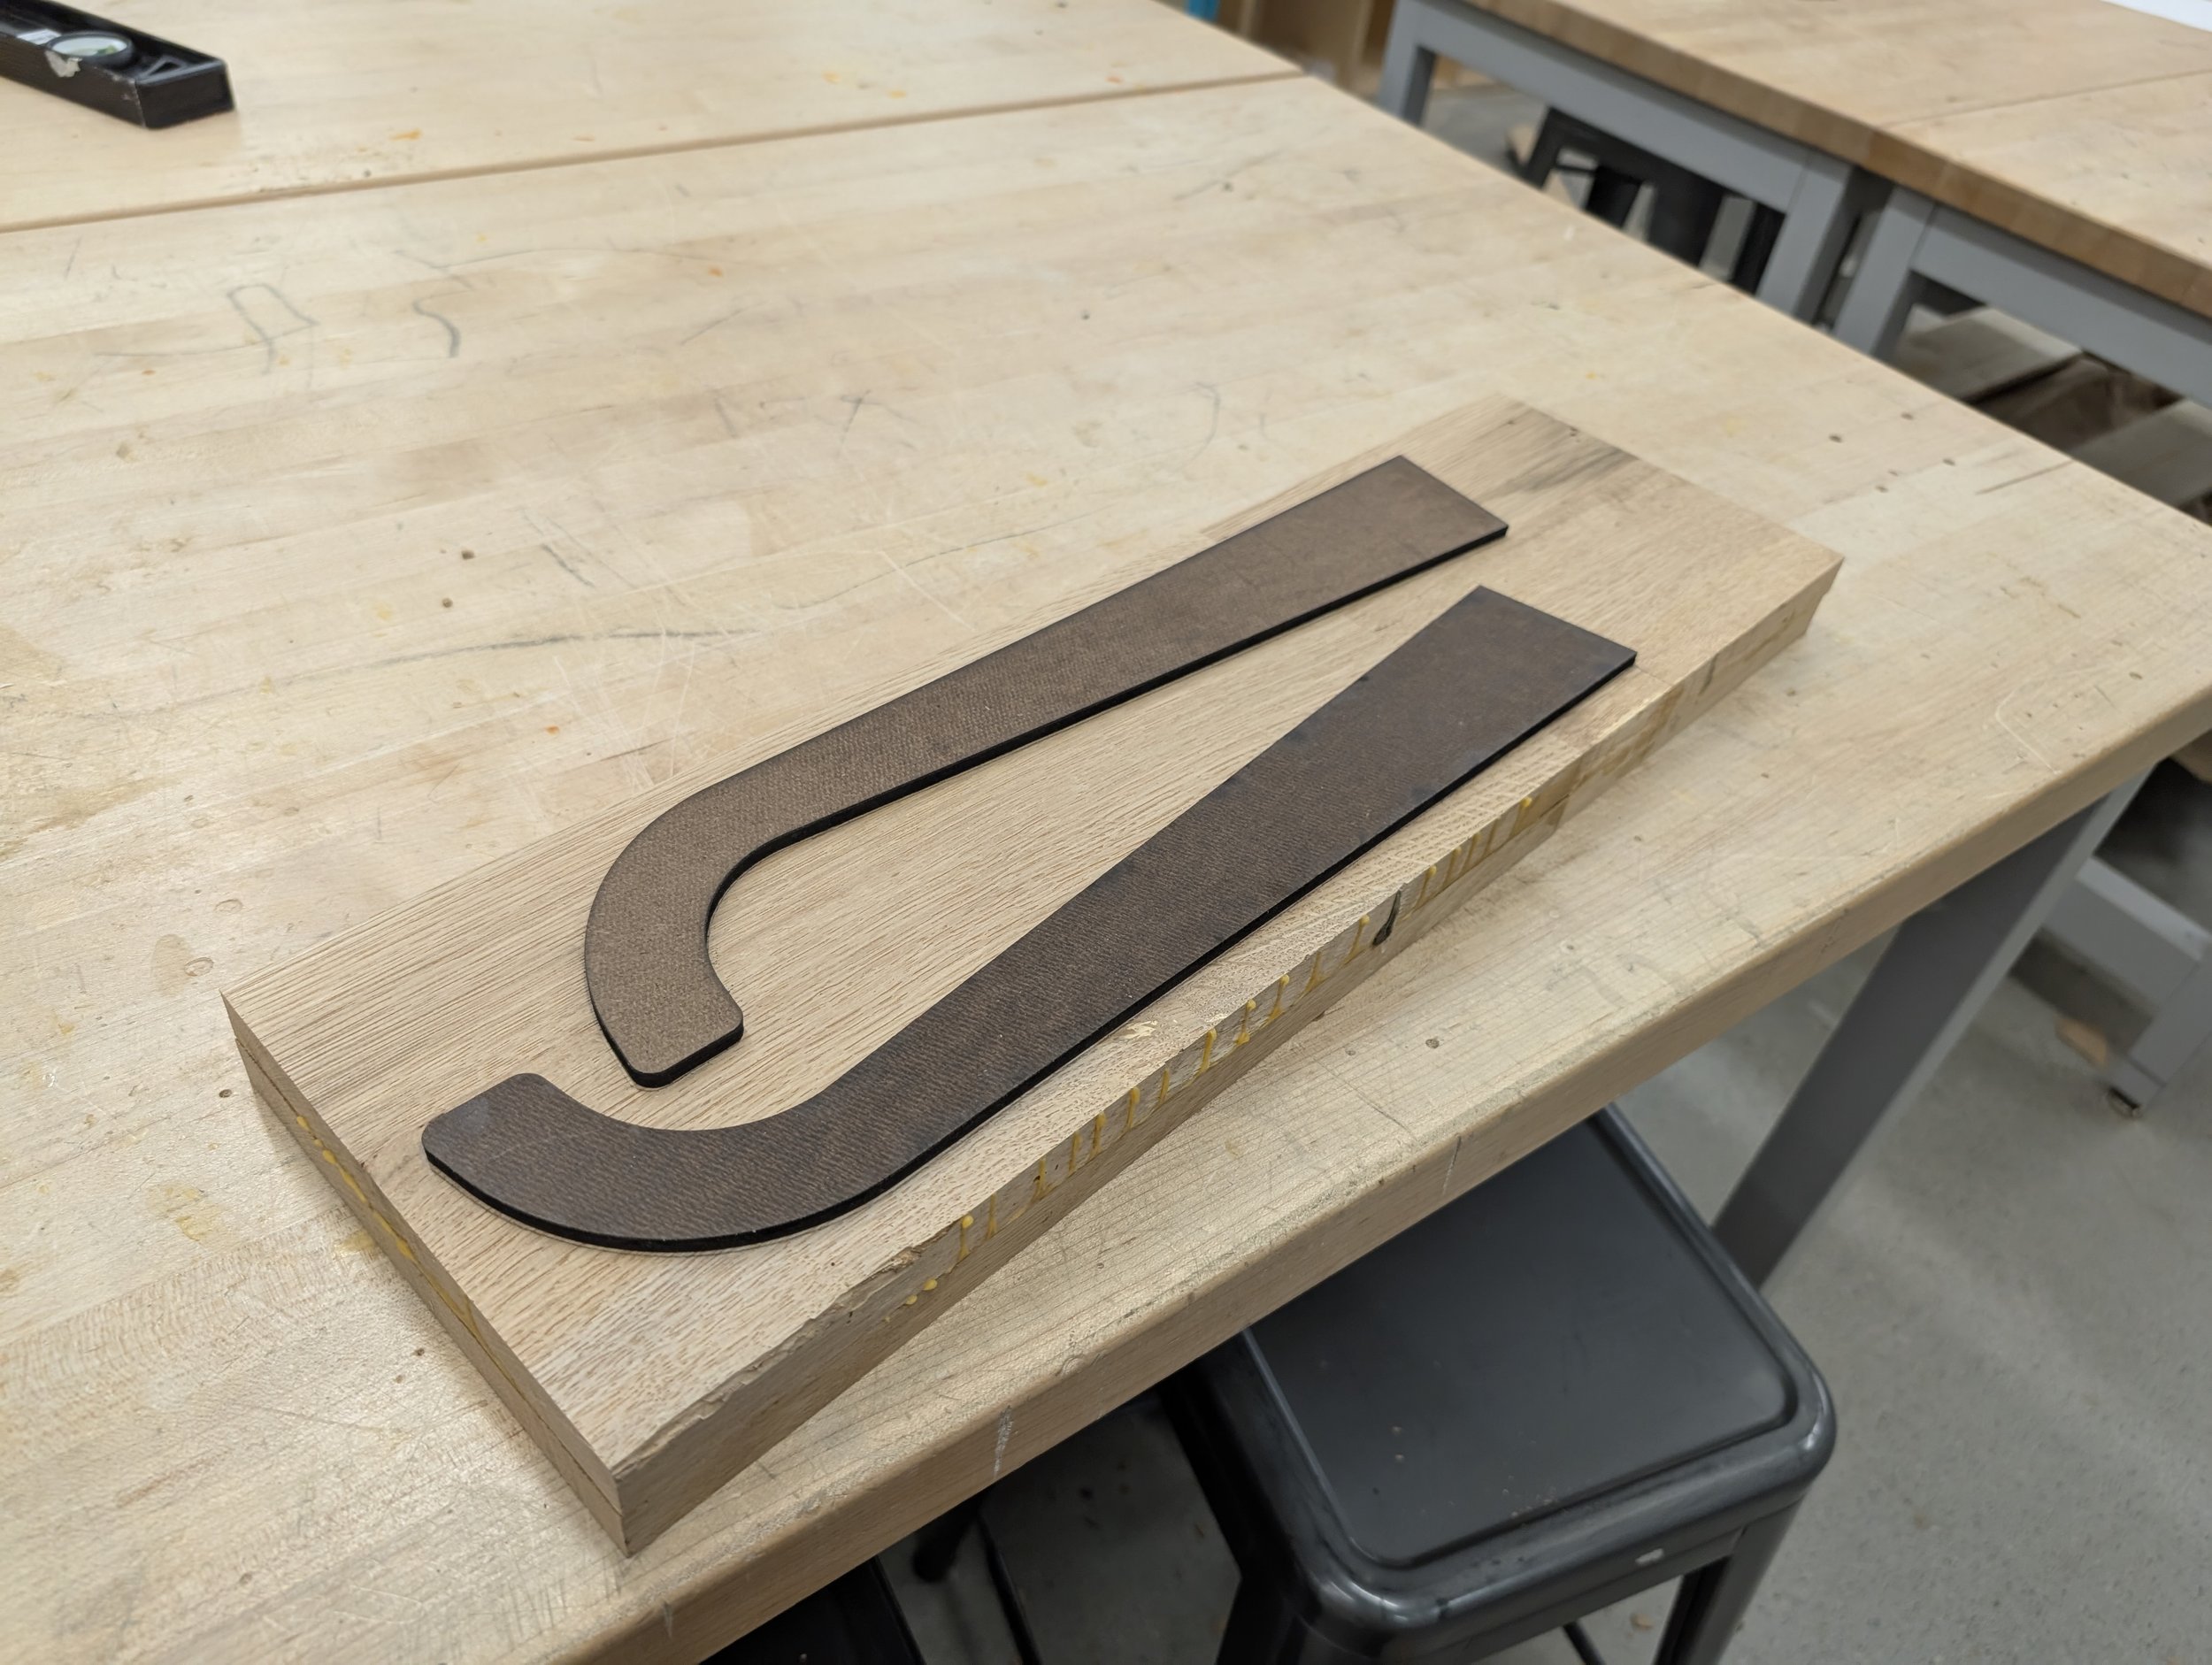
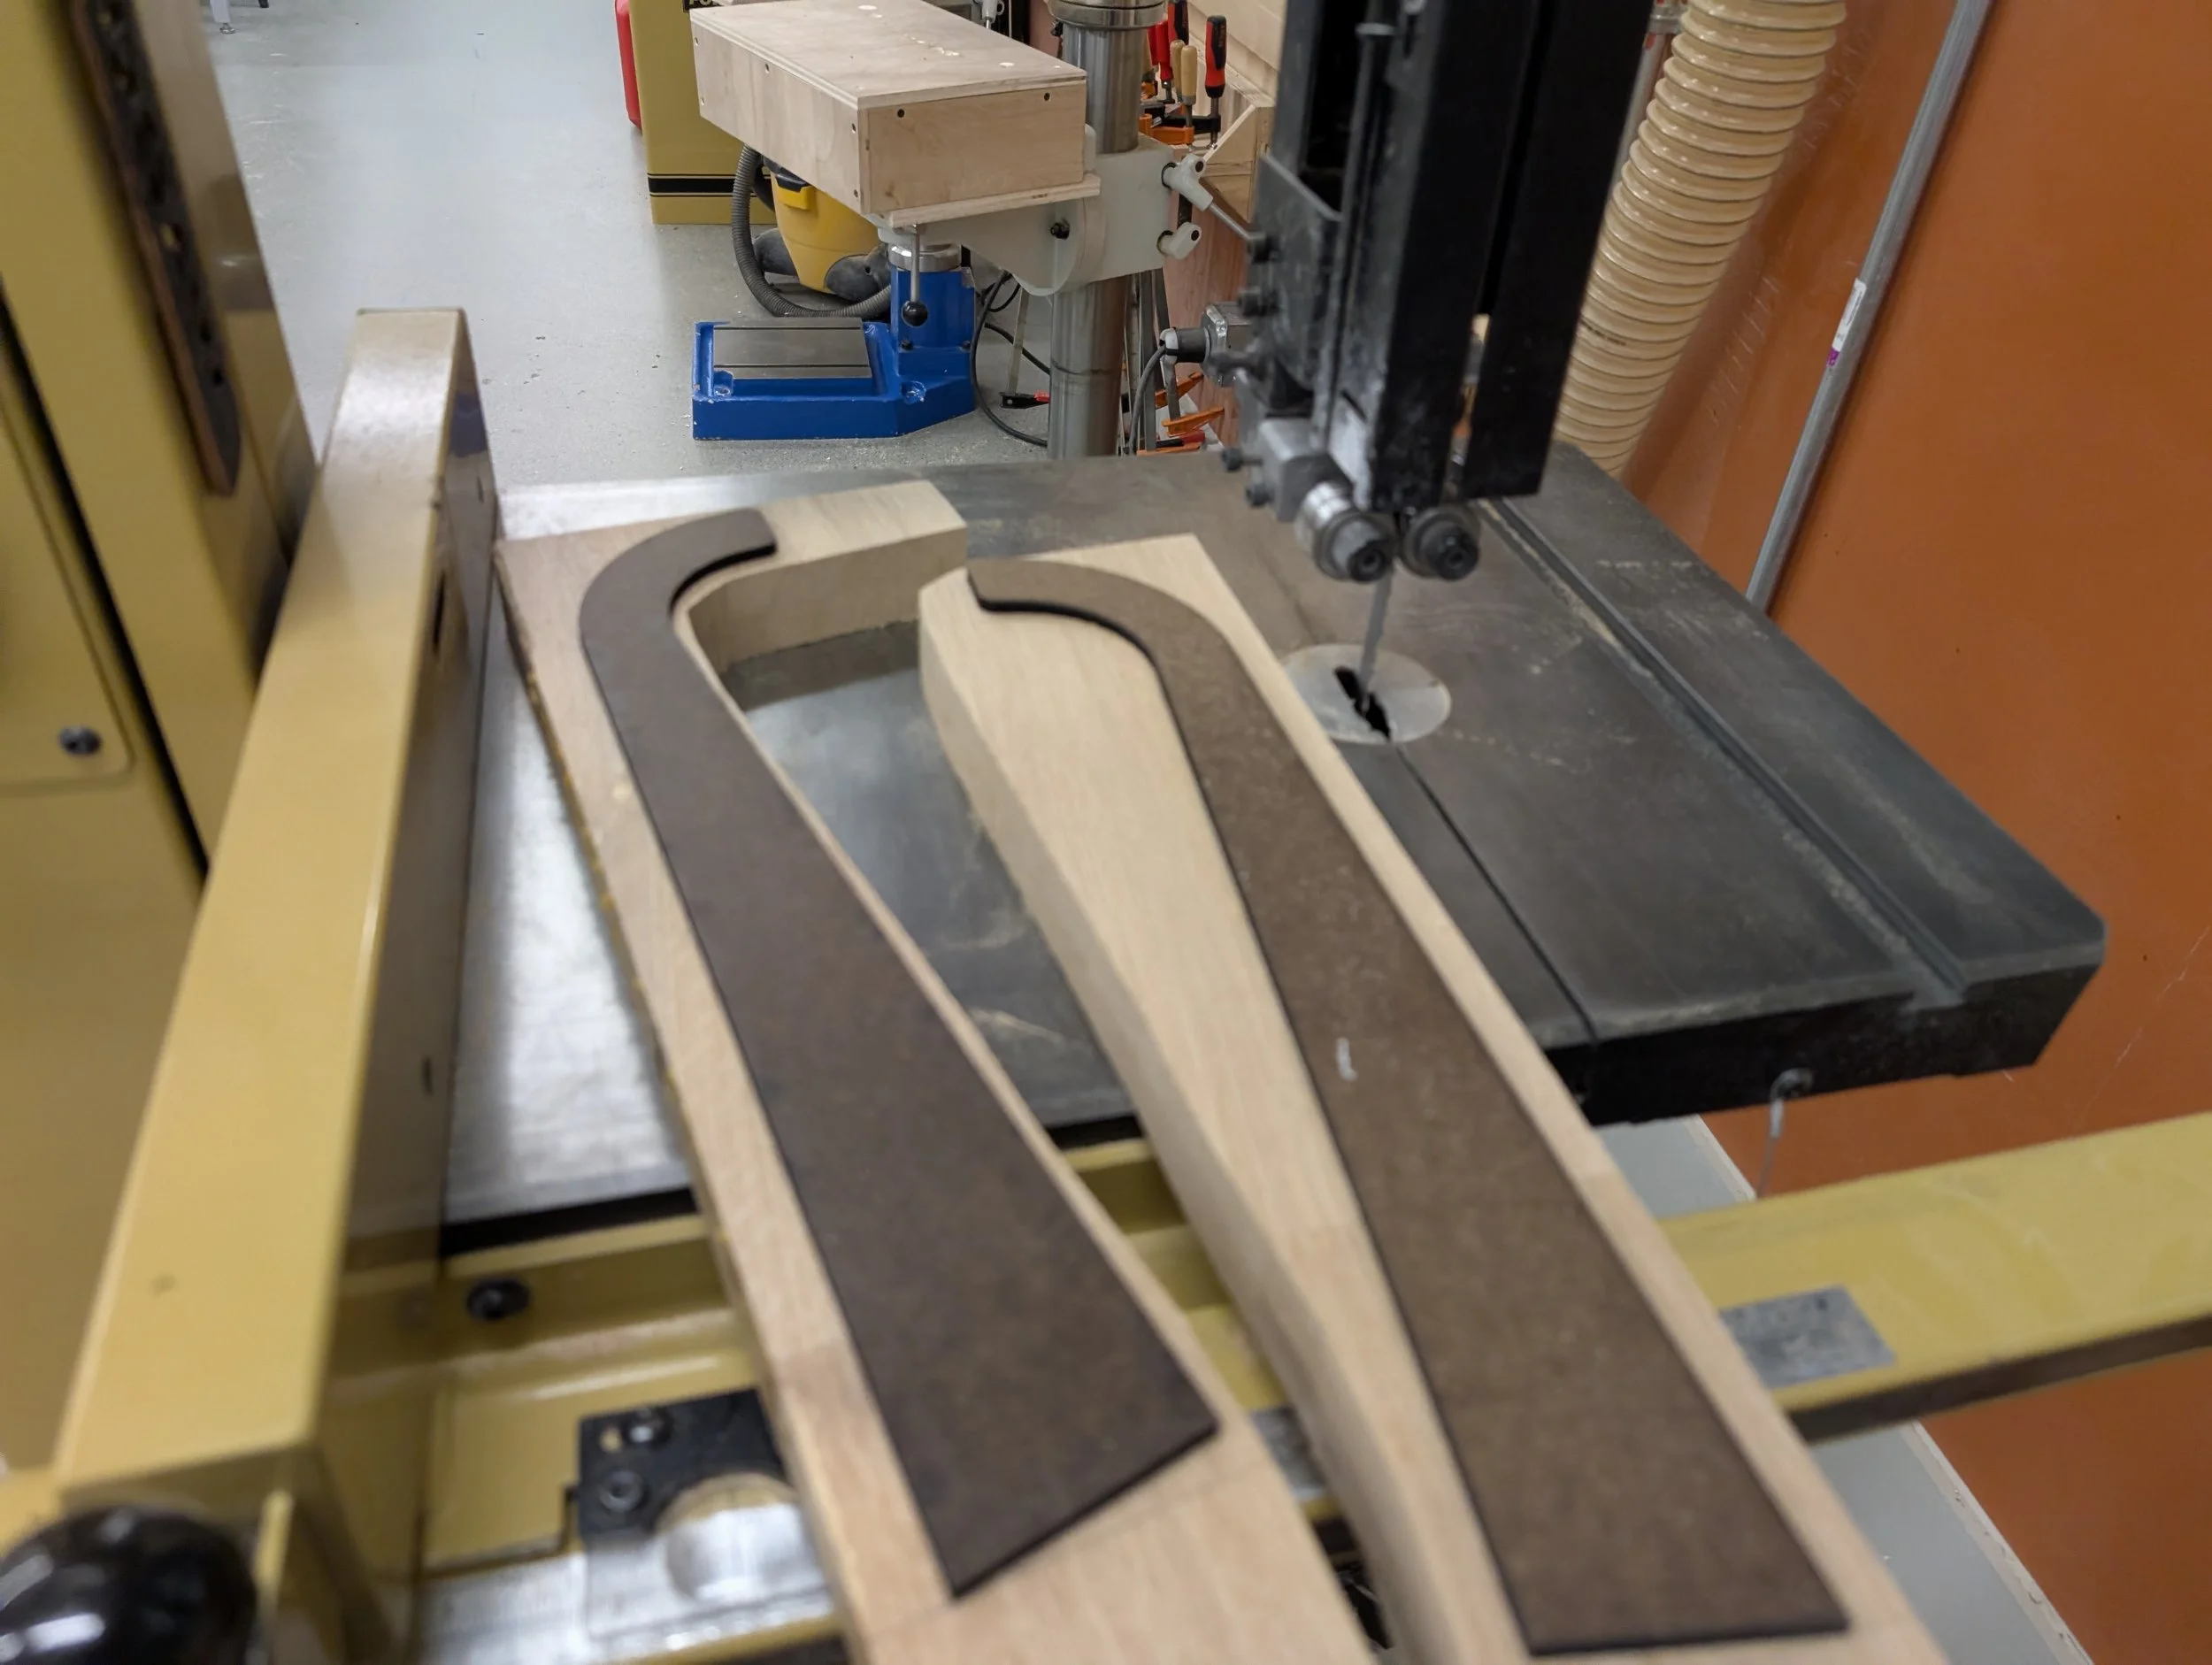
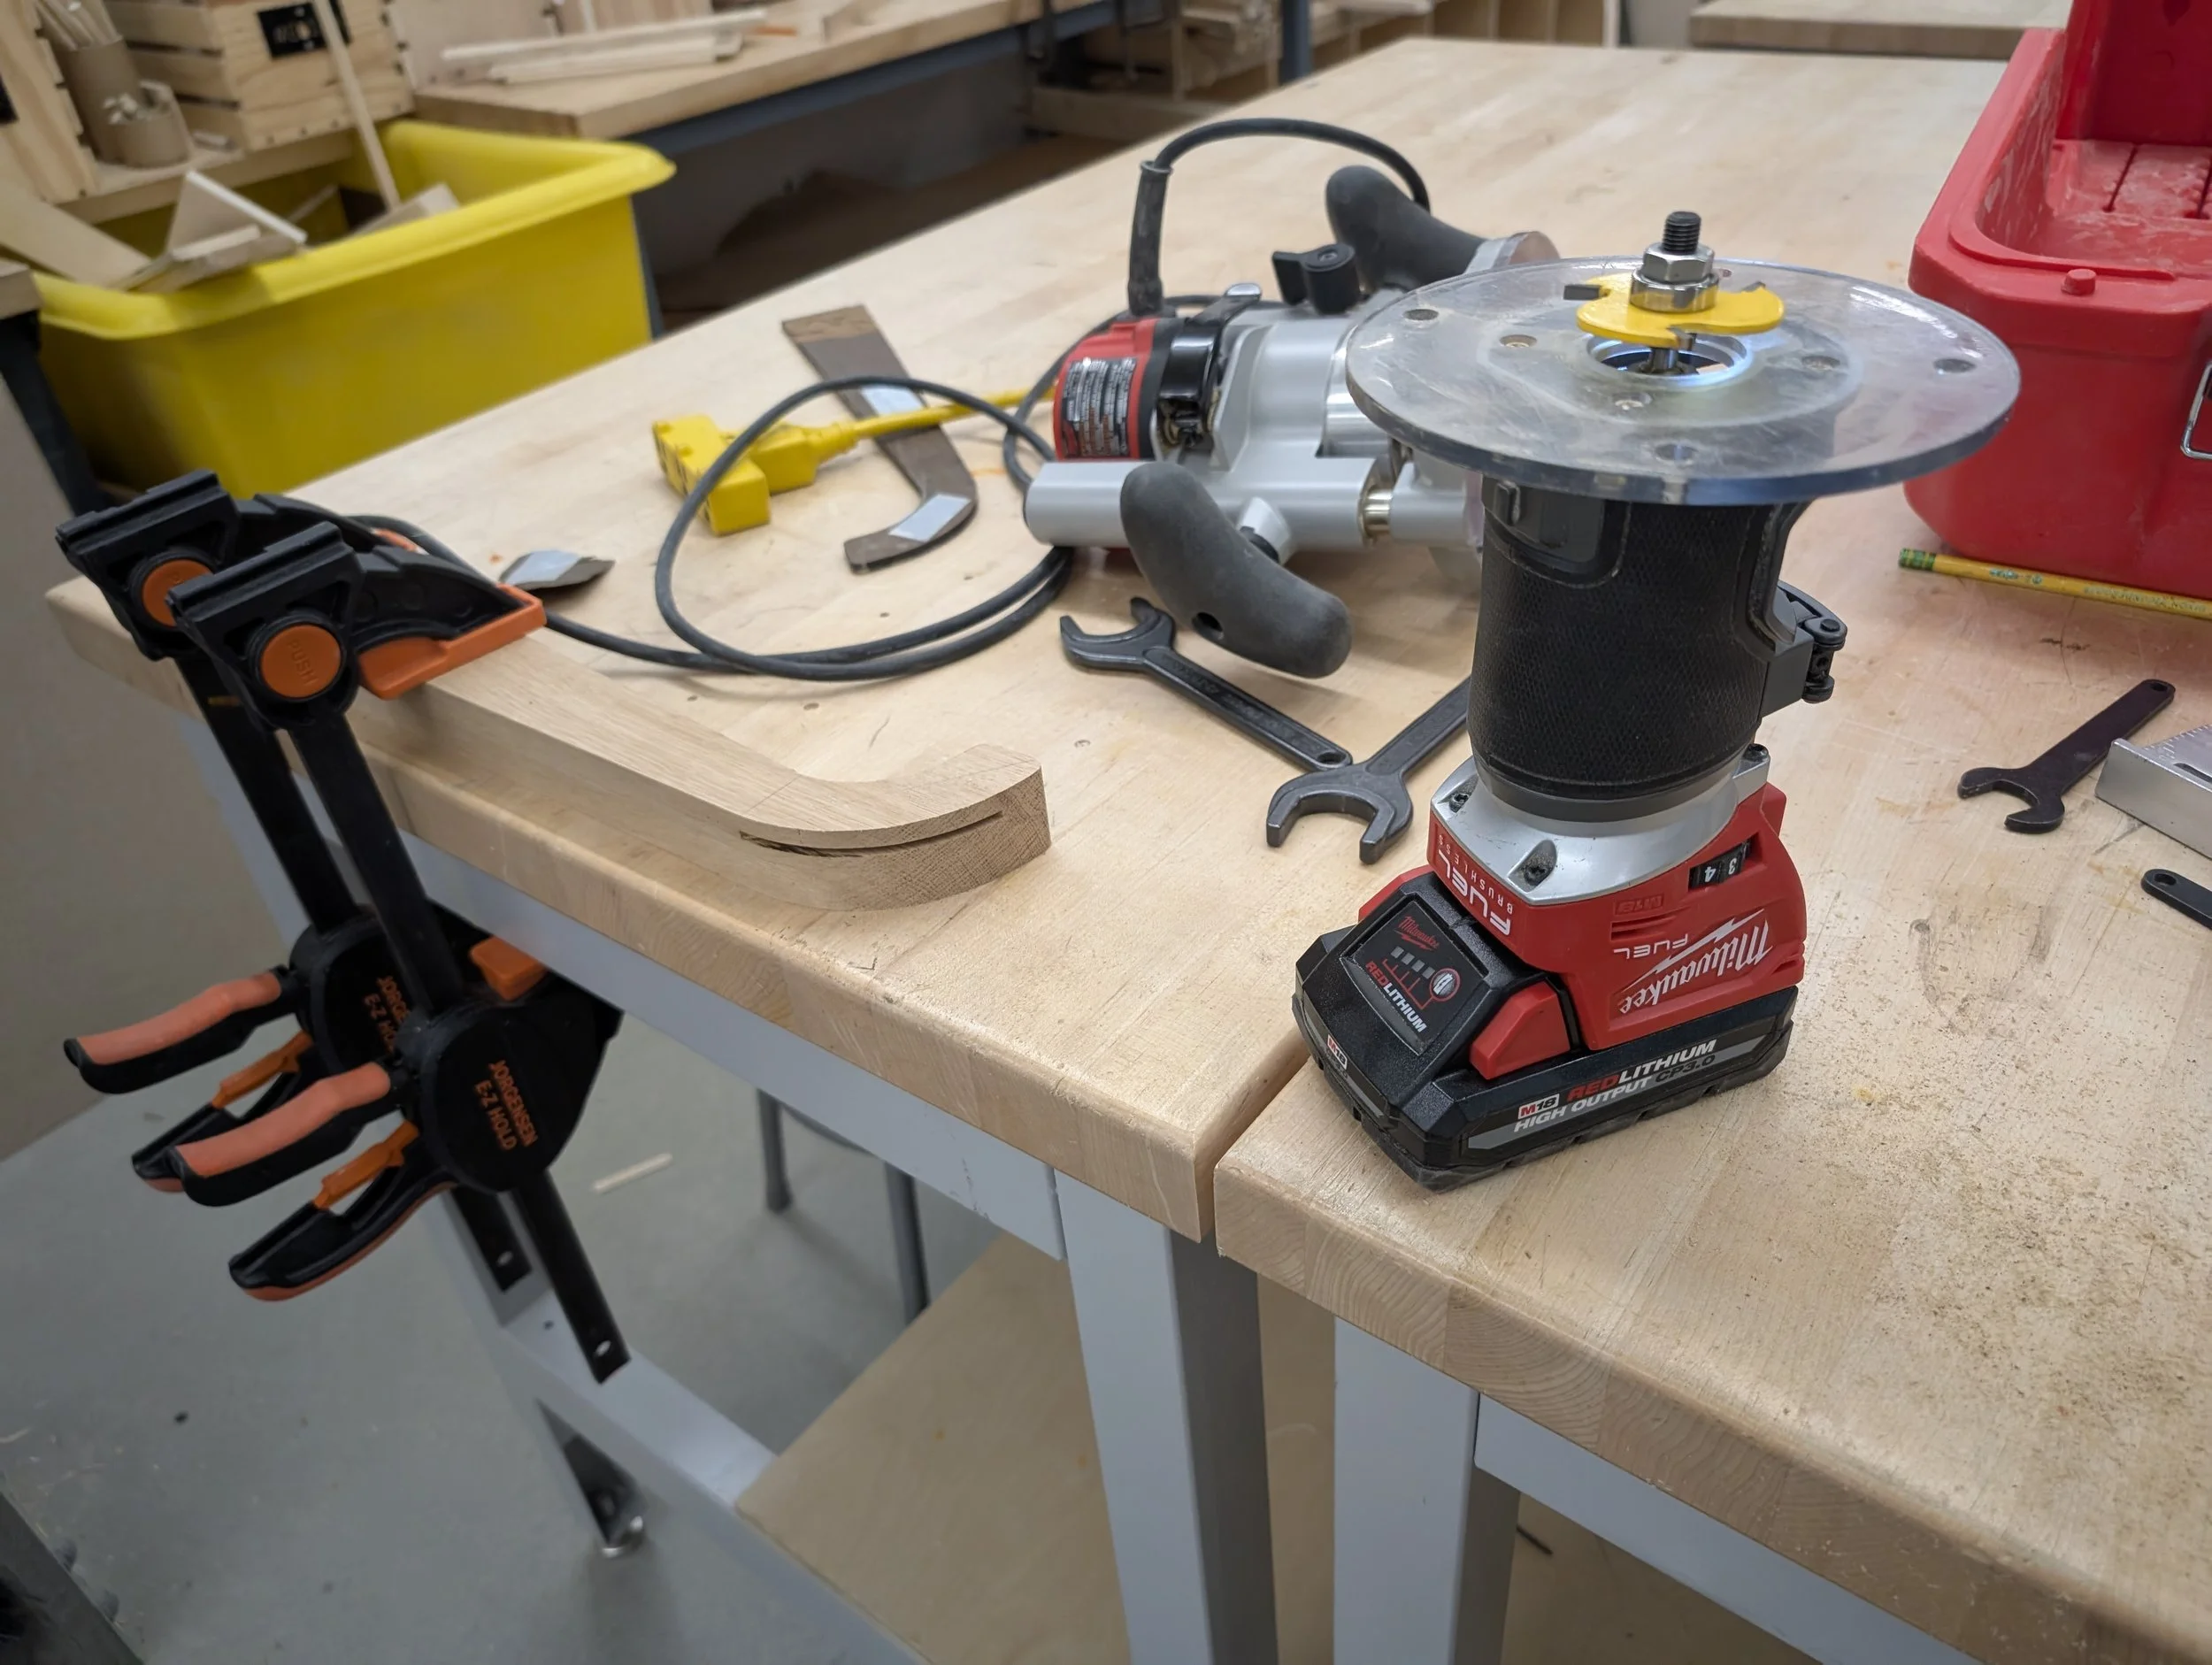
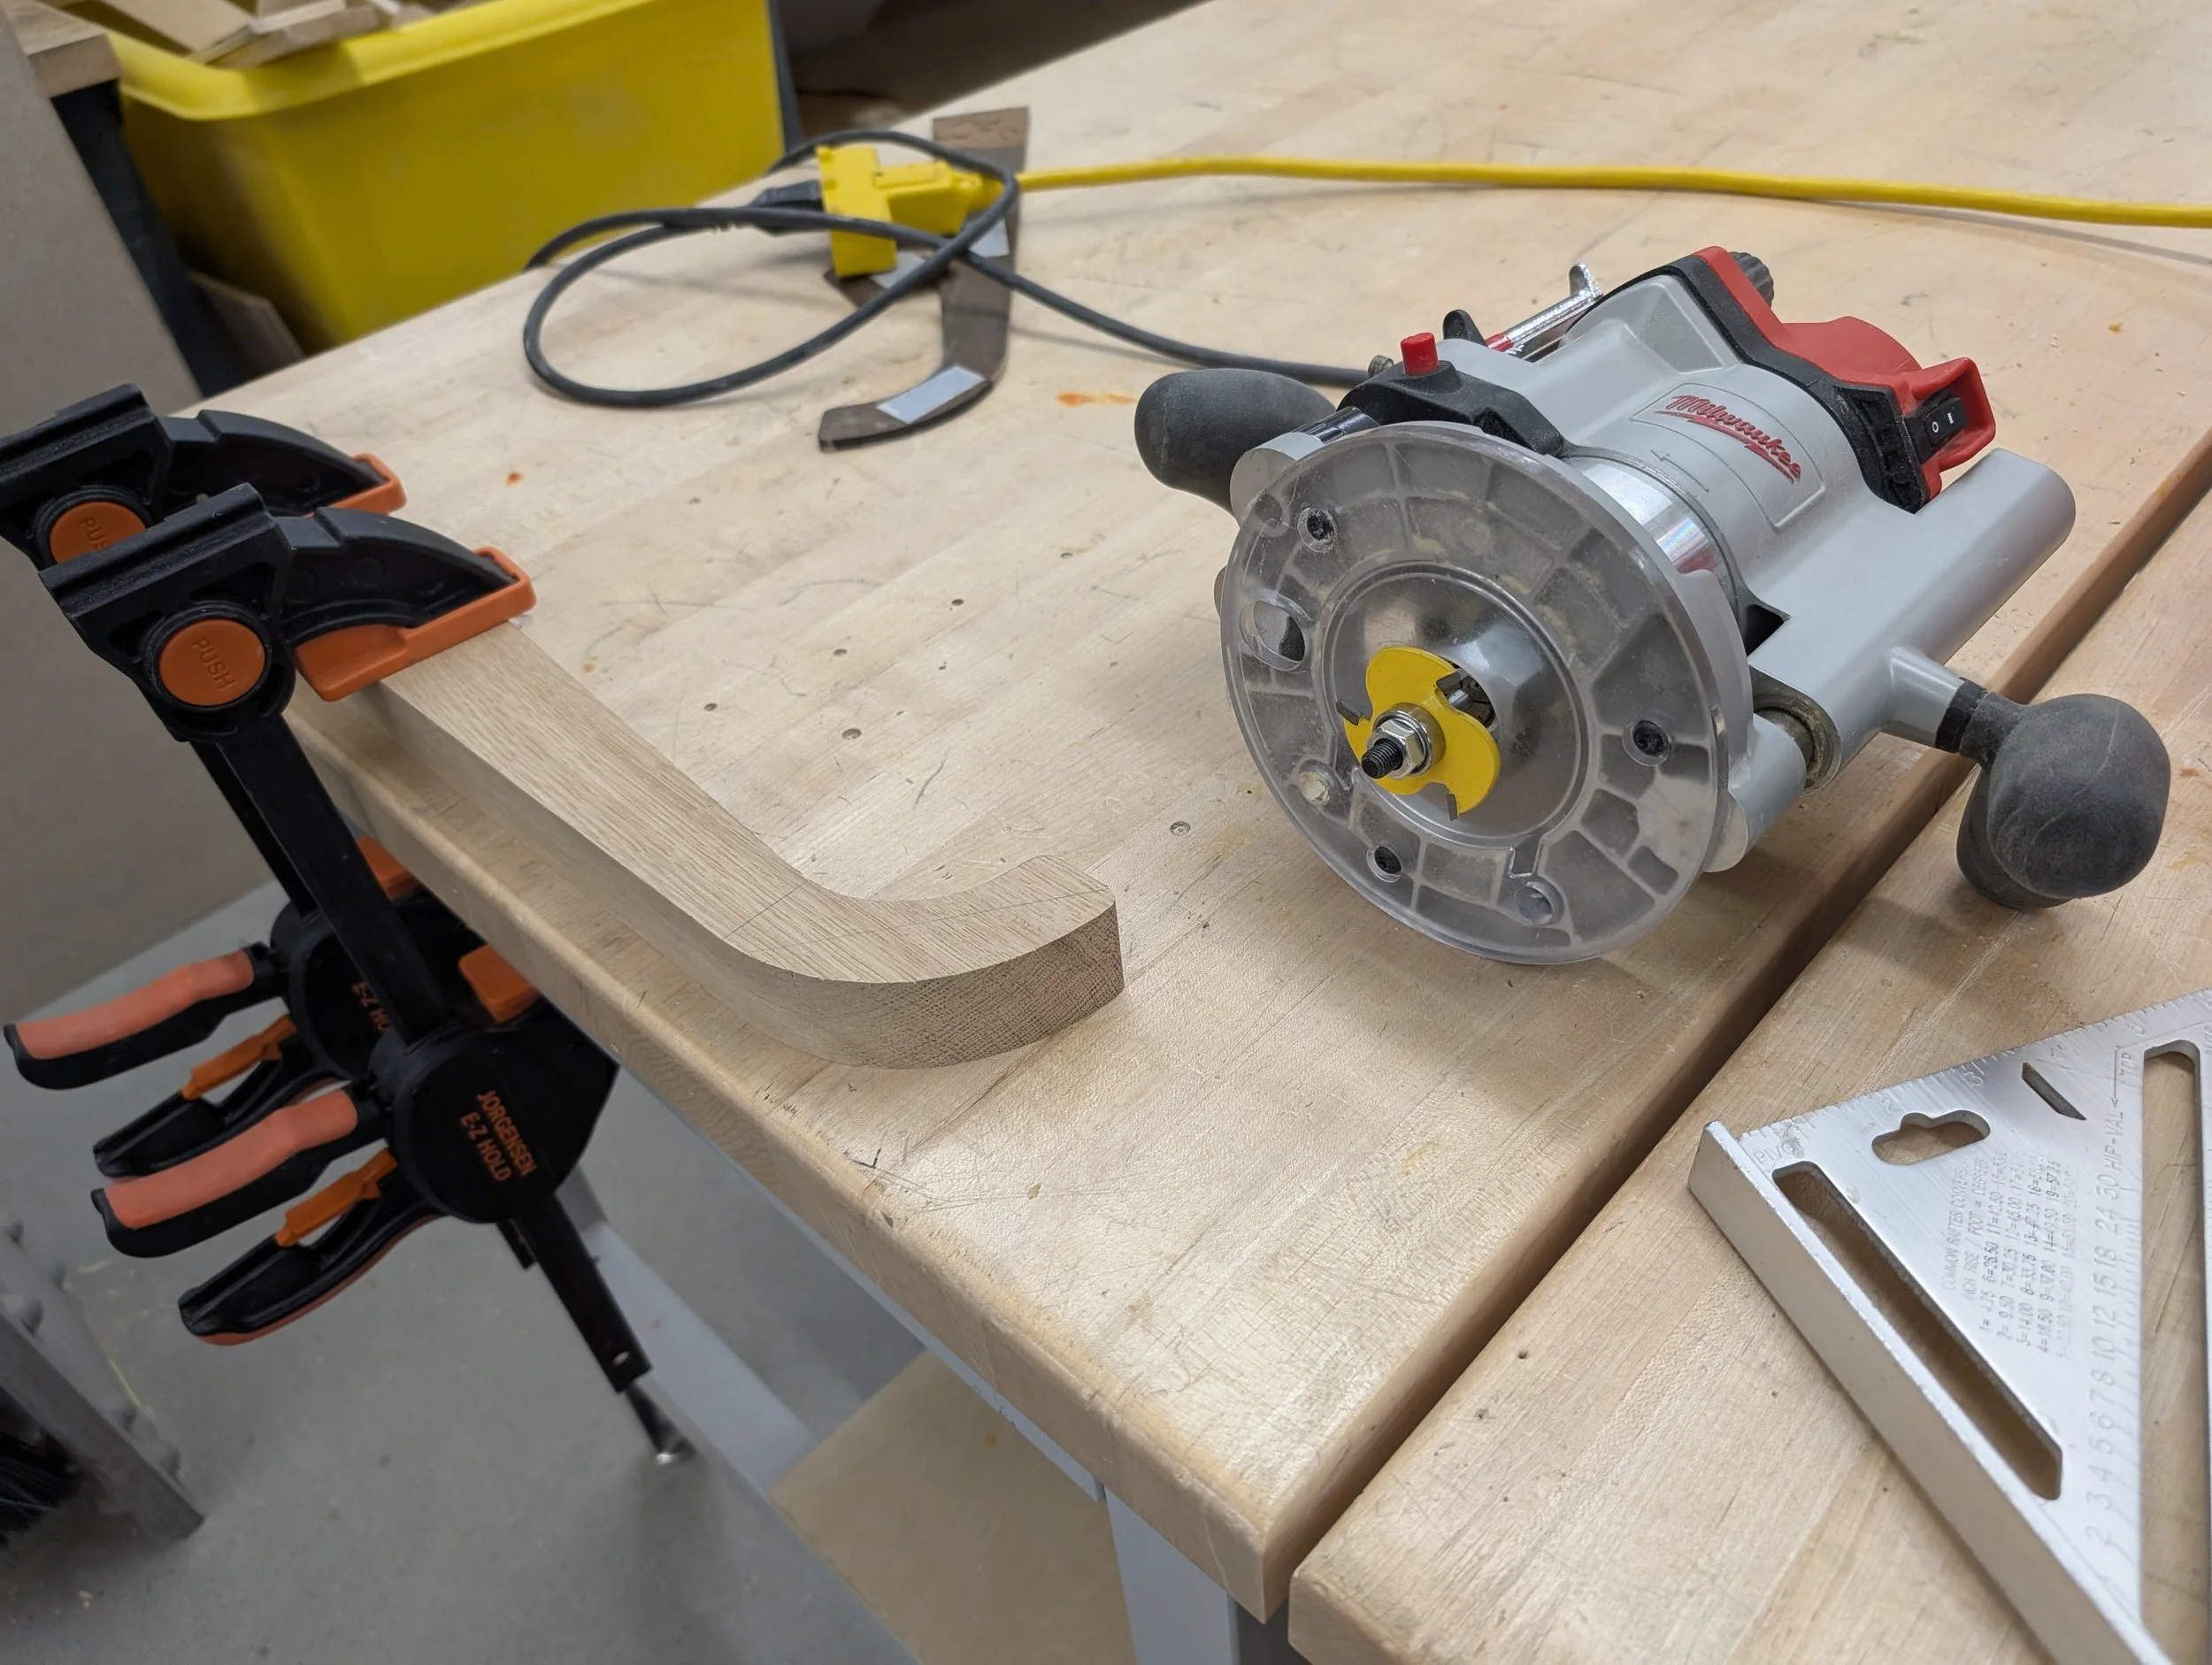
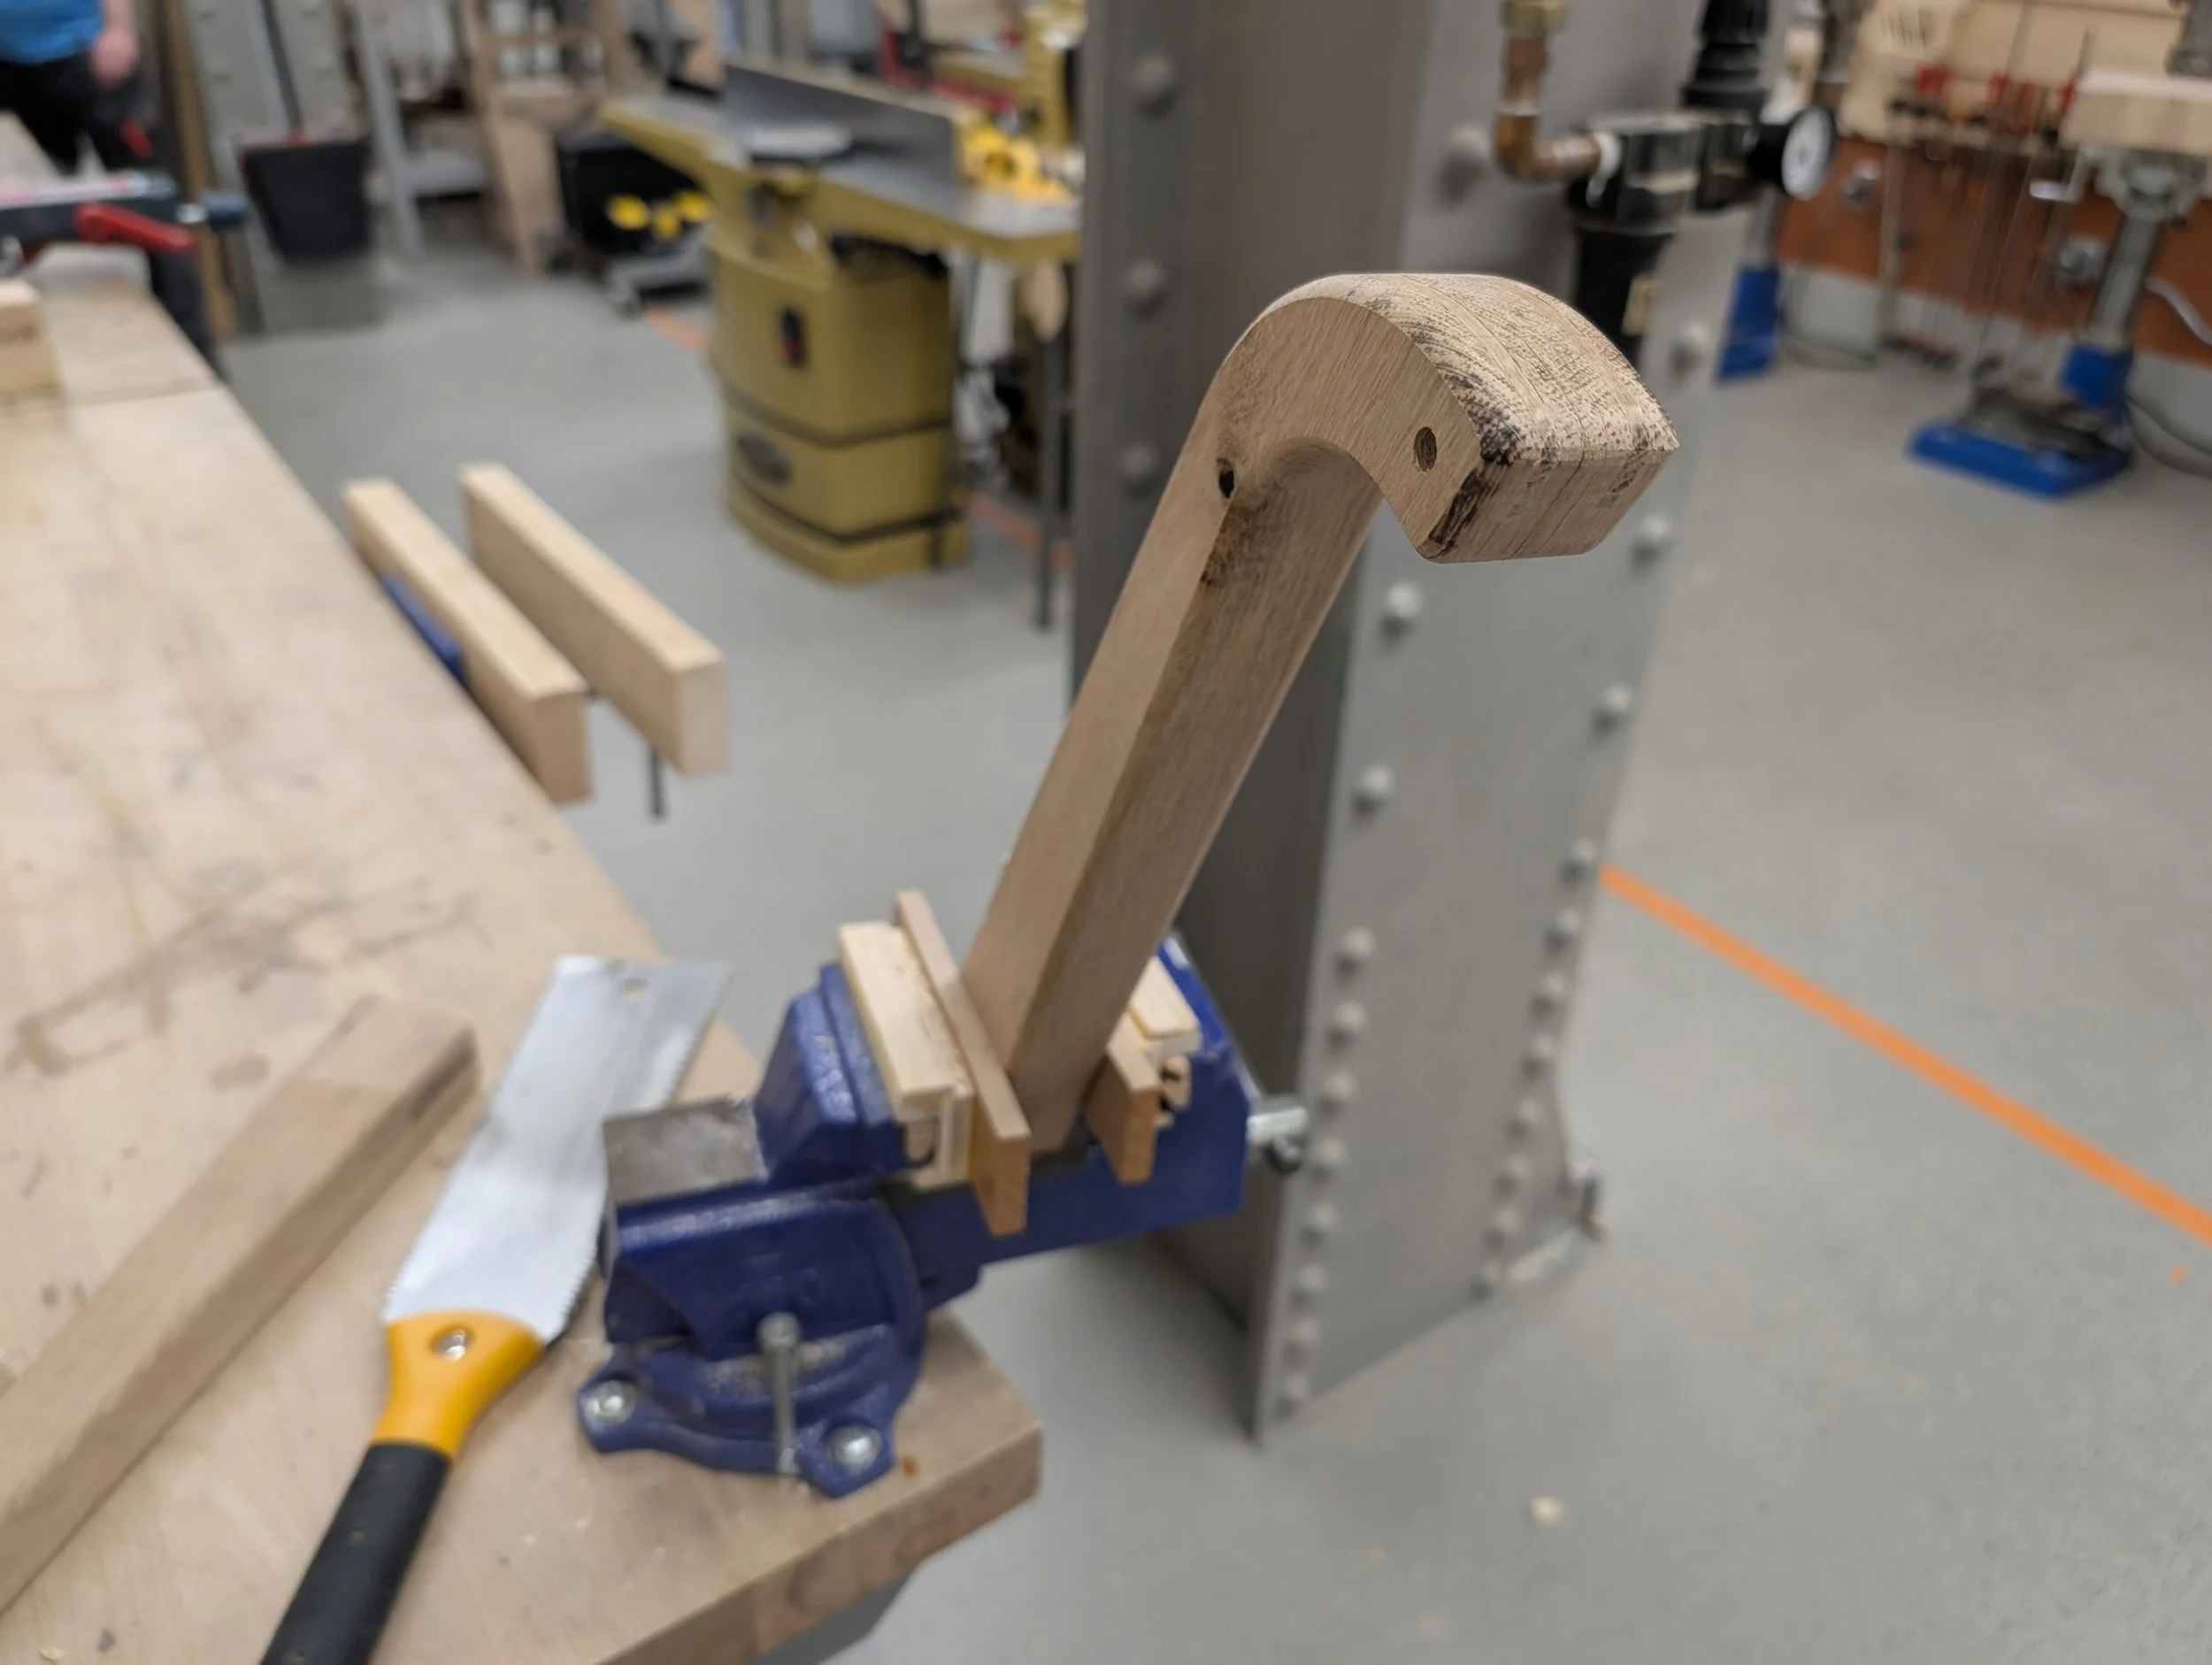
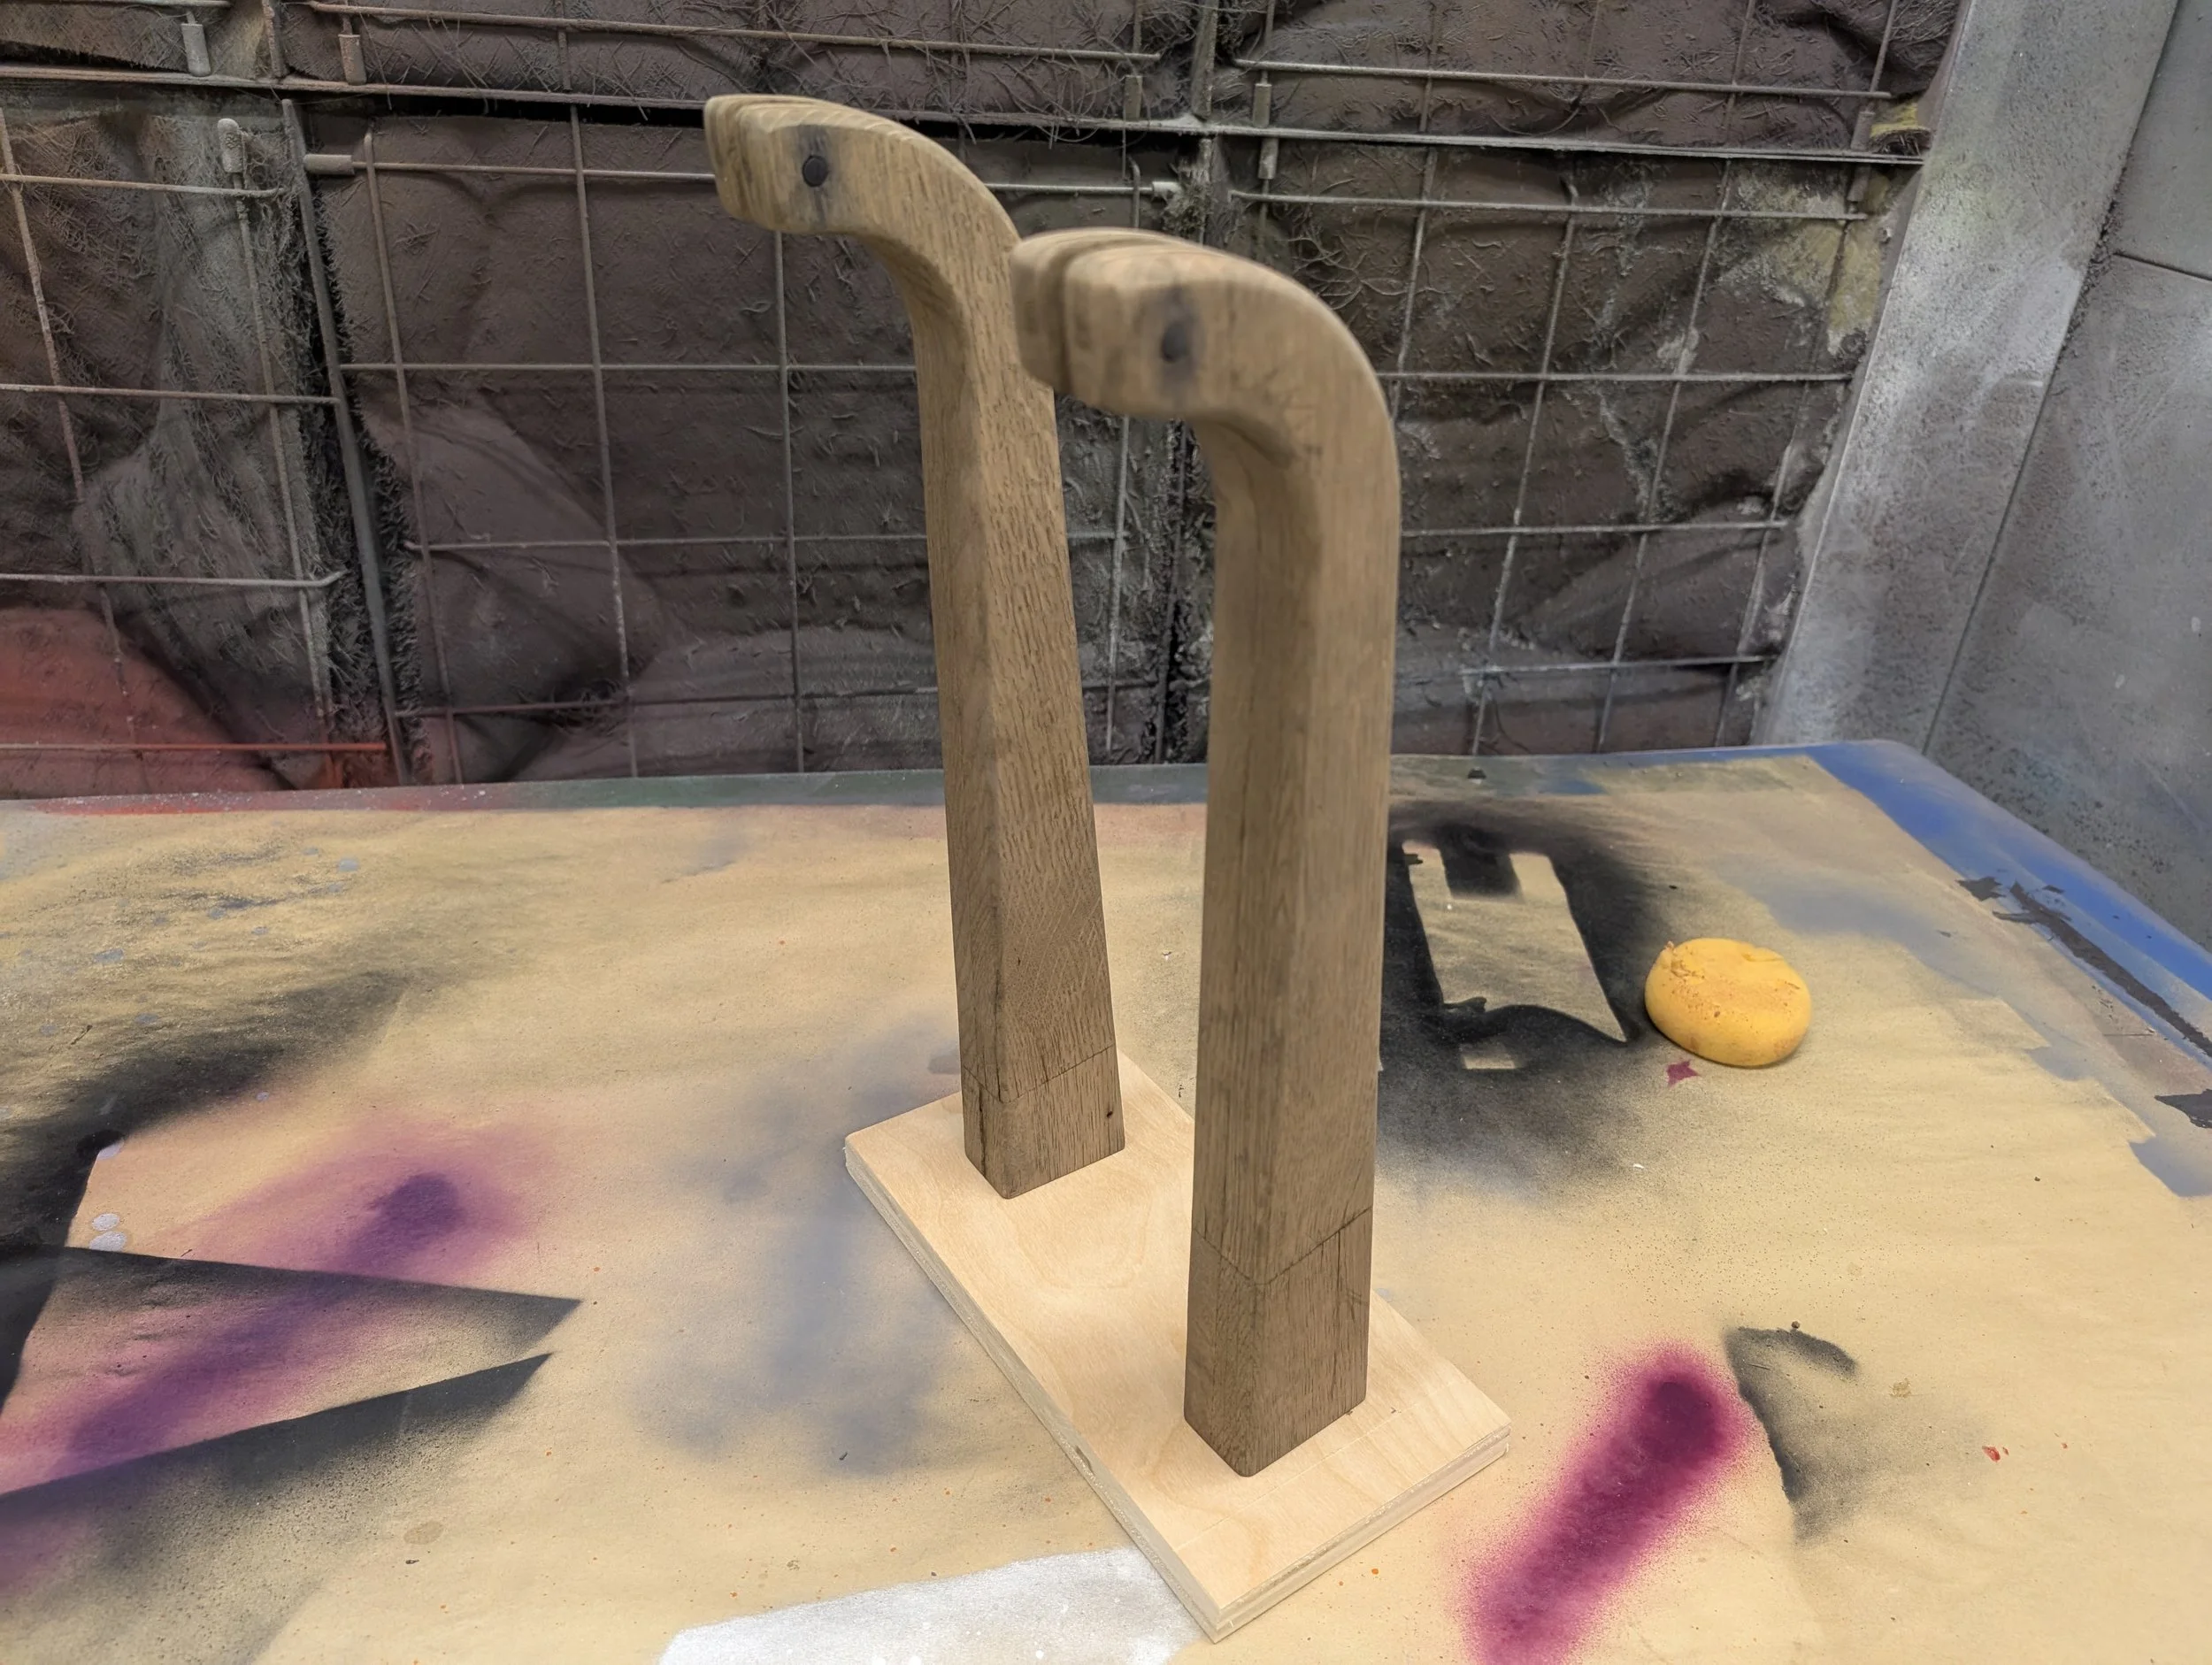
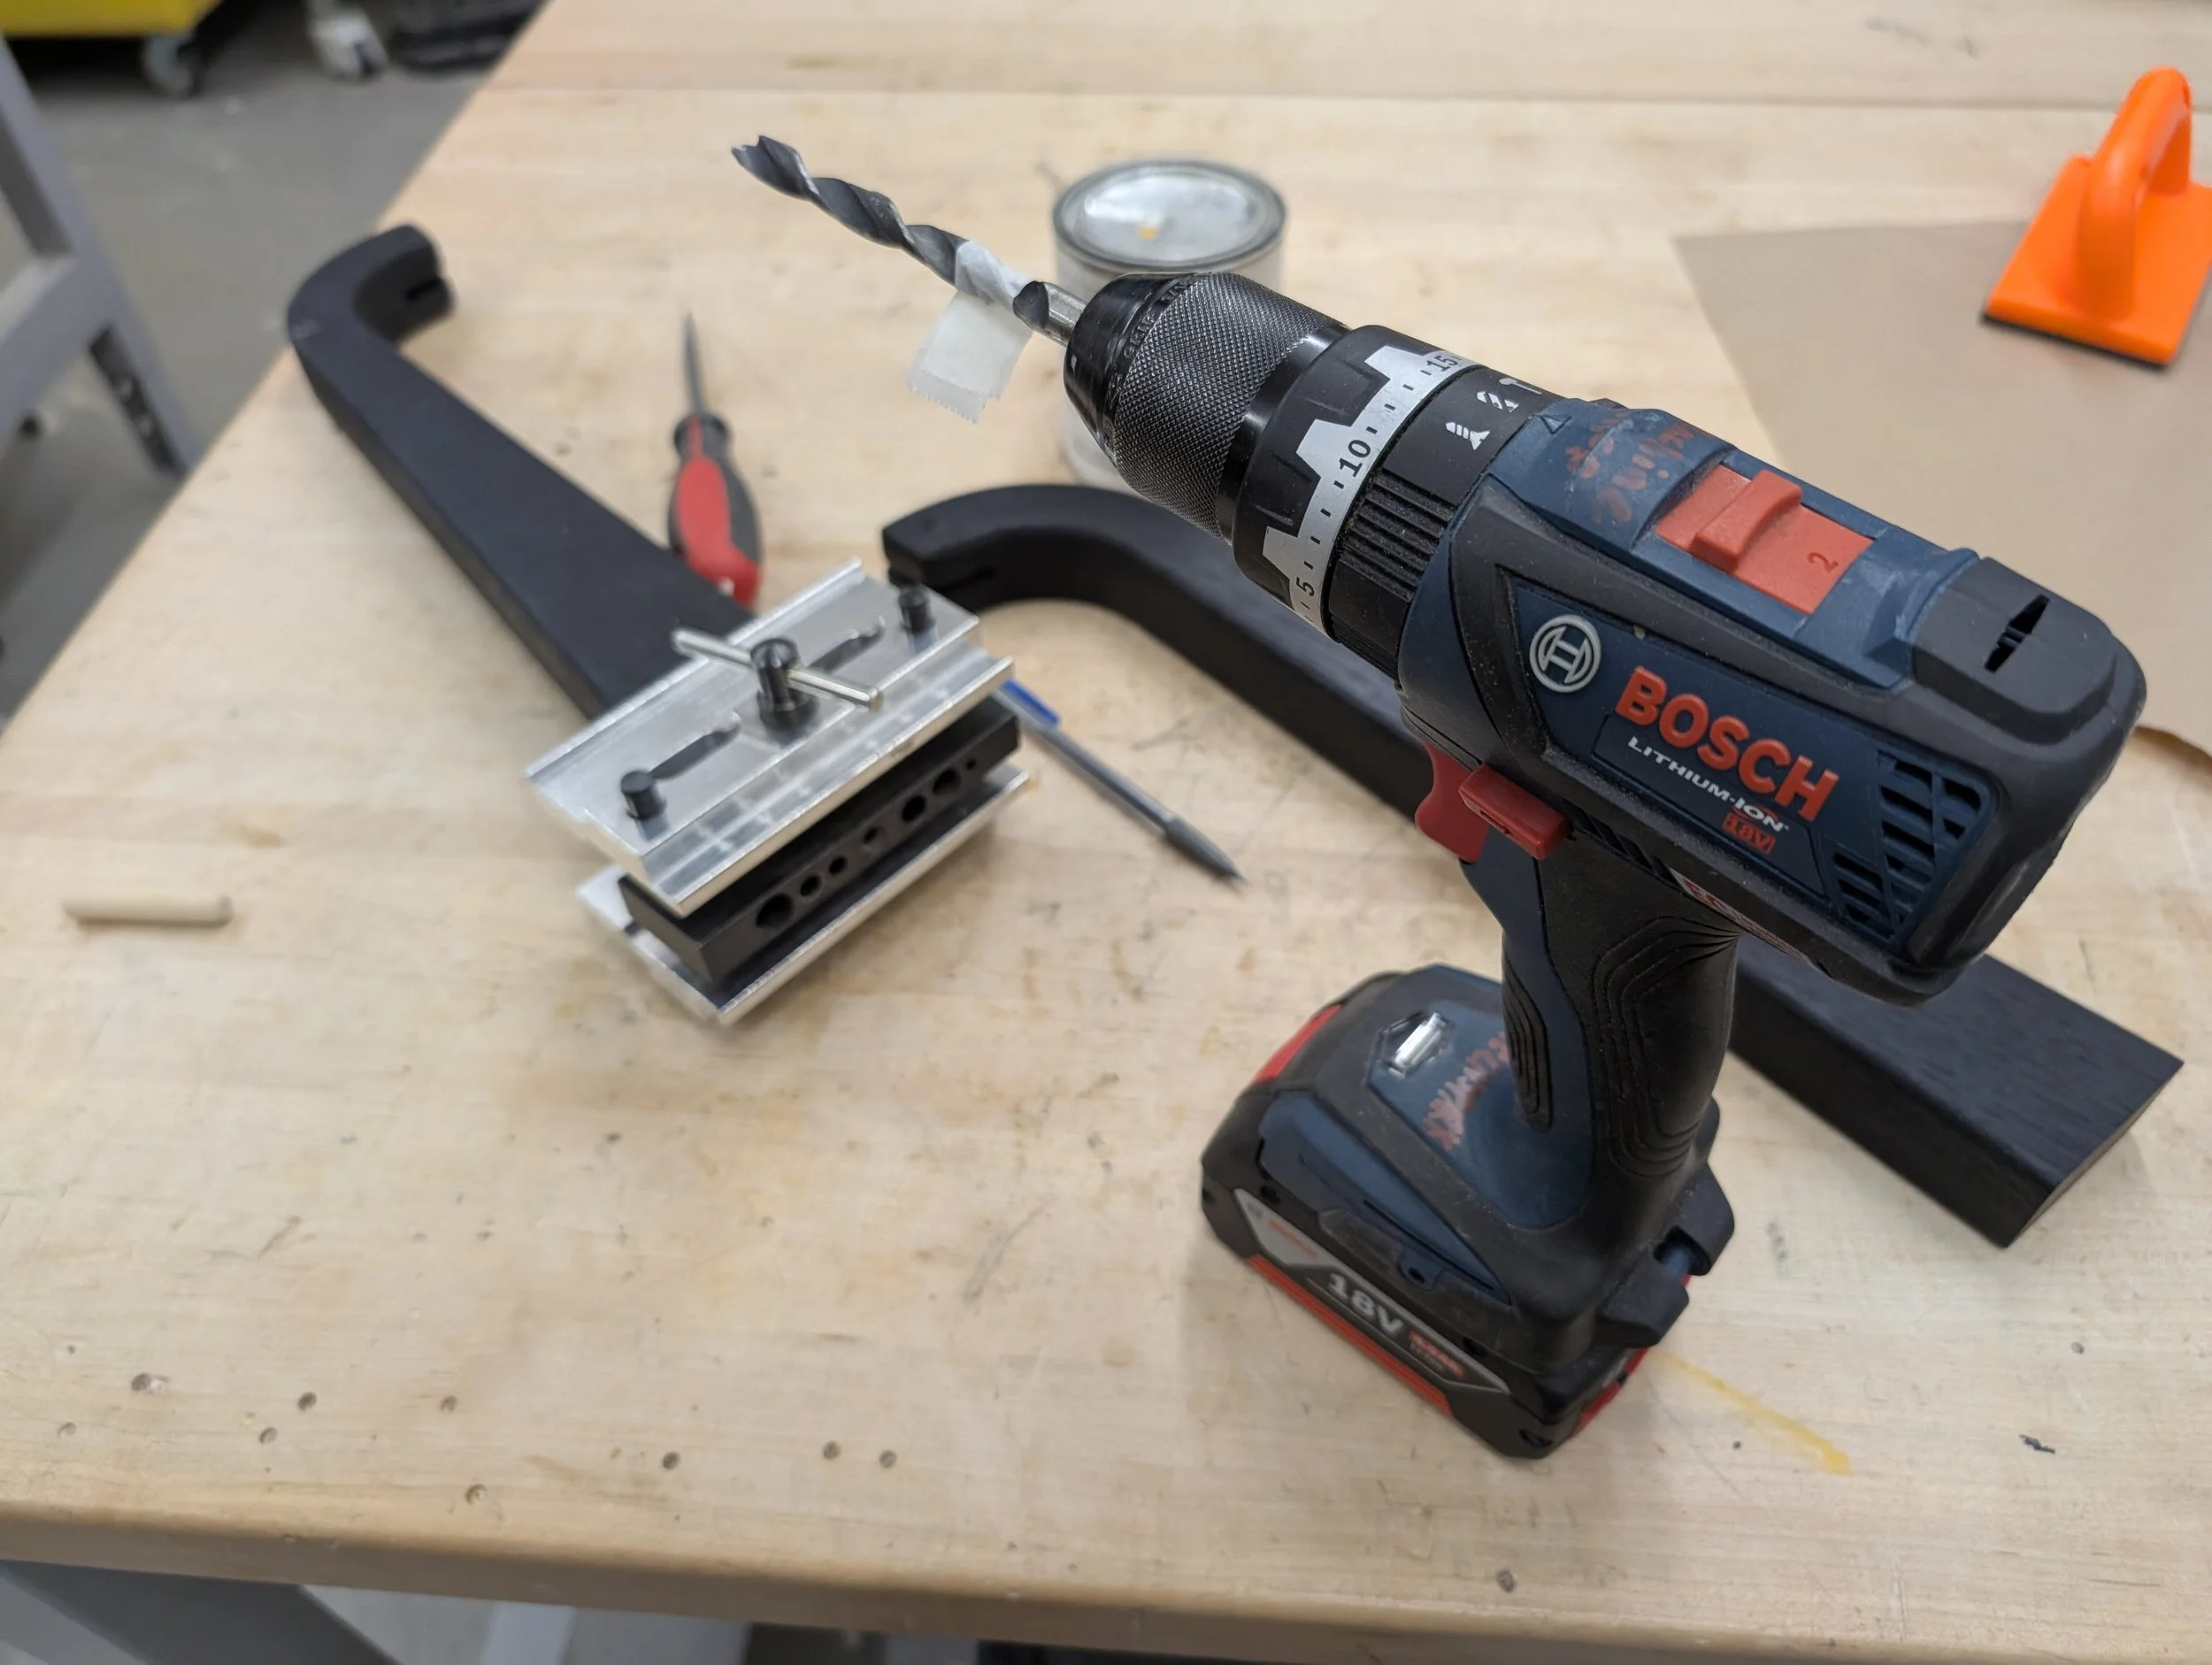
The legs required some CAD work before I finalized the right shape. They are made from Red Oak, two 3/4" pieces glued together to achieve the necessary thickness. Initially, I intended to use a dark stain, but it made the Red Oak appear quite gray, so I ended up spray-painting the wood black, which turned out better than I expected. These "legs" will support the entire table's weight, and the grain orientation wasn't optimal for the direction of force that would be applied. To reinforce them, I hand-cut two splines for each leg. I experimented with various tools to get the legs to their final dimensions using my template, but I found that cutting the legs as close to the template as possible on the bandsaw and sanding flush on the spindle sander worked best. I attached the legs with two 3/8" x 2" dowels and used a laser-cut template for alignment.
I have never dedicated so much time to sanding a project before. It required around 8 hours to sand up to 10,000 grit and then polish, which was extremely tedious. I thought about alternatives like an epoxy flood coat, but that usually results in a subpar bottom finish, and I wanted to maintain the tactile feel of the wood's surface. Moreover, I had already used all my epoxy for the initial pour. Overall, this project was demanding due to its unique design and construction challenges, along with the custom hardware I had to fabricate, but I believe the final outcome is quite impressive.